|
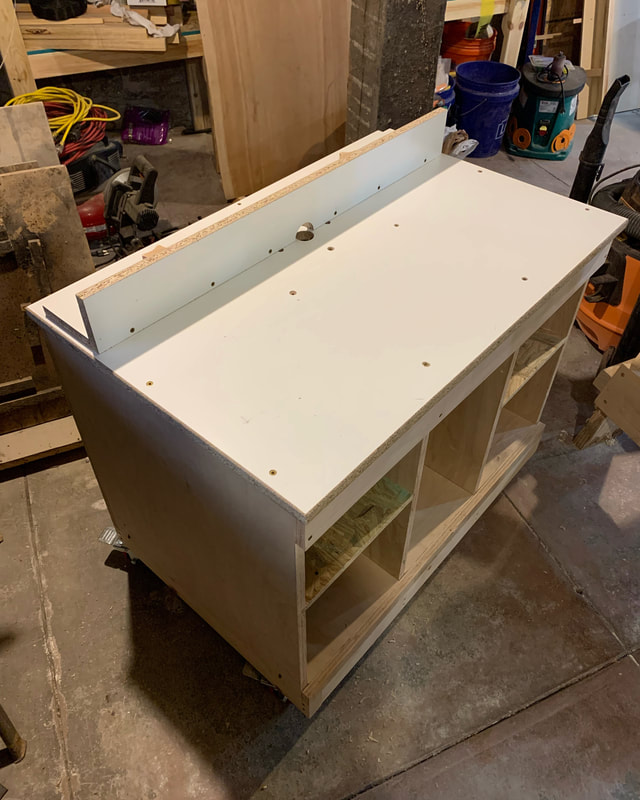
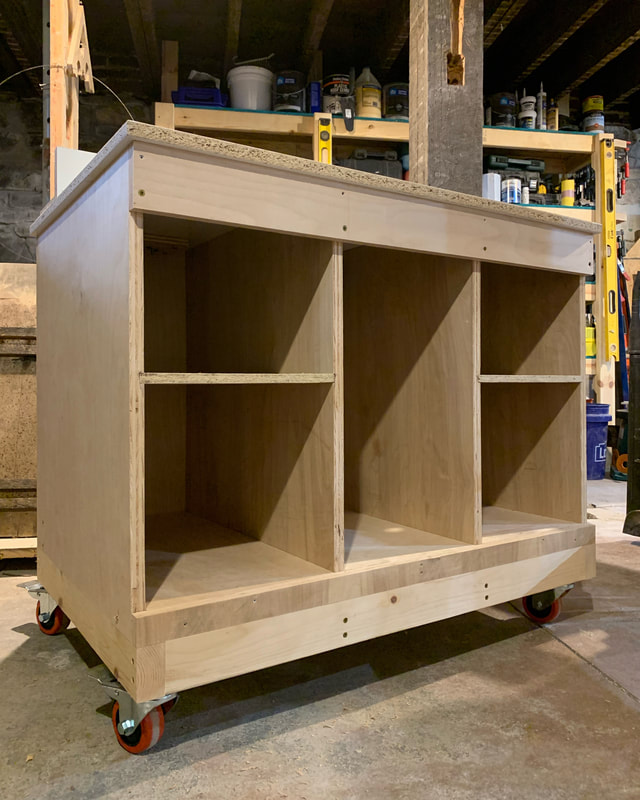
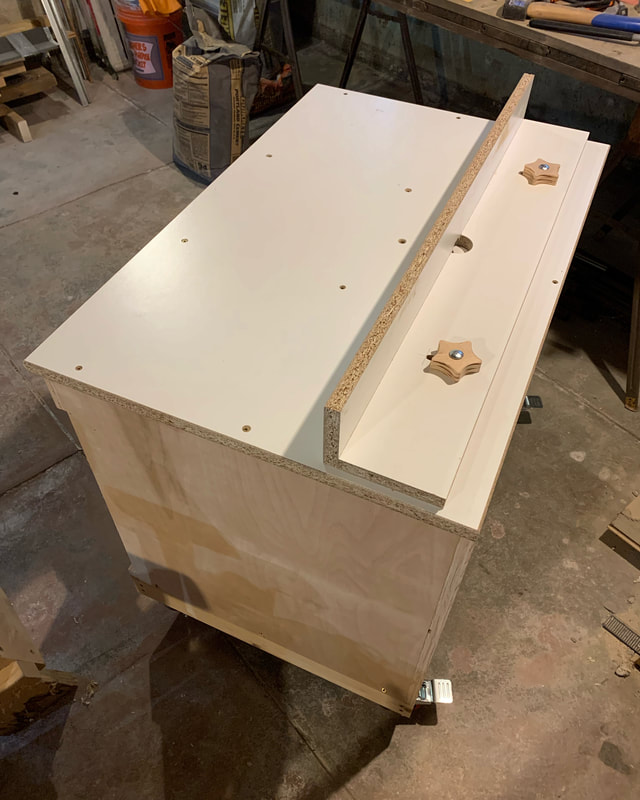
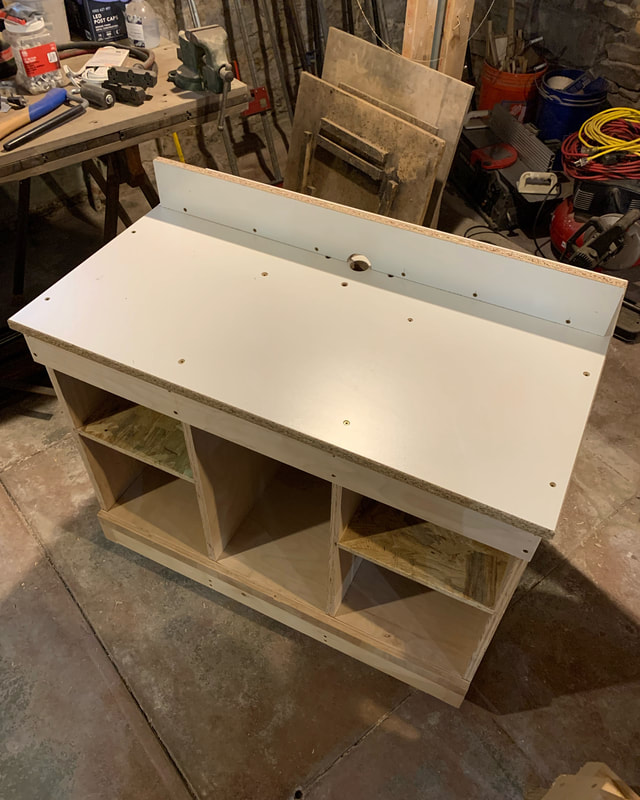
I originally titled this "Got A Window Finished", but I still have to deal with glass and paint so it's not really FINISHED finished. But the window frame is built, at least that part of the operation is done. Why am I building windows for the basement, a totally utilitarian space, or why am I not just buying windows? The answer to the first part is that, ultimately, I want to build windows to replace the originals on the main floor of the house and the basement is a pretty solid place to get some practice. The answer to the second part is that it would take a stupid amount of money to pay somebody else to make (9) 7' x 3' wood-framed windows for the main floor, and there's no good reason to pay somebody else to do what I already have the tools to do. All the basement windows, most of which have already been replaced once, look about like this:  The sash joints are coming apart:  The glazing is falling apart:  And even where things sort of appear to not be terrible, there are signs of deterioration; those little tiny holes are where nails were driven to keep the rail (the top, curved piece) attached to the stile (the vertical piece it connects to), and the glazing is no longer really doing its job.  I'm using douglas fir as the lumber for the new window sashes; it's historically accurate and holds up to weather about as well as any readily available species of lumber. There's approximately 700 steps involved in building these things, but the short version starts with cutting big boards into smaller pieces that will become the sash rails and stiles:     Then it gets complicated, and the order of operations becomes wildly critical (I was reminded of this, painfully, during the first window-building effort that I ultimately scrapped). From this point forward, there really isn't any room for error. After a little bandsawing and a WHOLE lot of router work with this bit set:  It's on to the hollow chisel mortiser to cut the mortises in the stiles. That's followed by some table sawing to cut the tenons in the rails, which results in this:  The tenons fit into the mortises and give the sashes some strength and rigidity. I wish I could have made the tenons a hair longer but with the tools I have and the sash geometry I couldn't really make the mortises any deeper. I felt pretty good after dry-fitting everything together (back/exterior side shown, that's the recess where the glass will go):  The trickiest cut of them all is getting that top arch cut just right. If the bottoms or sides are off, wood can be added and shaved. It's not desirable to have to go that route, but it's easy enough to do. That top curve...cutting an incorrect radius would be a disaster, which is never a good spot to be in at the tail end of a build. At this point I glued everything together, let the glue dry for 24 hours, shaved about a 1/2 inch off the bottoms of the sashes to get that lower rail the exact right height, rough cut the top arch on the bandsaw, literally spent about 2 hours (I really need a better jig for this) getting the router table setup dialed in for the final arch cut, crossed my fingers, held my breath, made the final cut, then tested the fit in the window jamb:  She was a little snug, but I knew that was going to be the case. In spite of that, I was super happy with how things fit; I don't know that I could have measured, marked, and made that top arch cut any better of a fit. After some shaving on the sides and a little hinge pocket work, I got the sashes hung:  So far, so good. The glass has been ordered and I've got the glazing stuff ready to go, but I need to paint the sashes first. I'd like to get another one built before I start spraying paint, but the next one has an added wrinkle -- the arched jamb piece that I kept as-is from the original jamb, it's kinda off center and I'll have to figure out how to navigate the measuring and cutting that'll need to happen to match it. After that...still a long ways to go. I need to figure out how to make the brick mould that goes on the exterior side of the jamb, and then paint and caulk everything...but I think I'm off to a good start. I always feel like I haven't gotten much done since the last time I wrote anything, and then I go back through the pics to look for things to include in the current post and...maybe I've gotten more done than I realize. Most of it, like the post title, involves lumber (sticks) and rocks (stones). Last time we chatted, I had finished up a couple storm window mockups and was starting on repointing 3 basement windows. The goal was to spot repoint -- hit what's necessary, leave any existing, decent mortar as is. Unfortunately, most of it wasn't decent and I decided to repoint the entire wall sections, down to about a foot below grade. This was the starting point... 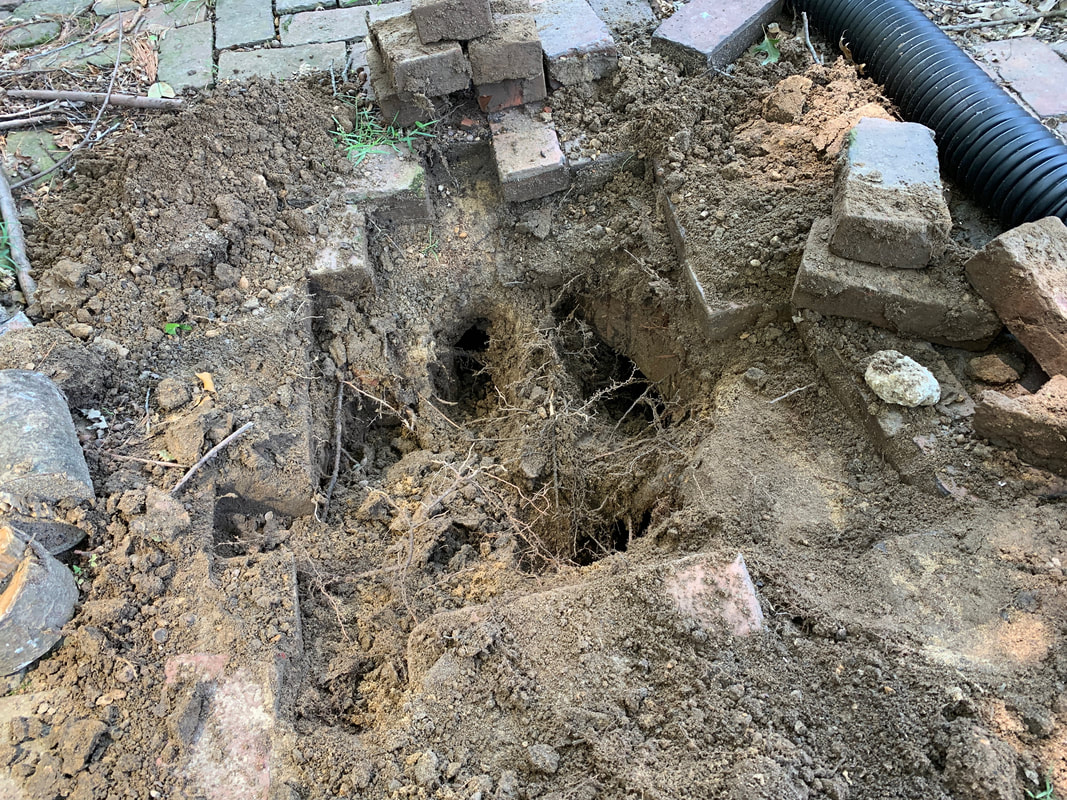 ...and I quickly wound up here:  Somebody had repointed the wall previously but it was kind of a superficial repointing and the majority of the original mortar behind it was garbage, particularly around the window, so I decided to repoint the whole wall. I had good weather, I enjoy the work (in small batches), and if done correctly, I won't have to do it again in my lifetime, so it was an easy decision. The OSB in the above pic is covering a small hole, where I started digging down below grade. I only dug far enough to run into the home's original "waterproofing", which seems to be a simple parge coat (google it). I try not to pick at it too much once I hit it -- it's best to let that sleeping dog lie -- but I repoint down to it.  As always happens, if enough mortar is removed, stones start to come out of the wall as well, especially the smaller stones. I save all of them -- piled on the sill and placed on the ground -- and do my best to put them back in the wall...somewhere.     After being able to see clear into the basement, through the wall, about as much as I wanted to, I started stuffing new mortar into the joints. It's usually best to work from the bottom up but in this case the bottom was below grade and zero fun to deal with, so I worked top down instead. You might notice the mortar color on the left side is a little different than the lower portion of the wall, that's due to executing the work over a couple afternoons and the mortar had been curing for different amounts of time. Once it's all a few weeks old, it all looks uniform.  There's a spigot just right of the window and I hadn't yet bought a new one, so I stopped with the repointing and decided to start poking around the window jamb. Like the stone, I had hoped to reuse it, and maybe just patch any small rotten sections. But it was all in pretty rough shape -- that'll happen when you butt wood up to masonry for about a century and a half -- so I decided to remove all of it but the arched piece at the top.  One of the helpers heard the commotion and wanted to watch, but there wasn't much to see -- the sawzalling and temporary bracing went quickly -- and before long I had the left side and bottom stripped out.  I knew the mortar in the stone around the window was in terrible shape, that became obvious back when I gutted the "finished" basement and saw the condition things were in. I had to work from both the inside and outside of the wall, which made for a lot of walking back and forth, in and out of the basement, but the whole thing turned out pretty well.  I boarded 'er up -- not yet ready to build jambs and windows -- and moved around the corner on the left to start tackling the next wall section.  Repointing the next wall section was pretty identical to the one I'd just completed, with one small difference: I discovered that I could get the paint off the stone pretty easily.   I got the wall repointed and the old jamb and window out but quit taking pics of things, so let's pick up back at the first window. I built a new window jamb, which is this:  The jamb took some work due to the stone sill being a little out of level, but otherwise it was pretty straightforward. She fits snug, the sides of the wood touching or near stone and mortar were all flashed, I made sure to carve out window hinge pockets, everything is sloped the right direction, and most importantly (to me, anyhow), I achieved this:  Again, the second window jamb went pretty much like the first one did, and the results were about the same:  That was early June, and I would have been a little farther along in the window replacement project but some time had to be spent, occasionally, away from the tools and mortar dust and long hours sitting still, chiseling away at limestone...     The best thing that happened over the past few months hasn't been the house progress -- it was seeing Farley (the bigger dog, who's all of 9 months old) finally not be timid around water. Freckles loves water and swims like a fish but it took Farley a few outings to follow big sister's lead, so that was pretty cool. Aside from the window work, I also tackled a bunch of other ancillary projects, like replacing the dishwasher. This thing came with the house and might be about as old as I am; the amount of mouse poop I removed from under and on top of this thing was staggering.  I also built a new miter saw station. Even though the miter saw should almost never be used to make any consequential cuts when doing high-level-of-detail-woodworking, I didn't want to start building windows without having a better miter saw setup. And, I have a bit of a storage problem in the basement; I know all too well, from experience, that building stuff is zero fun when you're constantly having to rearrange the shop or dig things out of piles or can't find a tool, so the miter saw station was just as much about storage as anything else. This was the old setup:  And this is the new one:  Then I started building windows. I scrapped the first effort due to too many careless mistakes, mainly me dropping window pieces and putting big dents in them. The second effort is almost ready for glue and clamps, but I'll tell y'all about that in the next post... 3 months away from the keyboard, pretty sure that's the longest blog drought I've had since I started this thing. But life comes at ya fast sometimes and house rehab work got back-burnered for a minute. Now...it's time to get goin'. I've spent a lot of early 2024 getting ready for the year's roster of projects. I knew window-building was on the list but didn't feel like my little table saw and jointer were up to the task, so I upgraded those tools. And if you're gonna get some new tools - big, HEAVY tools that were zero fun getting into the basement - ya kinda have to clean up and rearrange your shop. I don't make the rules, I just try to play by 'em. 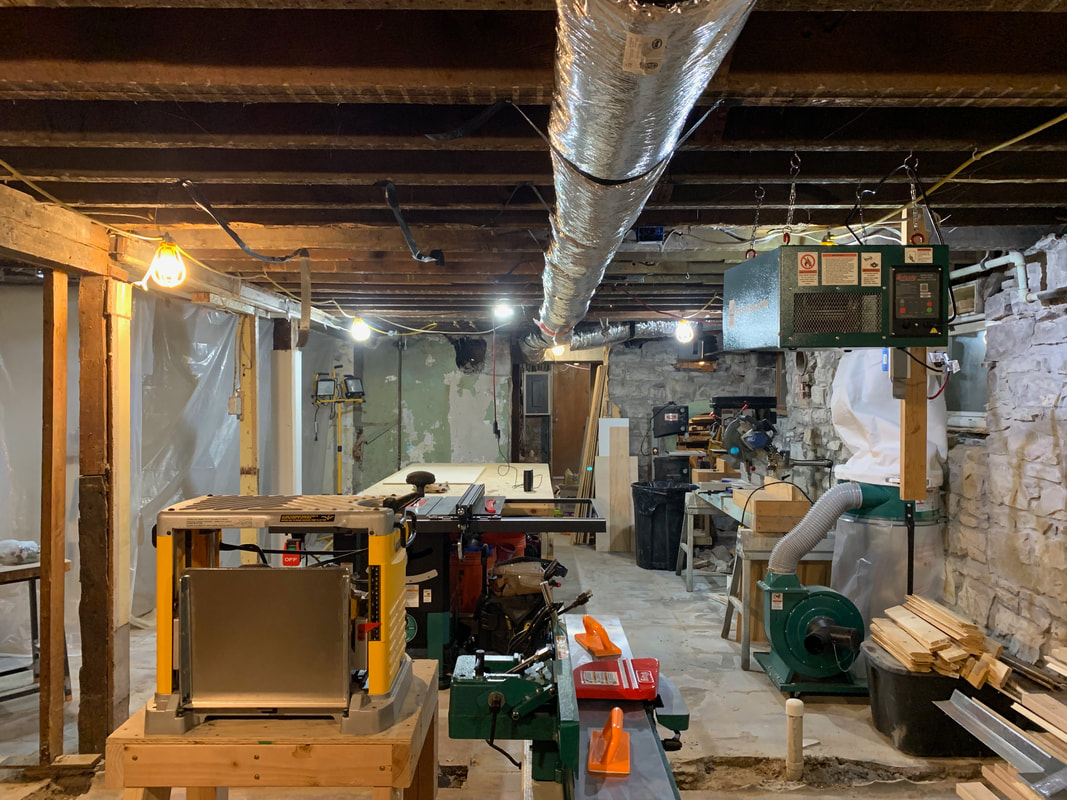 New jointer, bottom center, and table saw (hidden by the planer); air filter and dust collector are new as well 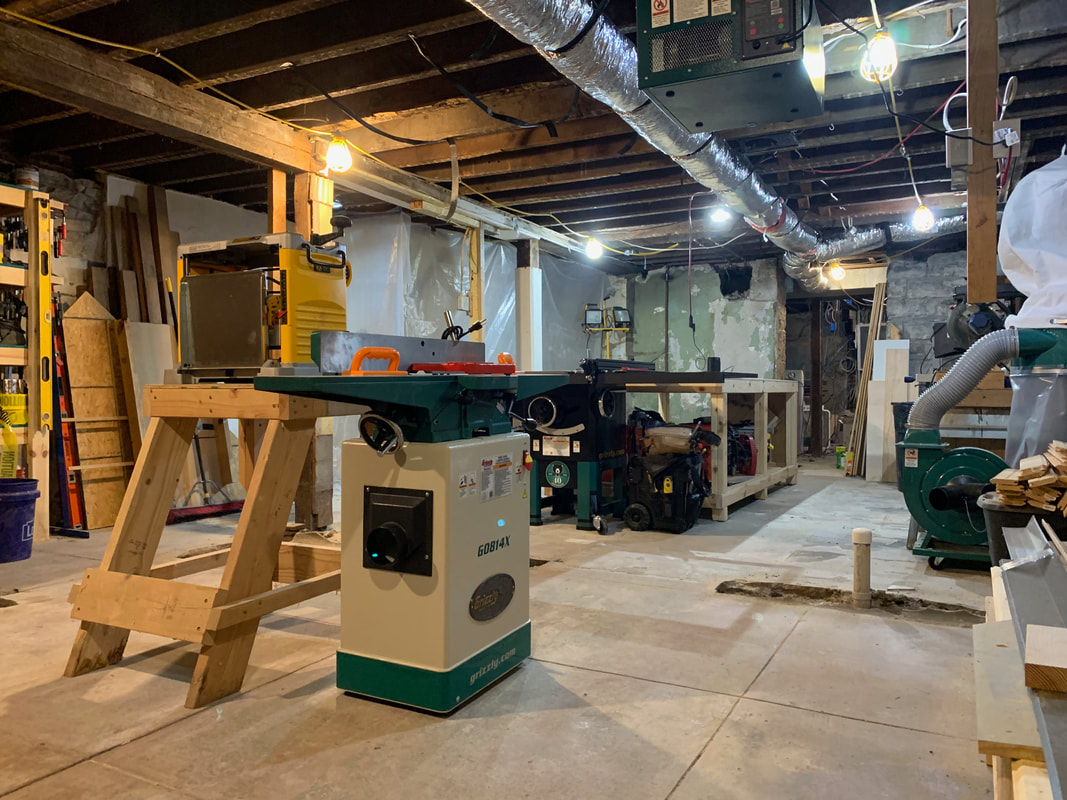 A clean shop is a happy shop, and one destined to not be clean for long While it was still too cold outside to fool around with window construction and replacement - but just right for getting some native wildflower seeds in the ground - I spent some time removing ivy from a portion of the front yard. Outside of coming in with equipment and tearing everything up, the only way to get rid of it is to pull it out by hand. Eventually, I'd like to make most of the ivy go away...but I'll tackle that like everything else, one bite at a time. 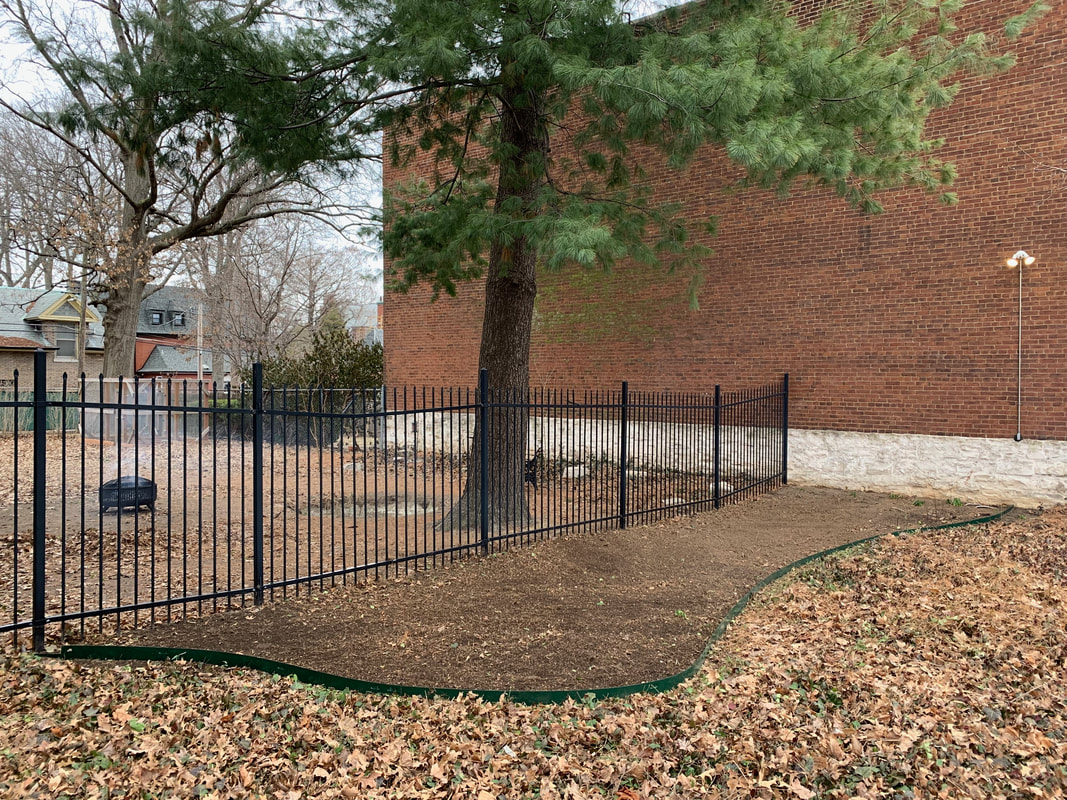 With window construction on the horizon I knew I needed a decent router table setup. This was a good excuse to fire up the new tools and start getting a feel for them, so I built a movable router cabinet with an adjustable fence. Like I all my shop furniture I wasn't aiming for fancy; the goal was solid, functional, and something I wouldn't feel too bad beating the hell out of.
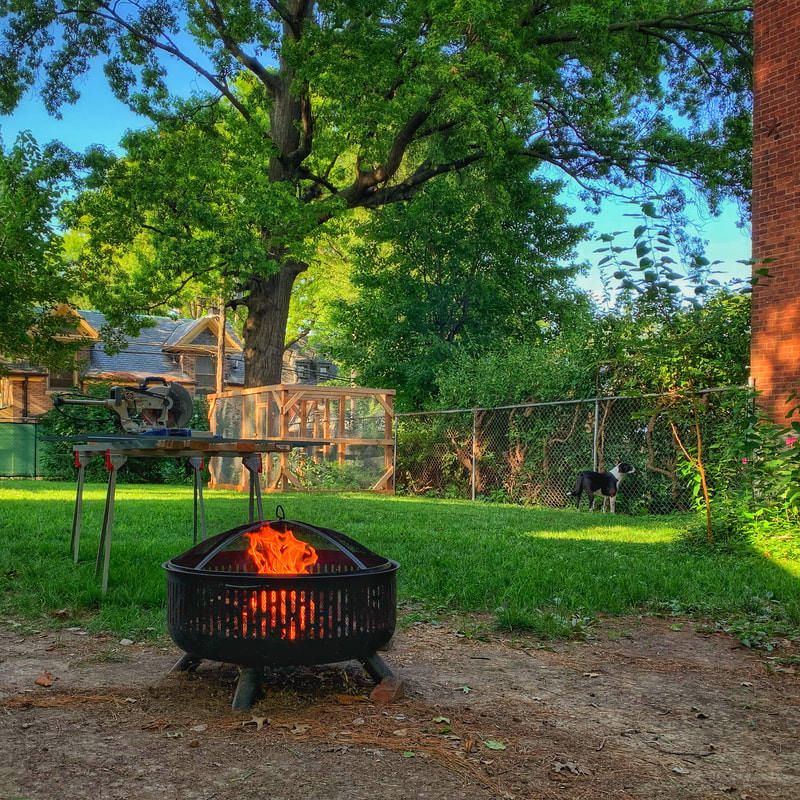
During this period of time I also built a couple sleds for the table saw and got a hollow chisel mortiser, again, in preparation for window construction. But I could only buy tools and fool around with shop projects for so long; about a month ago I started working on basement storm window mockups. I think the basement windows originally had storm windows. Or maybe shutters. It's hard to say, but all signs point to there being some sort of covering for the hinged, operable basement windows, most of which were replaced prior to my ownership of the house. The original windows have a poor design. They open inward, and if they're not covered by something, water gets trapped between the lower sashes and the bottom portion of the window jamb, which eventually causes the window sashes to rot. Most of the basement windows have already been replaced at least once, and I'm going to replace them again, but I want them to be protected from wind and rain so the storm windows are sort of a necessity. This is one of the 3 windows I'm starting with: 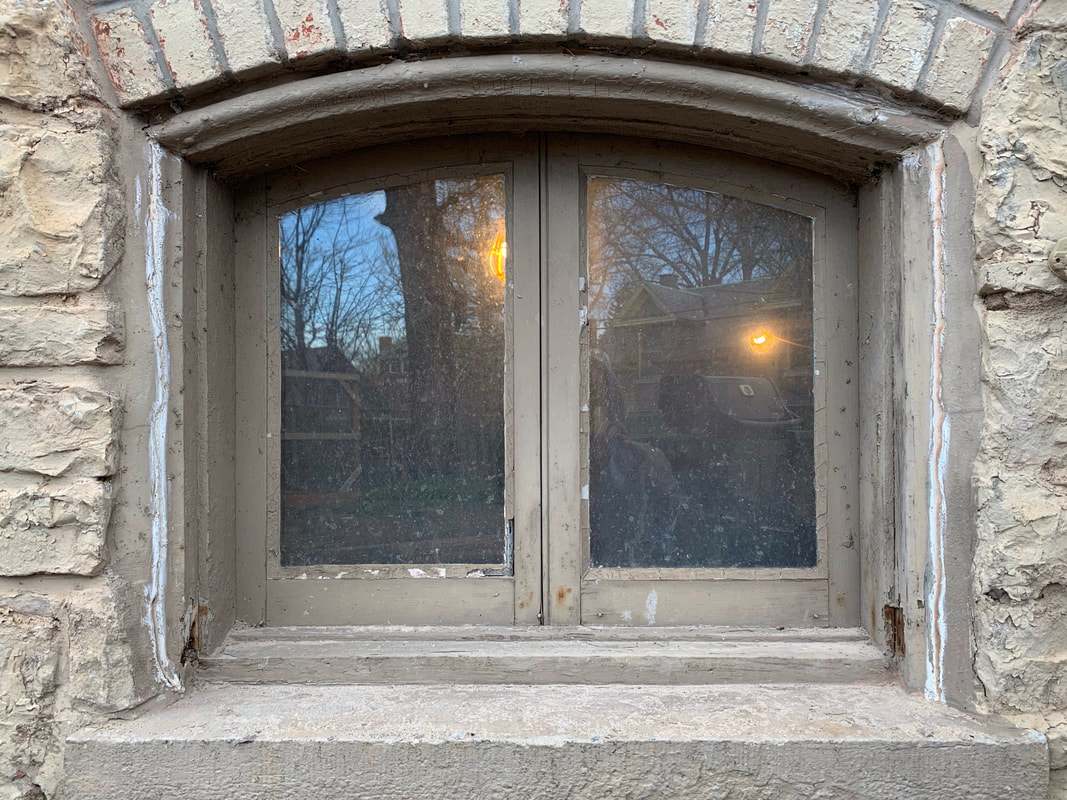 There's a lot of work to be done aside from just fabricating windows, like replacing the rotten parts of the jambs, redoing the foundation mortar, etc., but that'll be a topic for another day. With my first mockup, I just wanted to throw something together and see 1, how it fit and 2, if I got the lumber dimensions right. There aren't any storms for me to copy, so I'm kinda making up the window rail and stile widths and thickness on my own. 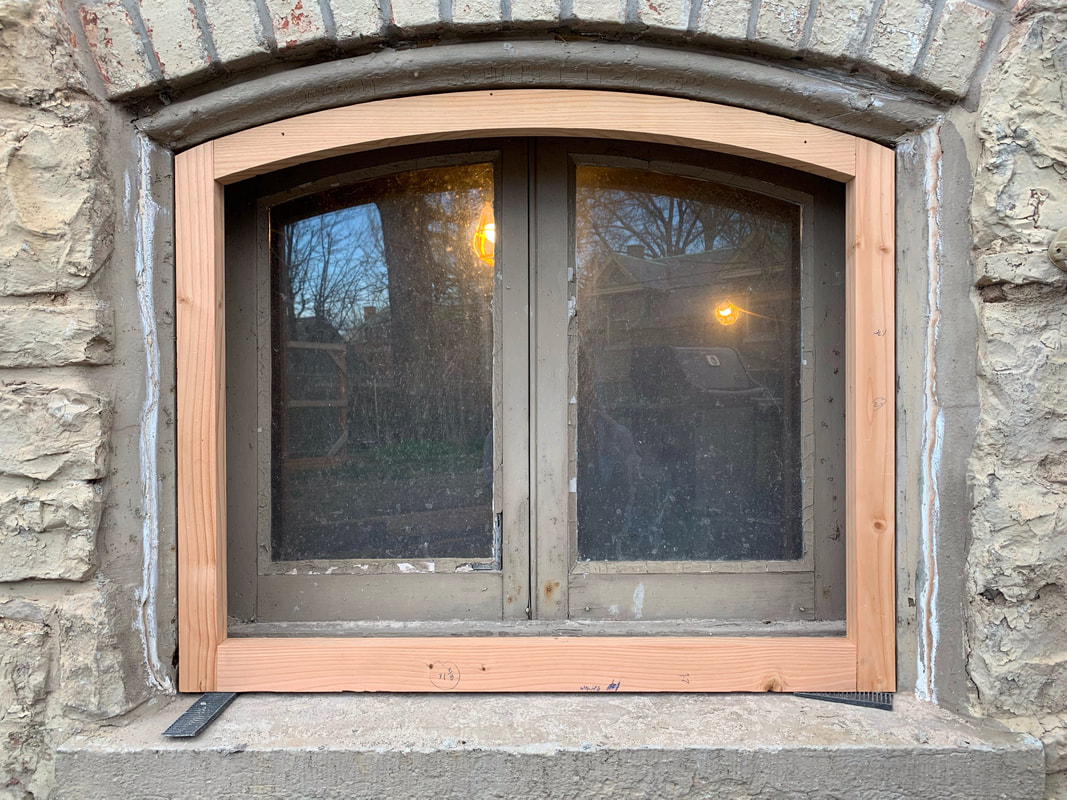 I threw this together using scrap 2x4s, although I did take the time to connect everything with mortise and tenon joinery (dry fit, no glue). It's pretty nice being able to (finally) throw the full dado stack on the table saw arbor, and the hollow chisel mortiser, which is kind of a pain to setup but carves out really nice mortises, worked well. I liked the fit of this one but didn't love some of the lumber widths, so I decided to change some things up with the second mockup. But first, I had to do something to make cutting that top arched piece a little easier. This is the sorry excuse for a jig - I HATE stopping to make jigs mid-project, so I usually don't bother - I used for the first mockup: 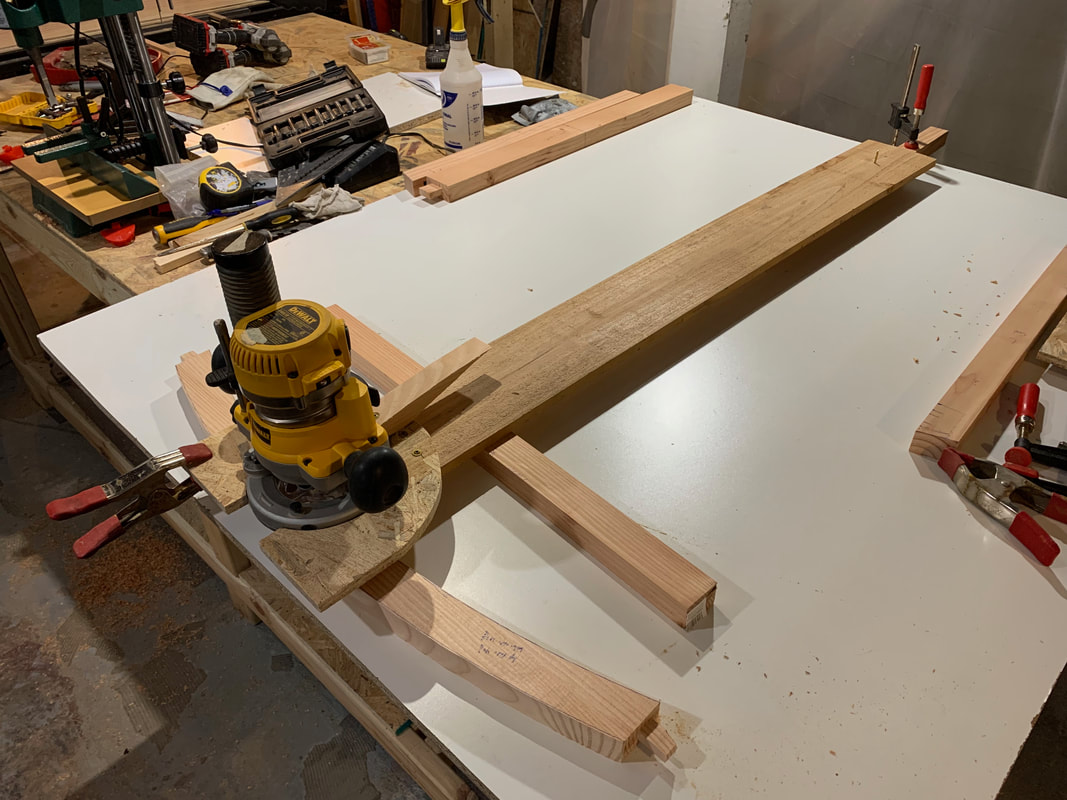 For a quick and dirty effort, it did fine. But the setup took forever, the cut wasn't the best, and it's no good for batching out a bunch of the same pieces over and over and over. Also, for dimensionally small pieces, it's almost always better to pass the work piece across the jointer, not run the jointer across the work piece like this setup required me to do. I needed something better, and a little more formal. I wound up building an extension for the router table, specifically to cut radii in the 4 ft ballpark, which allowed me to make a much steadier, far more repeatable cut. 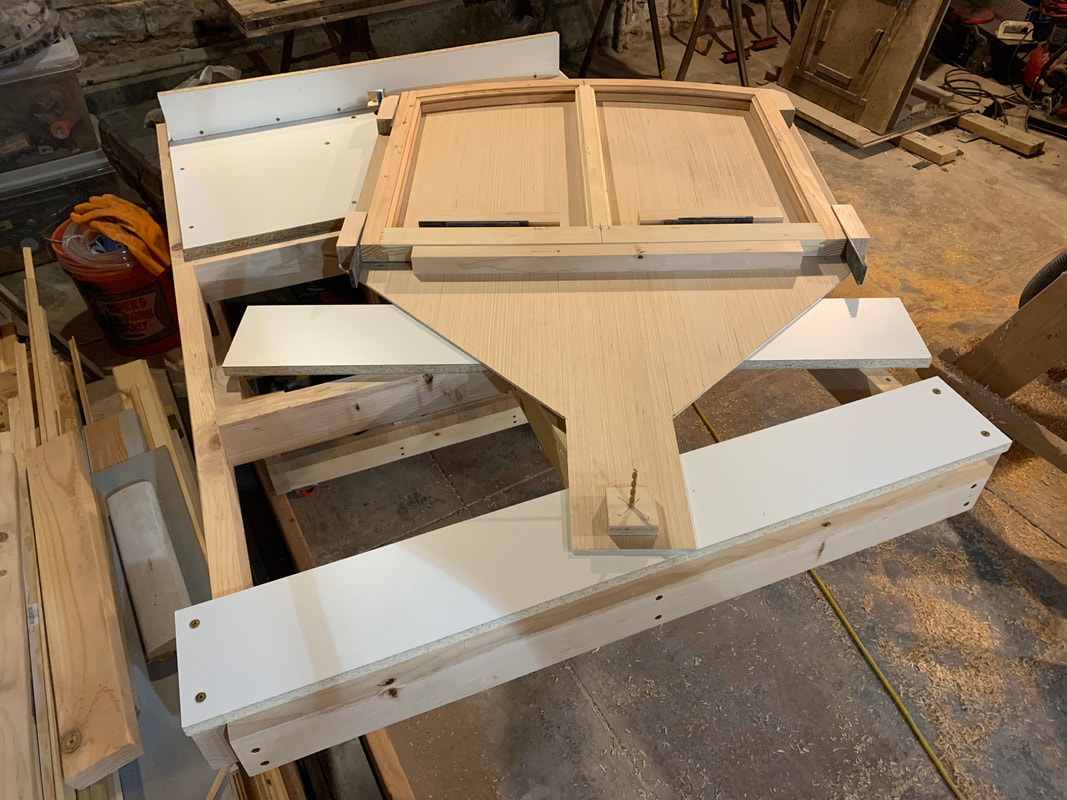 I went ahead and added the a muntin to the second mockup, glued it all together, gave 'er a quick sanding, and did another test fit. My arch math was off by a hair, but I could live with it if I had to. The side you see below - with the decorative, ogee profile - is actually the interior face, but for the sake of the pic, it was the side that needed to be shown. 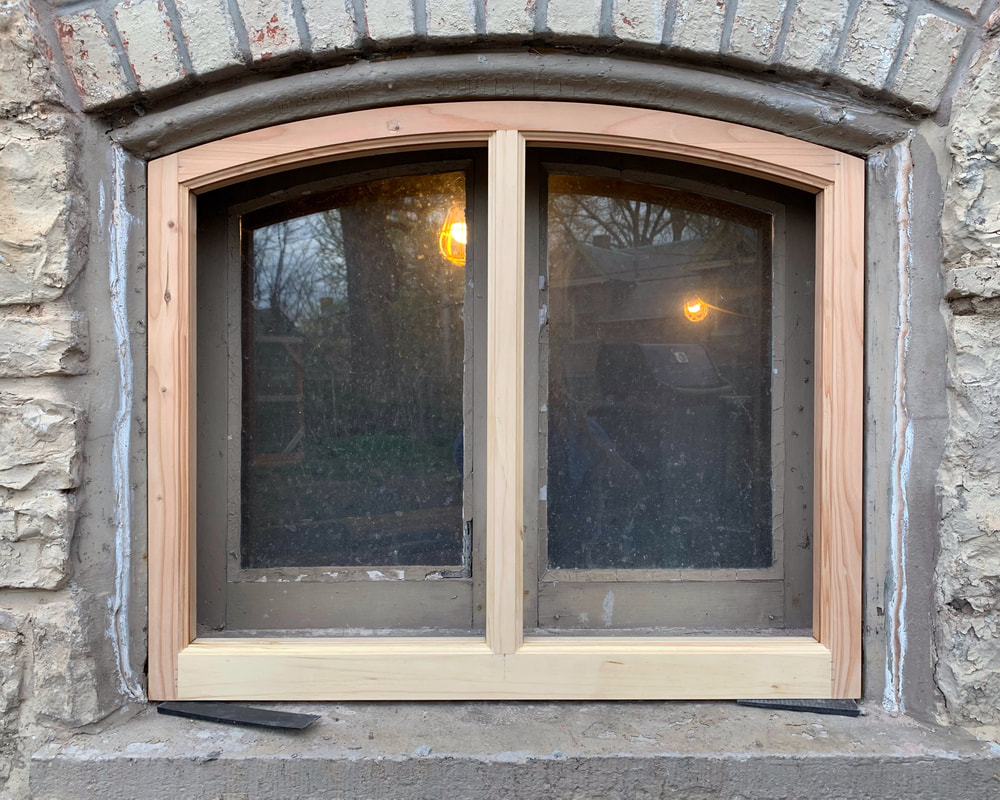 Aside from a few dimensions I need to change a hair, I'd call it a successful build. No major tear out, everything fit together nicely, and now that I have a new (stupid expensive) rail and stile router bit set that'll cut a (hopefully) little more appropriate profile, I can build the windows. Before I get to that point I'm going to address the foundation mortar and wood jambs, but hopefully that won't take too long. And when I haven't been fooling around with the house or yard this year, I've been hanging out with the dogs. Freckles is now 4.5 yrs old, and Farley is 6 months old. Freckles is still high energy and still loves hikes, and walks, and playing fetch. Farley's DNA test says he's 50% great dane, and the rest is a combination of pit bull, mastiff, and bulldog; he's grown and learned quite a bit over the past few months. He, very quickly, went from this:  Forest Park, January 21 To this:  Front porch, March 30 He eats like it's his job, he likes playing fetch almost as much as Freckles, he's got leash-free-hikes pretty well figured out, and he reminds me of Roscoe in a lot of ways. He's still a spazzy puppy - I call him "Little Guy" (Roscoe was "Little Man"), a name he quickly outgrew, albeit one I'll always call him - but he's a total velcro dog, just like Roscoe was.  Farley and me, February 11 As for the current project, I've already started tearing into the exterior foundation mortar. If the weather cooperates I'll get 1/3 of the 3-sided bay at the northeast corner of the house buttoned up this coming weekend, and then it'll be on to the next side. Once all 3 sides are done, it's window time. 2023 was an eventful year. Good eventful, and bad eventful. Seems like the bad eventful portion landed in the back half of the year, which is why I haven't spent much time at the keyboard lately. When the years end and I take a break from house stuff to deal with holidays, cold weather, work, etc., I never feel like I got enough accomplished. But going back through the pics of the different projects I took on kinda refutes that, or at least reminds me that I did about as much as I could. I got the basement cleaned up (although it's a wreck, again) and built an outfeed/assembly table, which I'll need for a critical 2024 project. 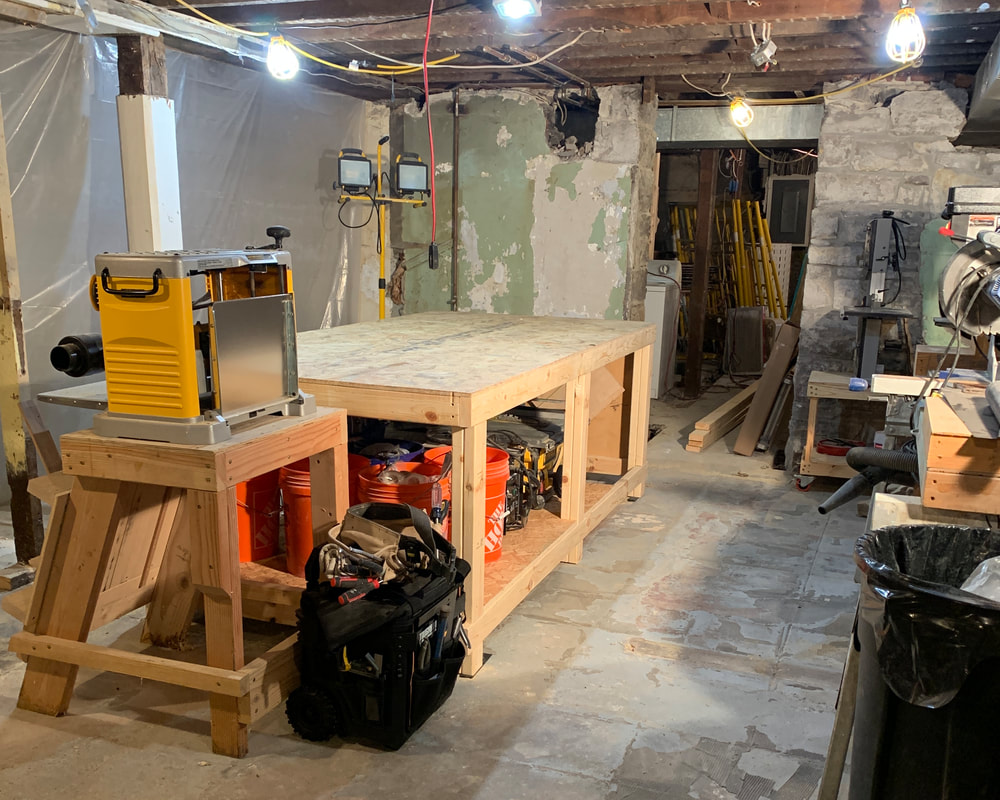 I removed one of the interior panels underneath a window in the front of the house to get some dimensions from the masonry behind it, and rebuilt/repointed the brick while I was there.  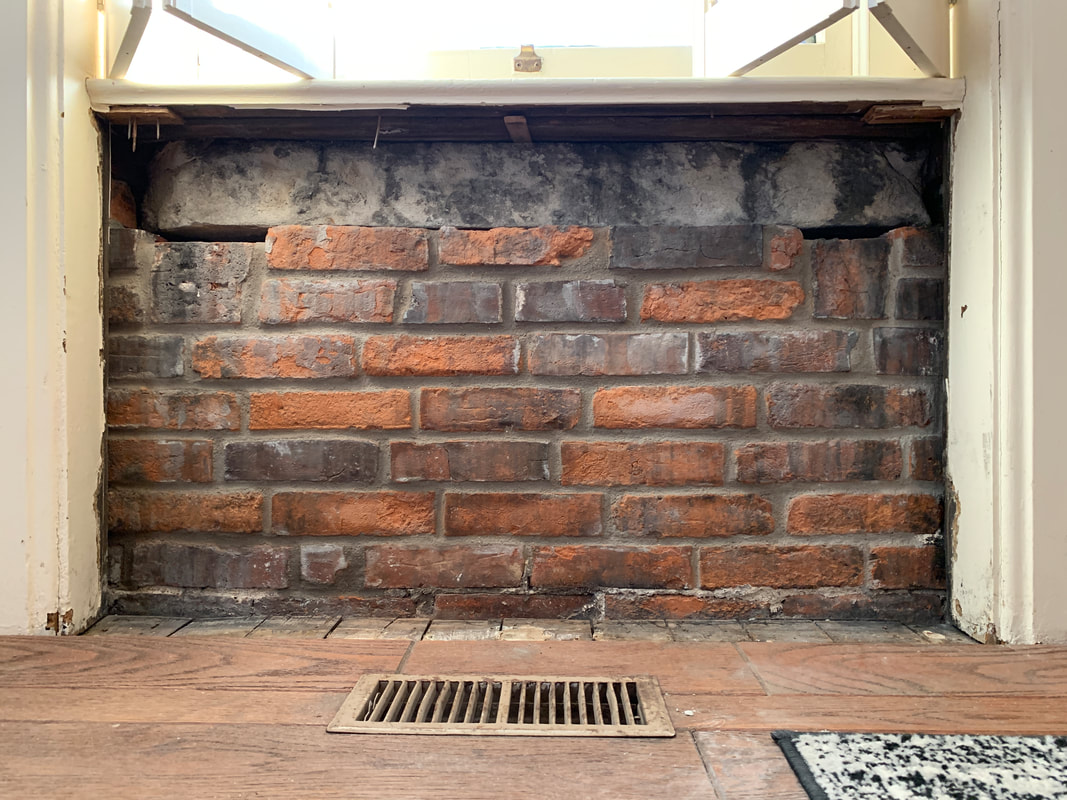 I repointed a bunch of interior basement limestone, always good fallback work when I feel like doin' something but only have a day or two to get anything done. 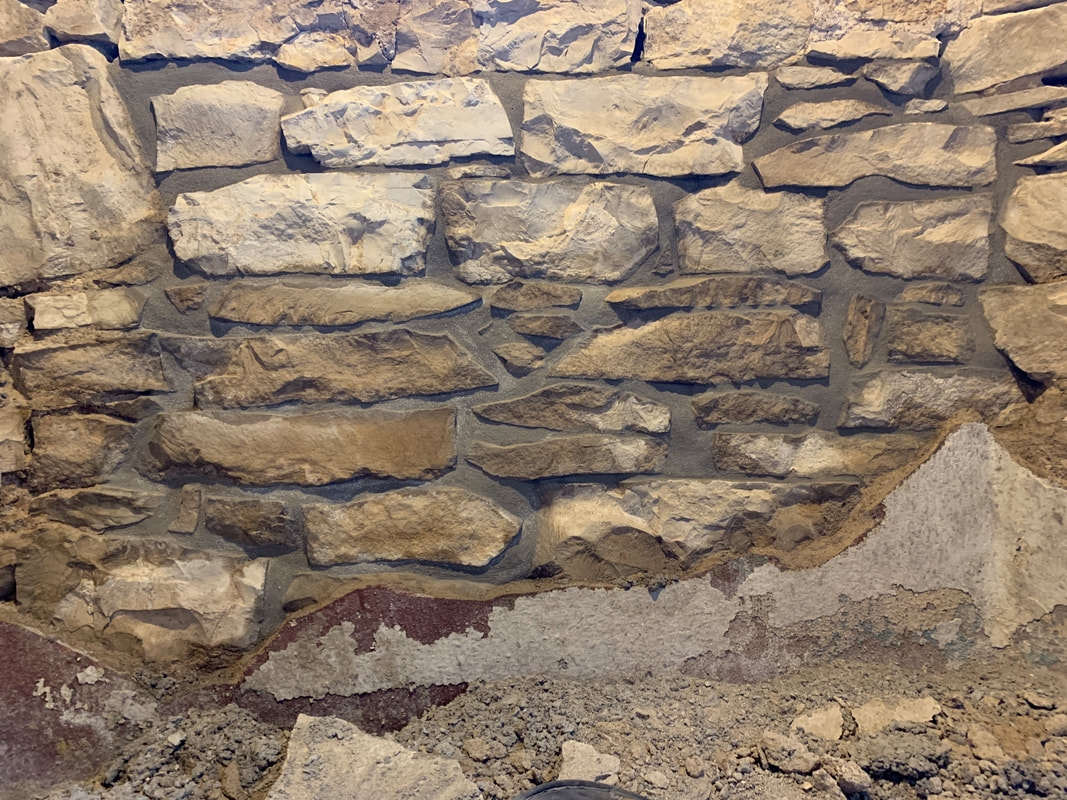 I got the garden constructed, but ultimately discovered that my gardening skills are a lot like a golfer that drives the green in 2...and then 5 putts. Everything grew pretty well, not much turned into edible fruits or vegetables. Tornado-style winds we had every other day for about 6 weeks in the spring and summer didn't help. 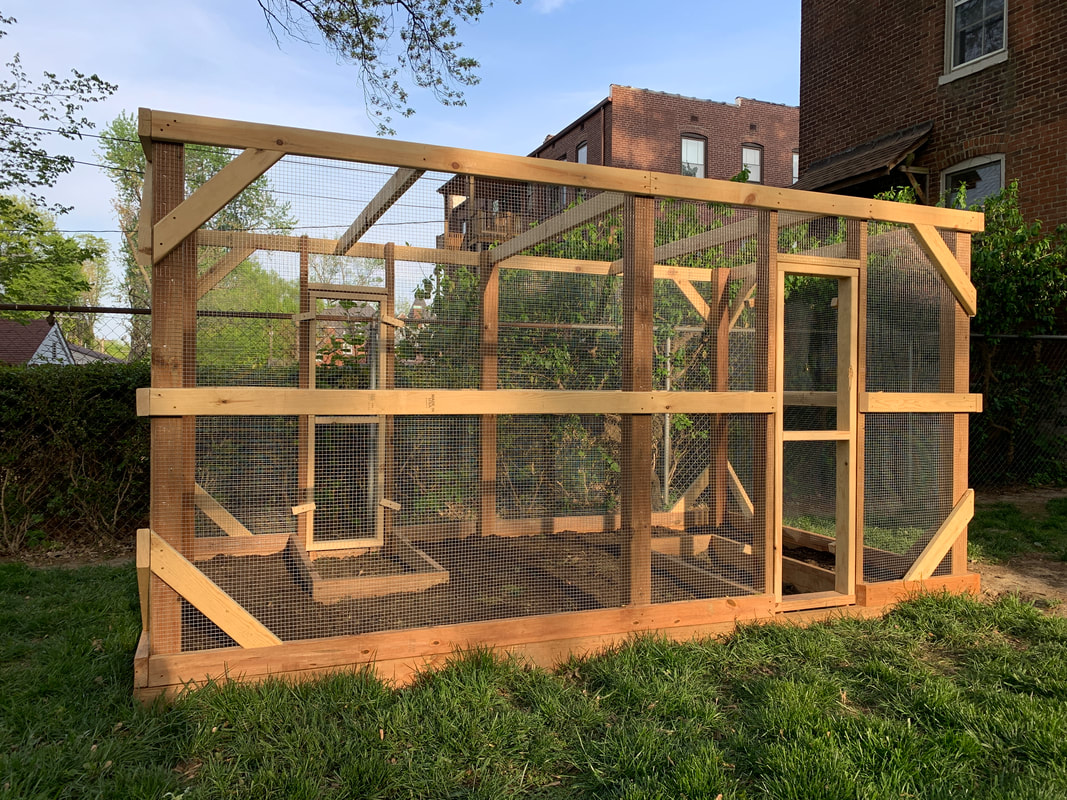 I got the cistern cap demo'd. Left the rest of 'er in the ground because the cap brick - the easiest to get to and tear out - required an absurd amount of effort. Demo'ing the cistern walls, which reach depths of 6+ ft below ground, would have been a complete nightmare. 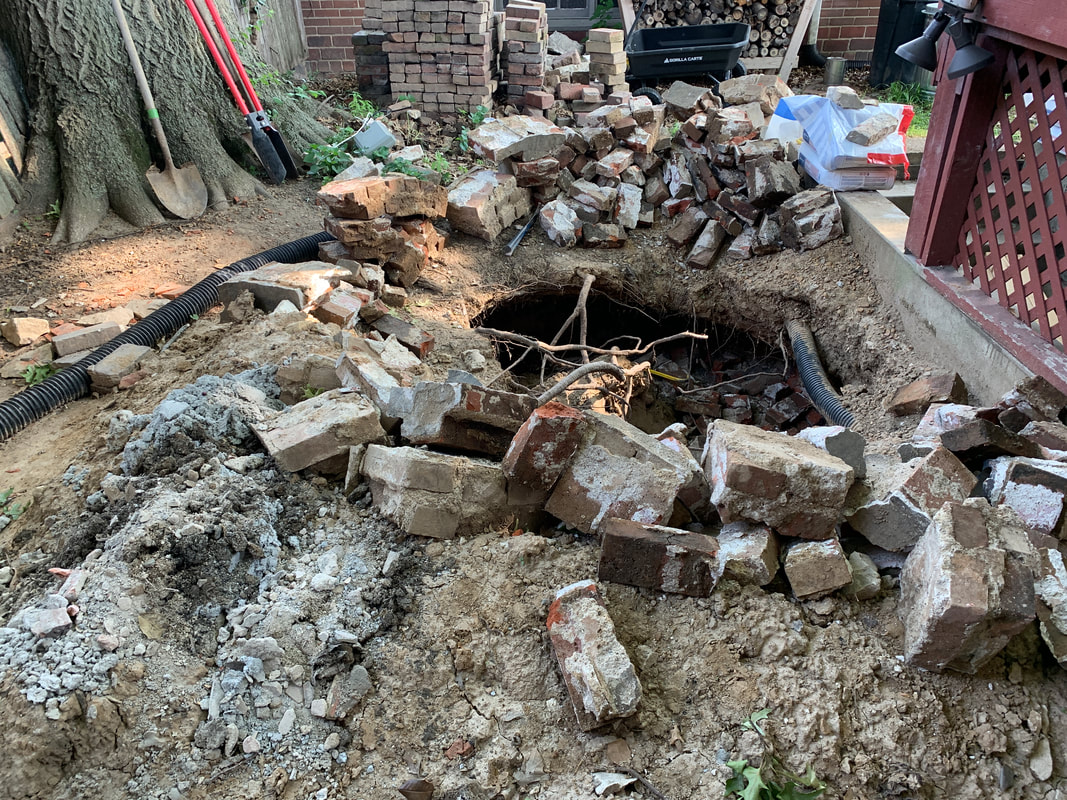 I took care of the neighbor's dog, Molly, Freckle's buddy, for a day. I don't remember getting a whole lot done that day, but fun was had by all.  Roscoe, Molly, and Freckles I repointed the brick under the two bedroom windows. 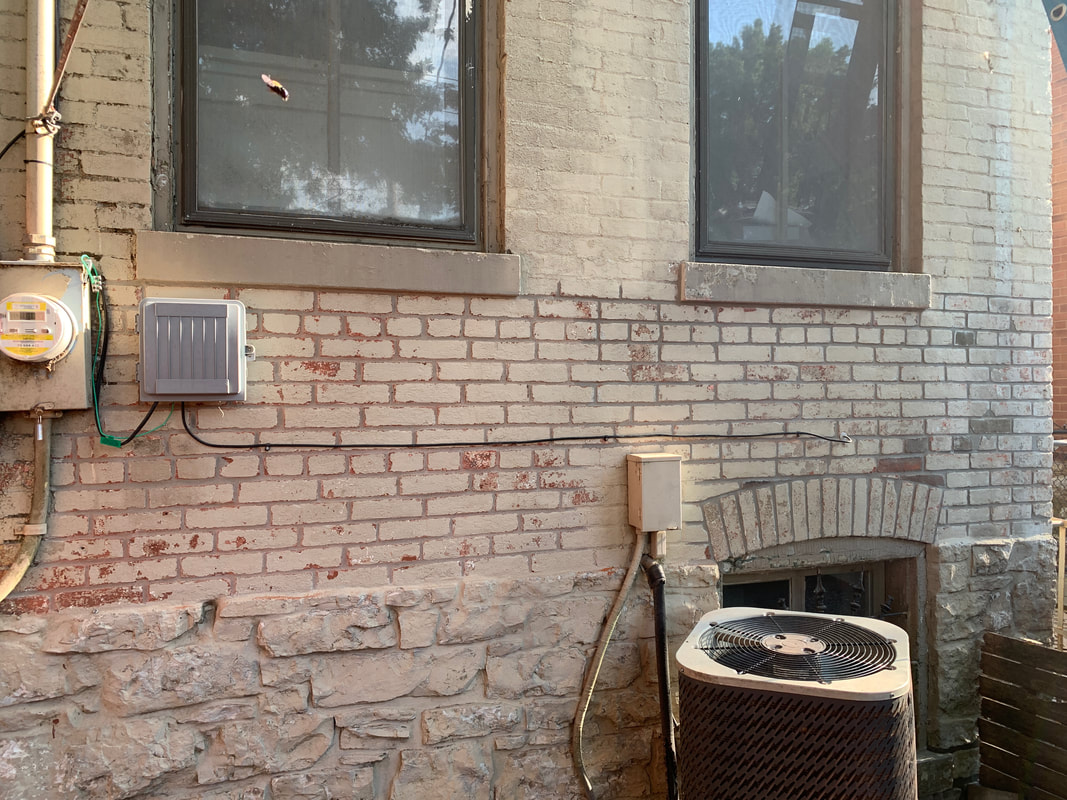 I completely replaced the rotten wood fence between the house and the garage. The 4 ft diameter oak tree bisecting the property line made things a little challenging. 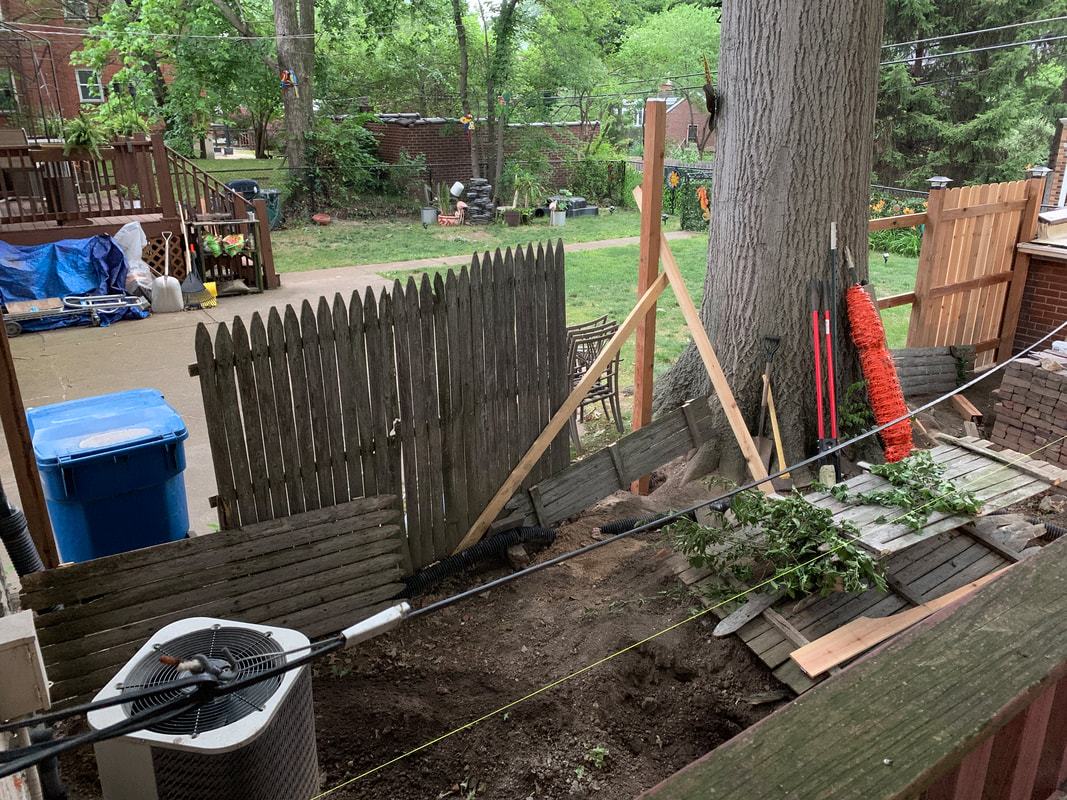 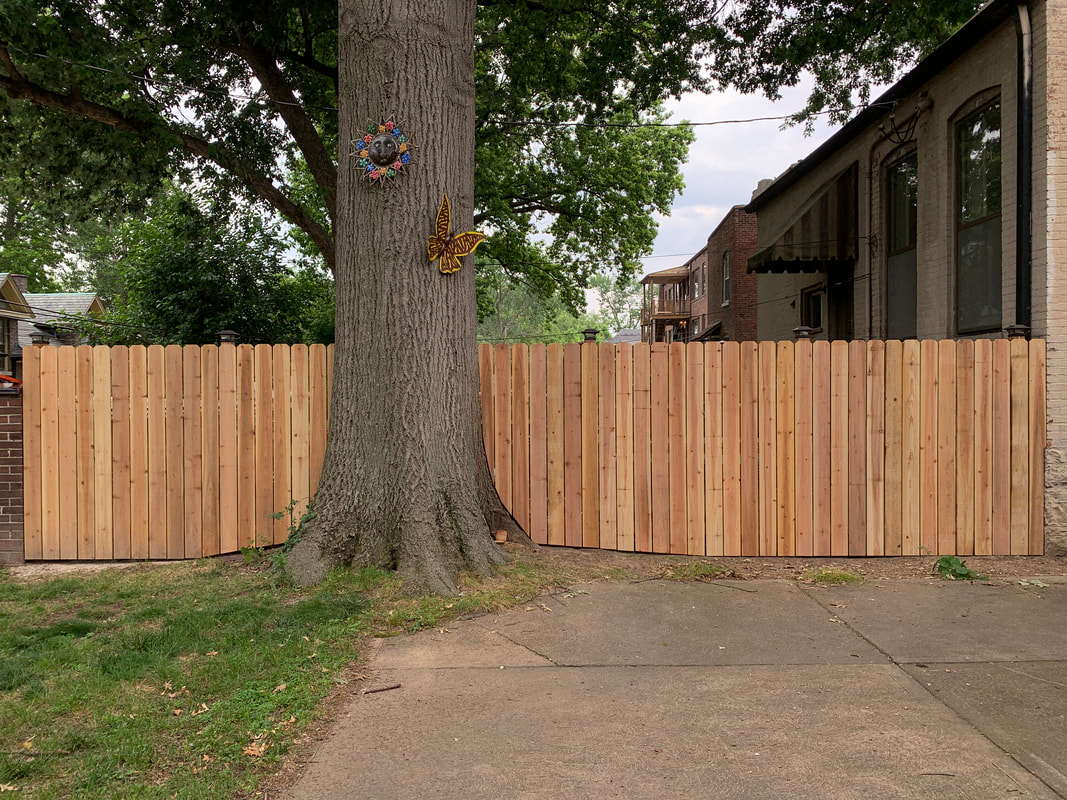 I installed some drain tile in the cistern area of the yard.  I dropped 6 yds of dirt, with an assist from dad, on top of the drain tile and cistern so I could get the right grade to keep water from running towards the house. 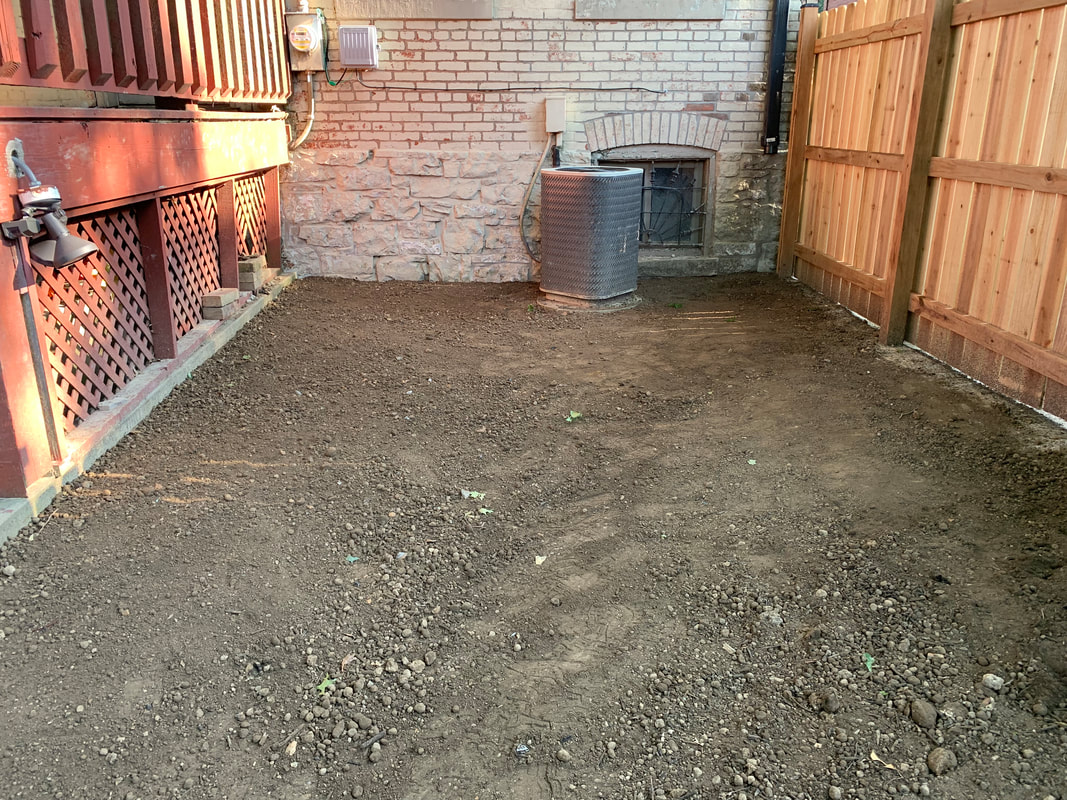 I had to do some seasonal storm cleanup. The cast iron fence and my neighbor's car were both pretty lucky to (mostly) get missed by the beefy maple tree limb that came down.  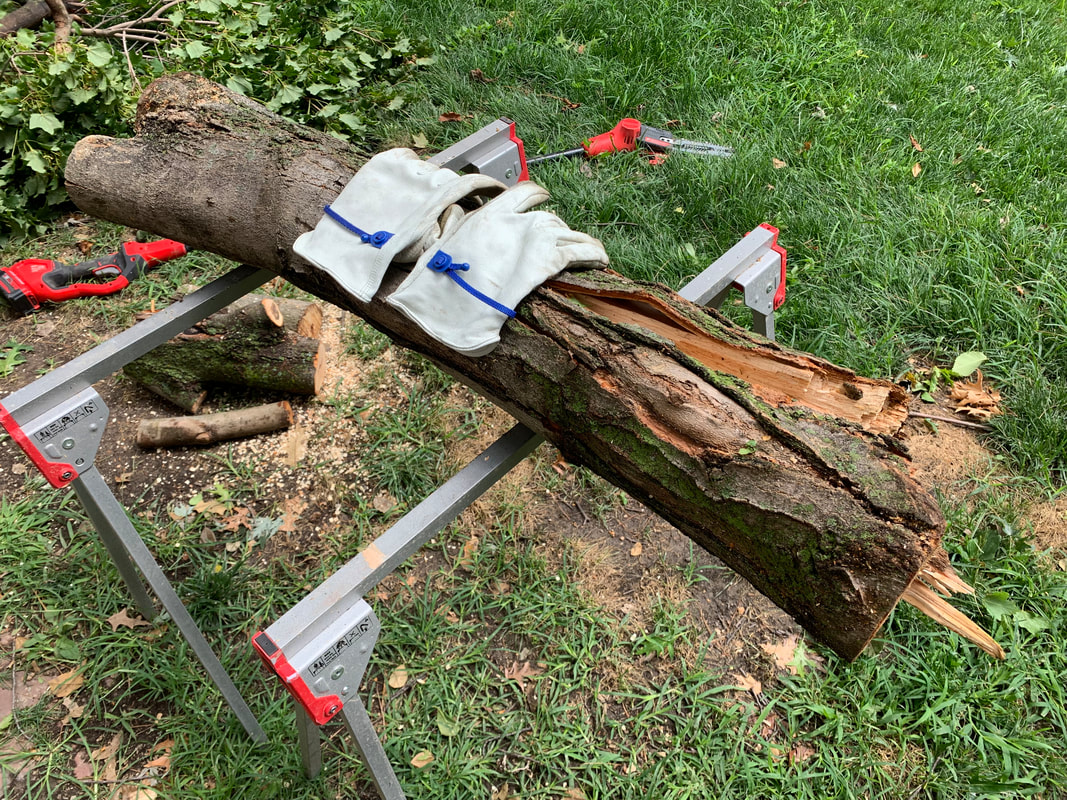 I poured a little concrete pad for my (immeasurably undersized) rain barrel to sit on. I think the pad turned out pretty well, considering it was the first time I'd ever finished concrete. 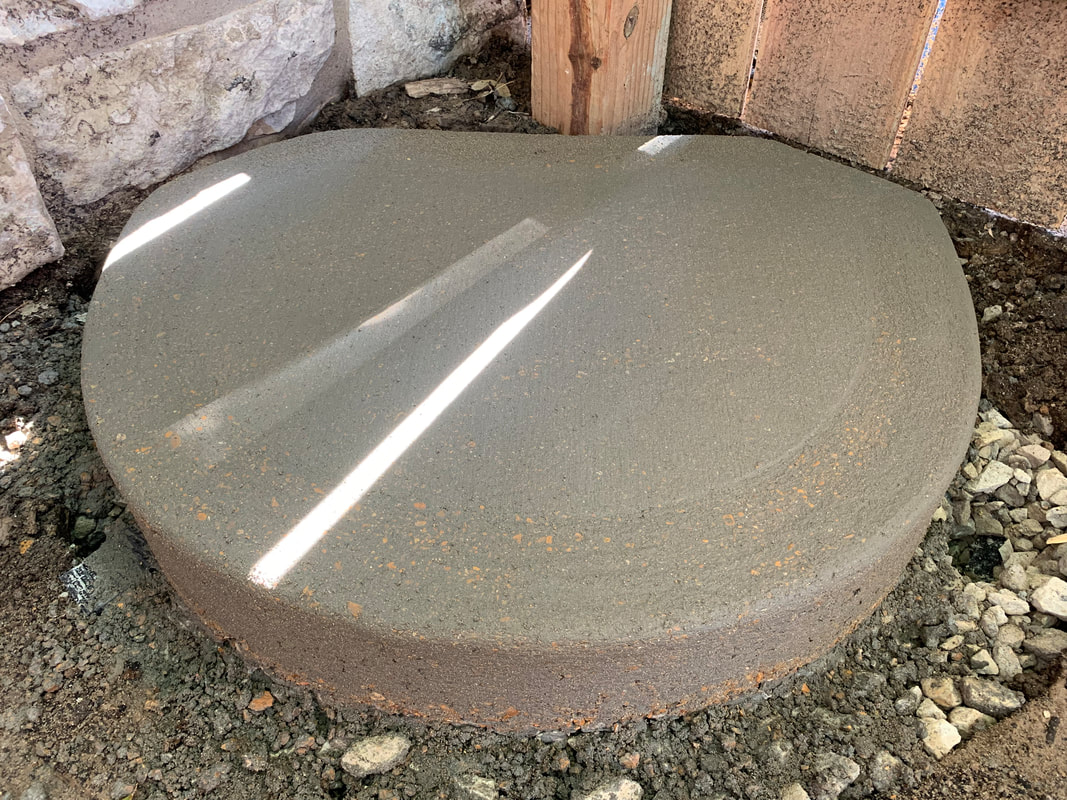 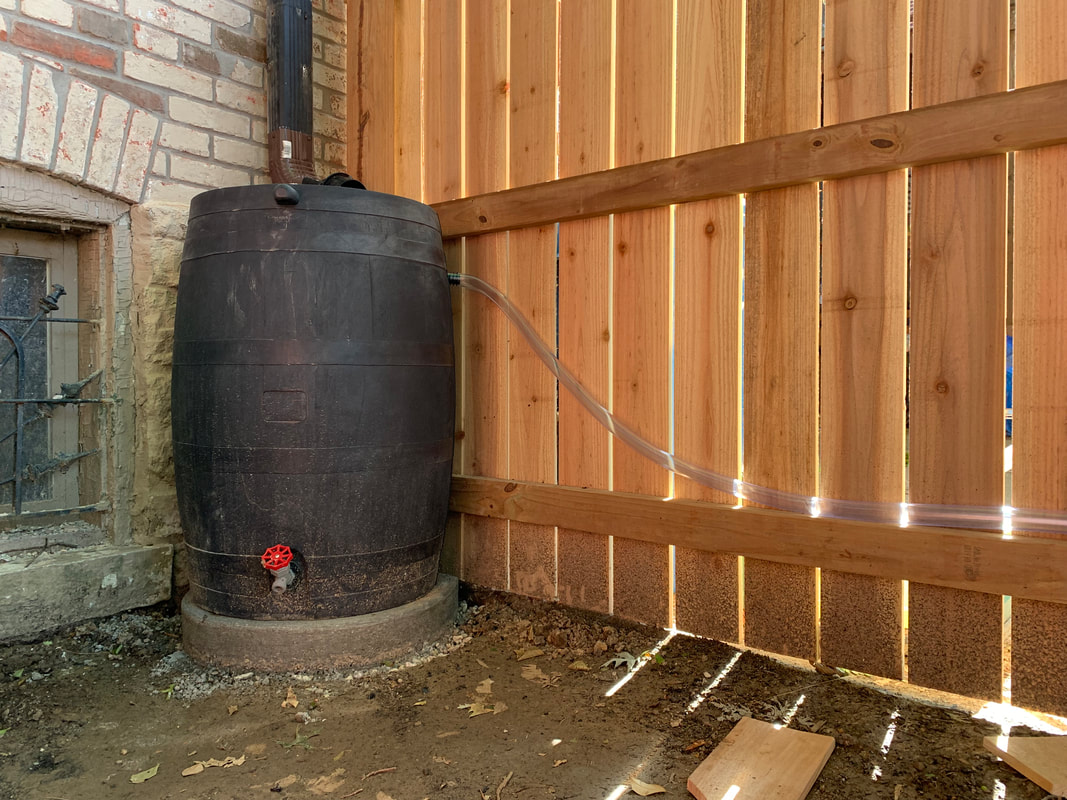 I laid down some sod to finish up the 2023 work in the cistern section of the yard.  I had a lot of fun in the yard with Freckles, and made a lot of fires.
Freckles got to visit a lot of parks; we wound up at Forest Park more than usual, and Freckles wound in the water exactly as usual.    I got the lattice painted and installed under the porch. I don't love it but it's good enough and I'm just happy to be done with it. 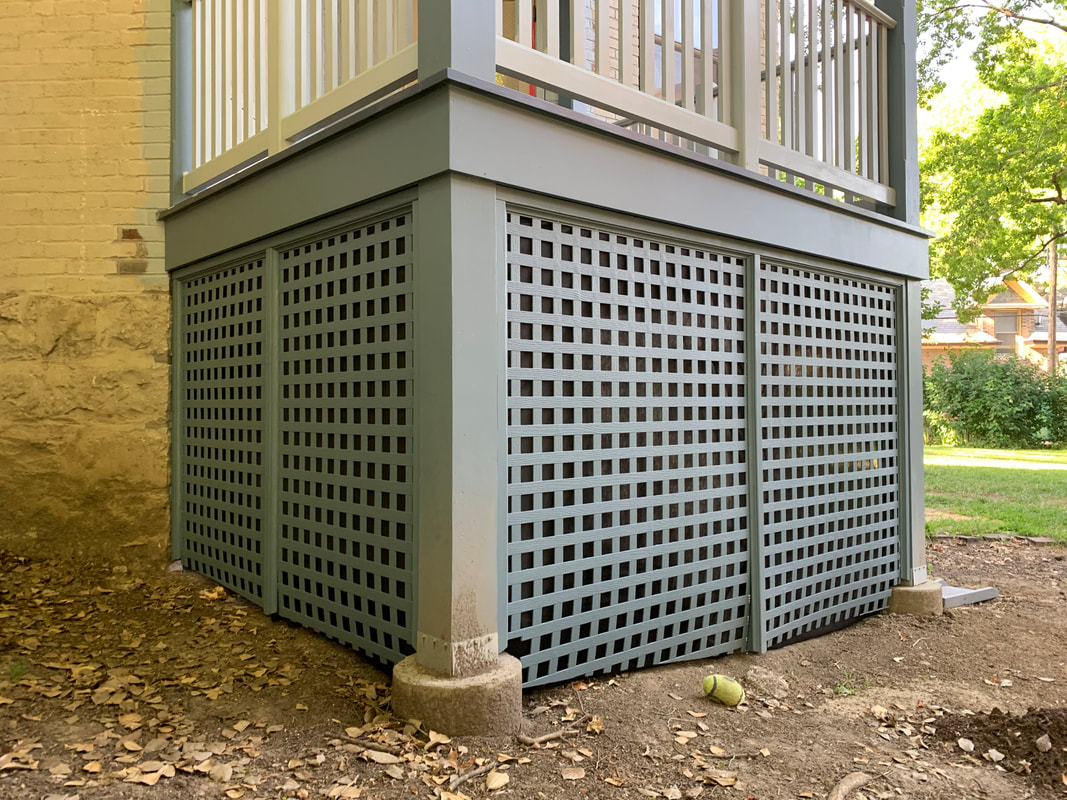 I rebuilt the upper sections of wall on 2 of the 3 sides of the bay at the back of the house. This project definitely took some time, but I'm super happy with how it turned out. Anytime I can button up walls or roof and permanently stop water from getting in, as it's done for who knows how long, that's a victory. 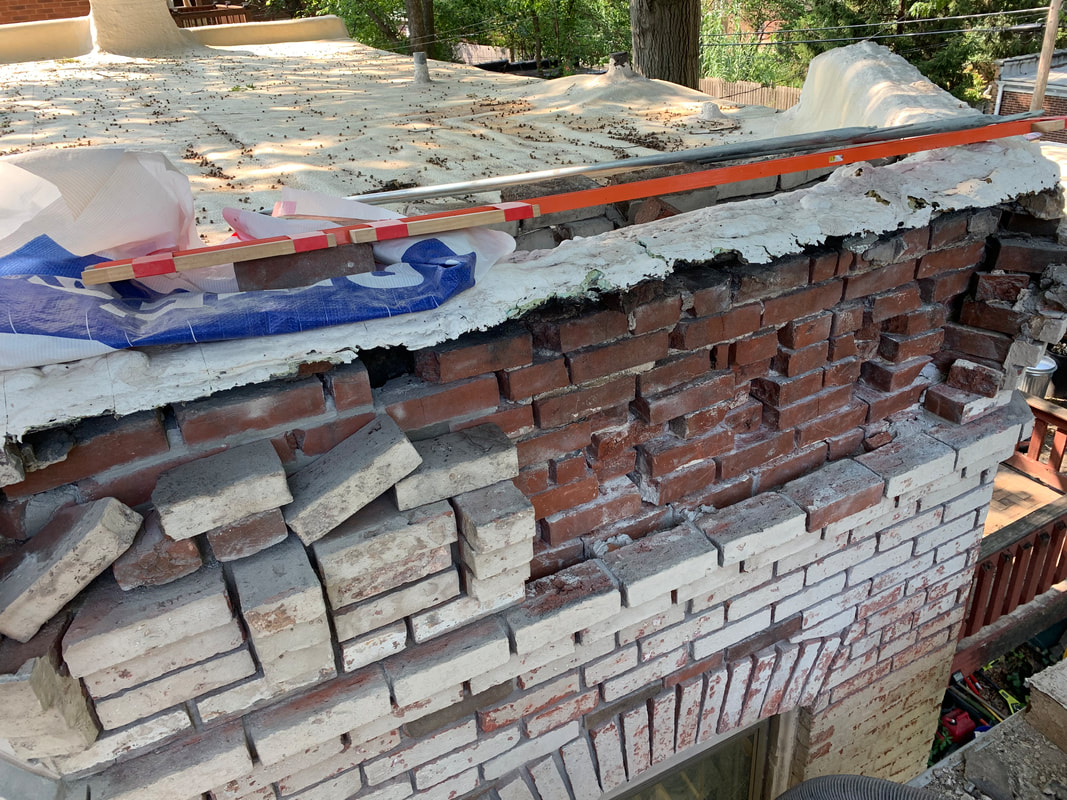 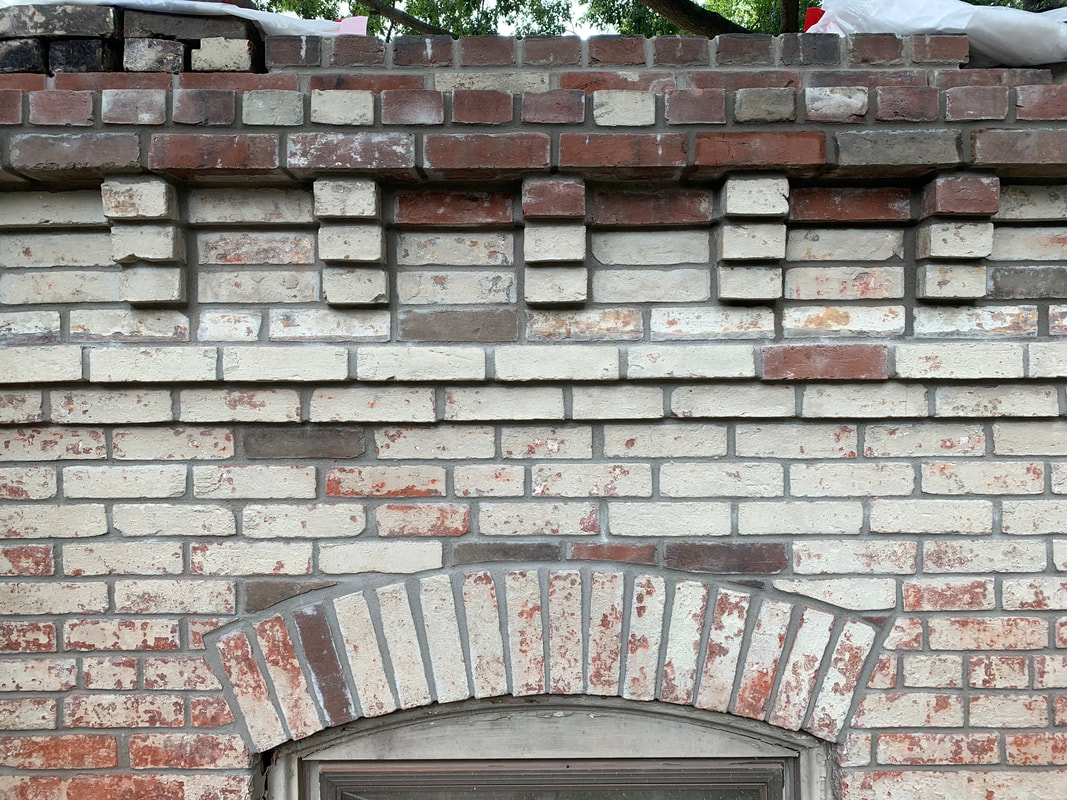 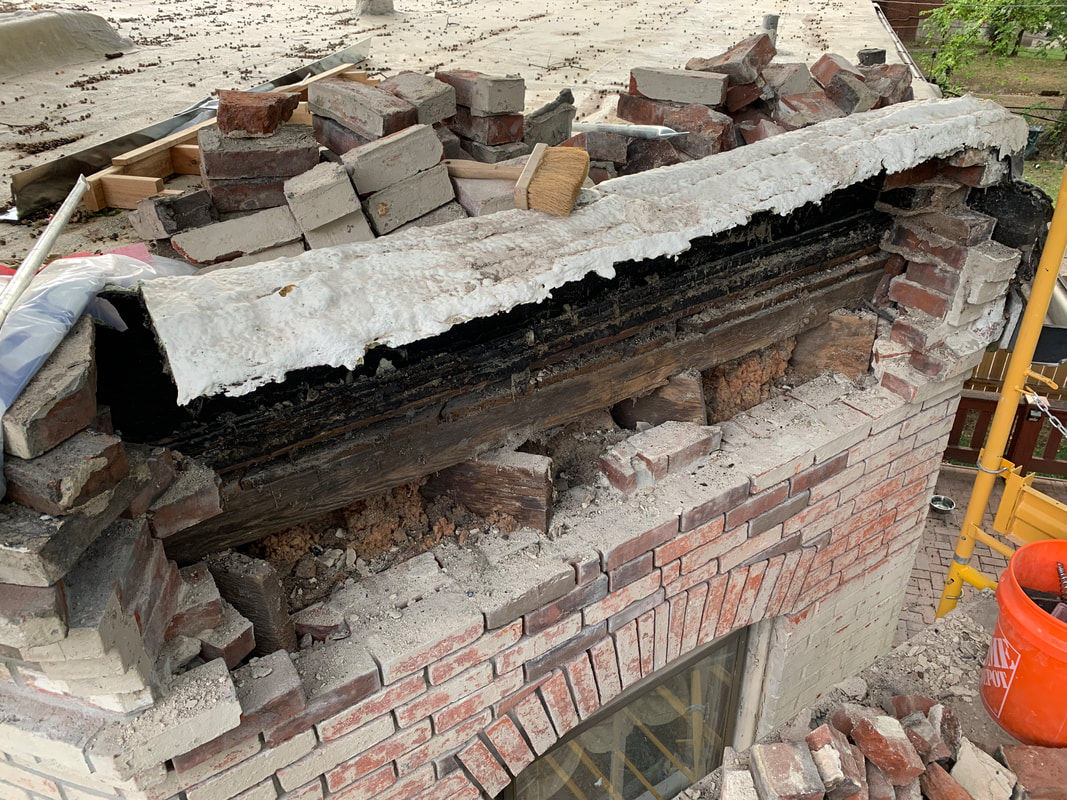 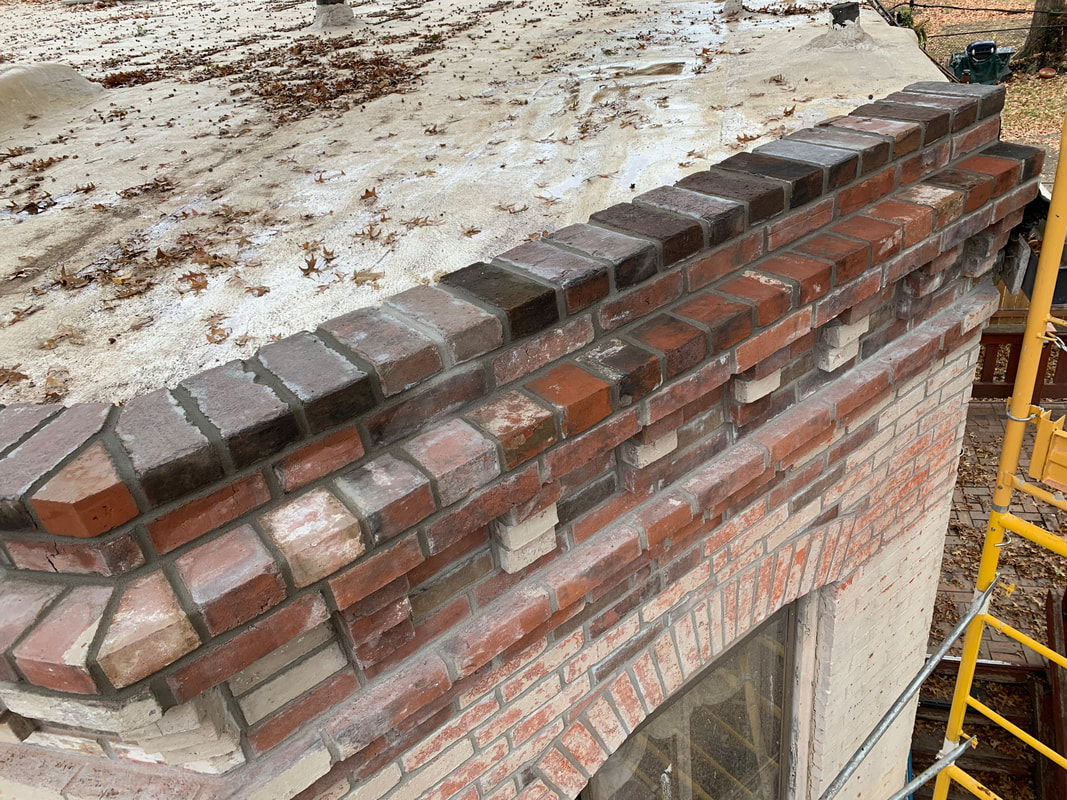 The exterior masonry work was the last noteworthy house accomplishment in 2023. Looking back on it, I guess I got a few things knocked out. No "big" sexy projects, but several smaller jobs that really needed to be done. I lost some steam towards the end of the year; some of it was due to burnout, most of it was due to loss. In late June, my last living grandparent - Grandpa Martinez - passed away.  Pic is prob 10+ years old, but that's me with my brothers and Grandpa On September 22nd, after 14.5 years together, I had to say goodbye to my best buddy Roscoe. 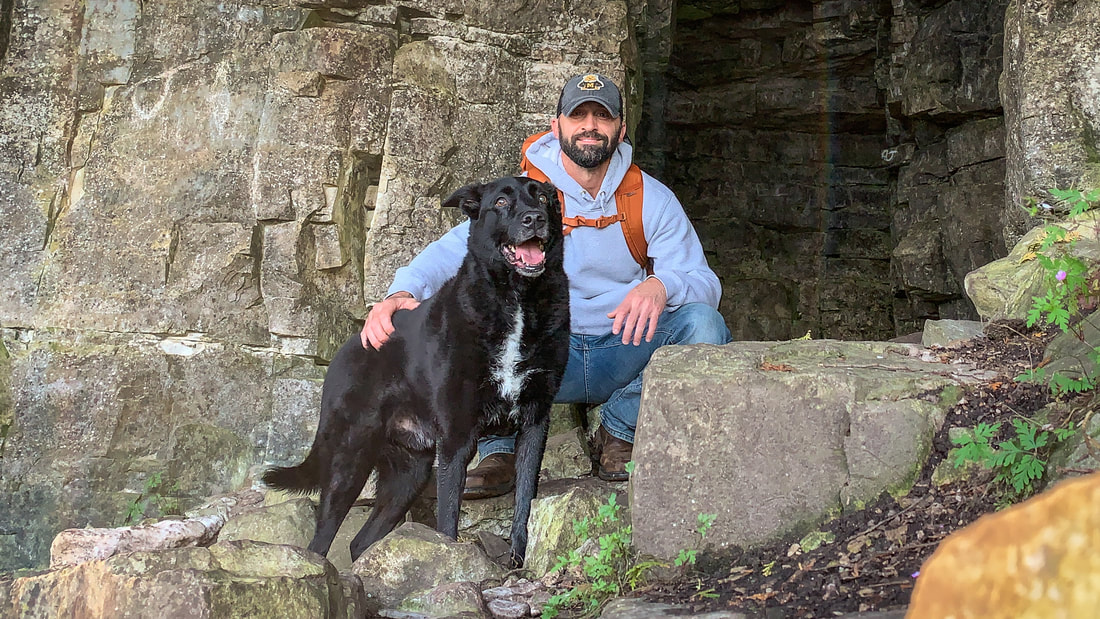 After letting the sting of that loss subside a little bit, on December 17th I adopted a puppy and named him Fargo.  He was a tiny little guy, just like my other dogs when I adopted them. Unfortunately, Fargo had been exposed to parvo - unbeknownst to me - right before I brought him home. He got sick pretty soon thereafter and by the time I got him to an animal hospital it was too late. Little Fargo passed away on December 22nd. That one stung, somehow, just as much as losing Roscoe. But...in the final days of 2023, I adopted another dog and named him Farley.  All signs point to him being a big, big boy someday but right now he's a little velcro pup.  And last but certainly not least, some of the lack of progress on the house could be attributed to the weekend time I spent adventuring with the dogs, which I wouldn't trade for the world. With Roscoe's condition and Freckles being more of an athlete than a hiker, we didn't get out as much as we have in prior years but we still got out a fair amount.  Roscoe's 14th birthday hike in early February; this was his last time standing in his favorite river  Roscoe's 14th birthday hike in early February; Roscoe and Freckles "posing"
 Late August hike; as usual, Freckles didn't hesitate to jump in the river  Late August hike; Roscoe's final adventure  September 22nd, the day Roscoe died; we honored Roscoe by hiking his favorite trails  September 22nd, the day Roscoe died; as usual, Freckles found some water  Freckles' 4th birthday hike, early October
That was 2023. Up next -- the plans for 2024. They're probably a little too ambitious, but I don't know any other way to do it... What a year. New job. Grandpa passed away. Roscoe passed away. Met some very young family members for the first time. Life is exhausting when it's filled, almost exclusively, with alternating highs and lows. Life is also exhausting when one's free time is spent climbing up and down scaffolding, which is all I've done for the past few months. That said, I'm done dealing with exterior brick for the year and I'm pretty happy with how the most recent parapet rebuild turned out. The wall I just redid is at the back end of the house, where the 3-sided bay meets the rear wall. It wasn't the worst of the walls but it was close: cracked and missing mortar, shoddy previous repointing work, sagging brick courses, delamination, vegetation growing out of the wall, and the top, where the roof membrane ran up the parapet and capped the wall...what a nightmare. This is what it looked like:  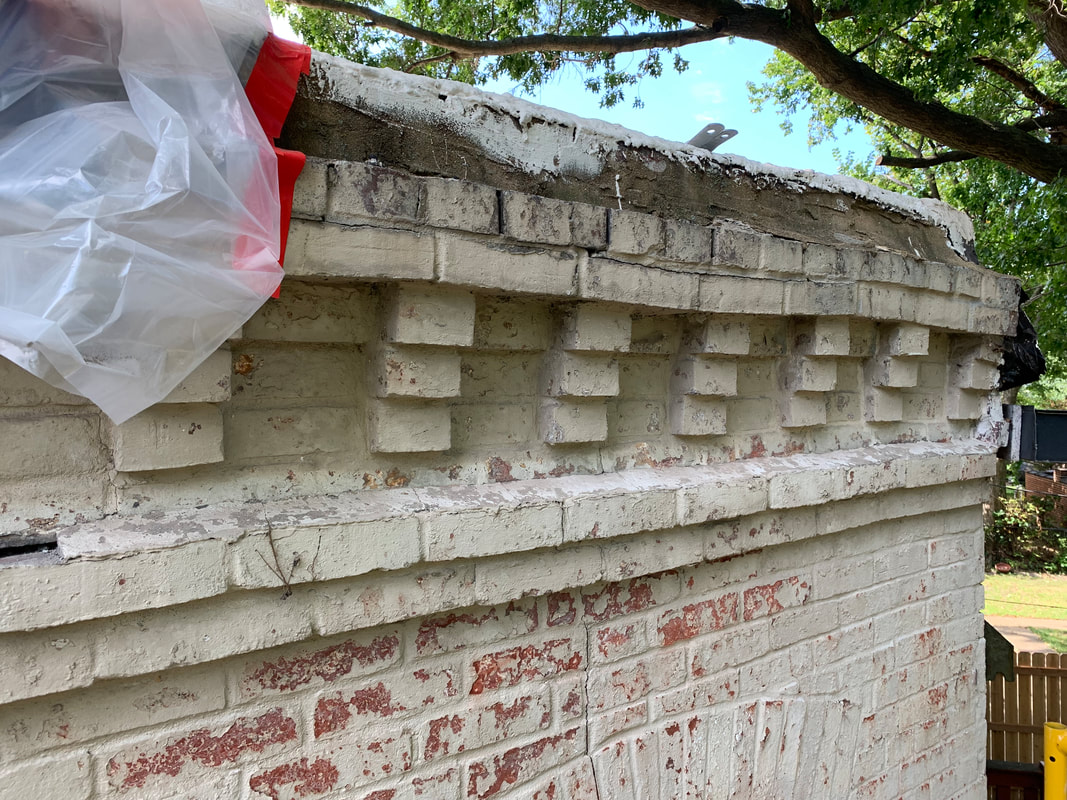 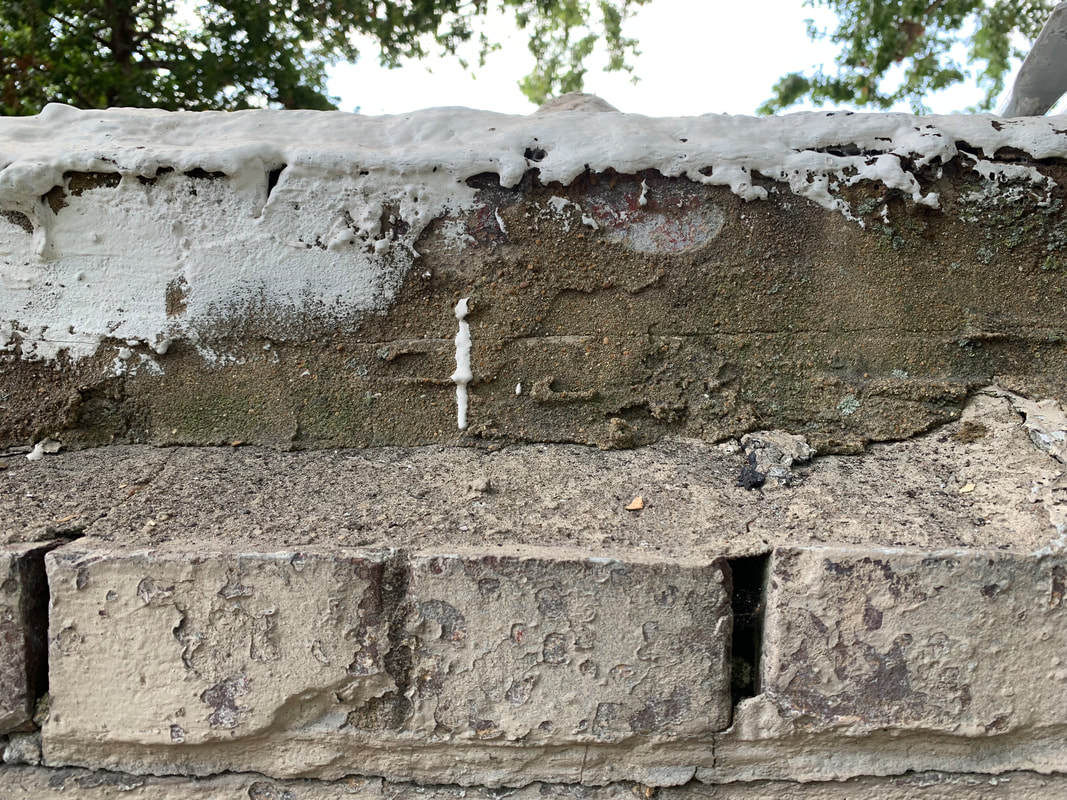 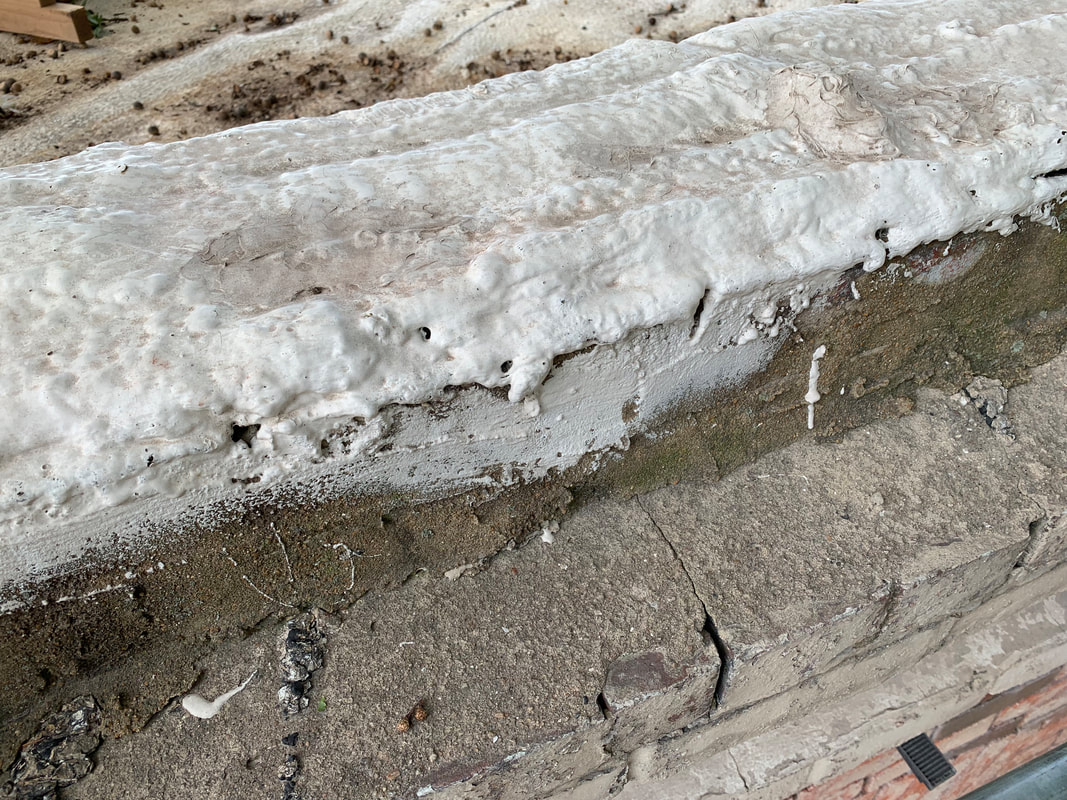 Looks awful, right? Not to mention all the water (and things with legs, and wings) it was letting in, and probably had been for many, many years. The rebuild went pretty much like all the others have. I started by removing mortar from the solid bricks on either side of the arch. 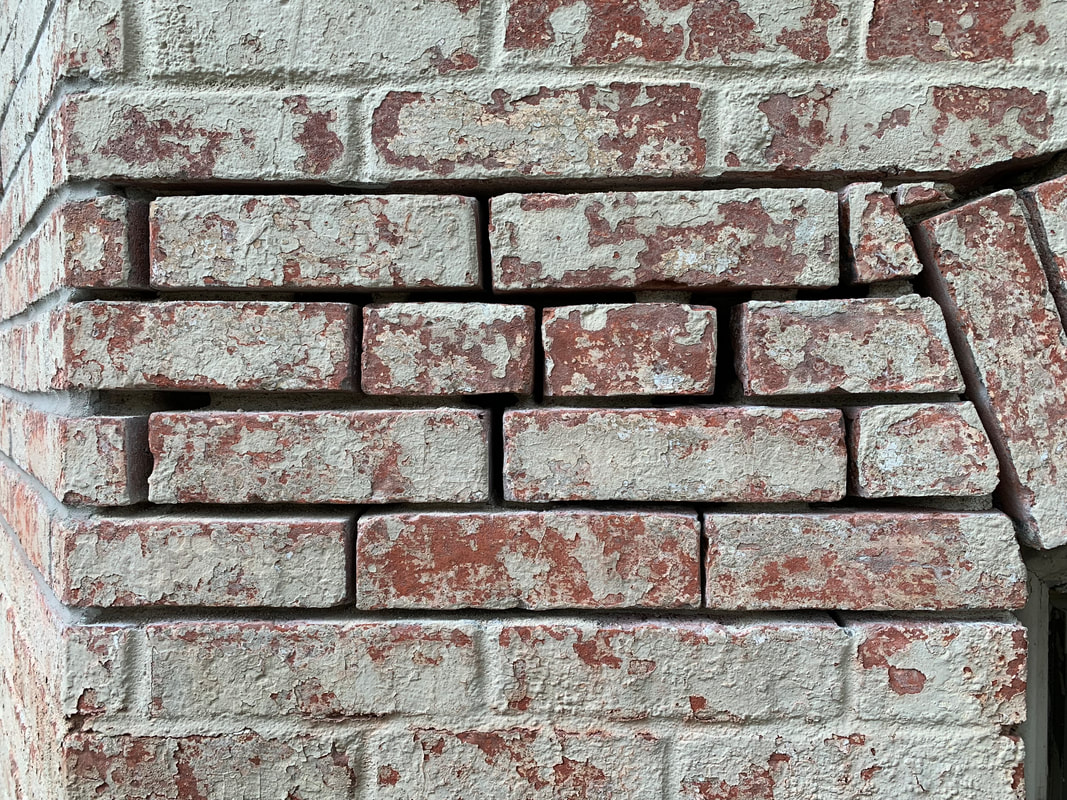 Then I stuffed fresh mortar into the joints, just enough to hold everything together, and tiptoed my way through a full arch rebuild. 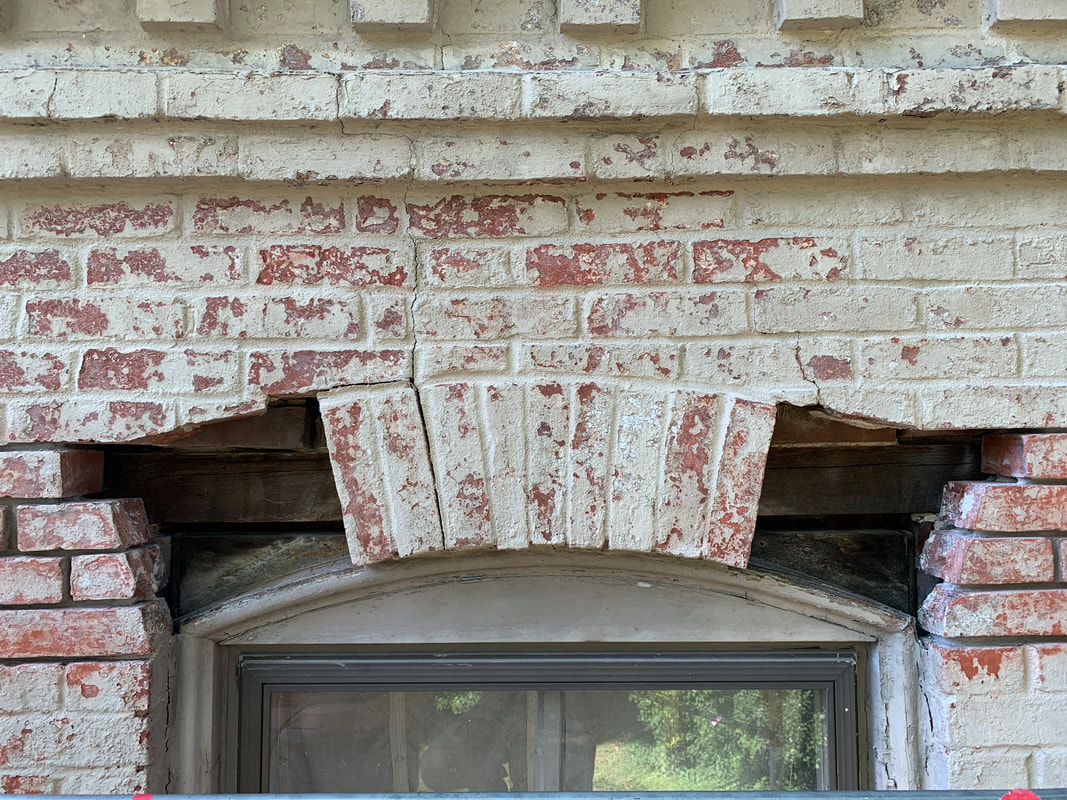 The arches are critical to the wall's structural integrity and without building a bunch of temporary forms and shoring - which I never want to take the time to do - the only way to tackle the job is to work small sections at a time. But once the arch is done, things get a little easier. Also, an angle grinder comes in handy for retroactive precision on the bricks above the arch when my original cut, done by eyeballing the curvature, isn't real good. 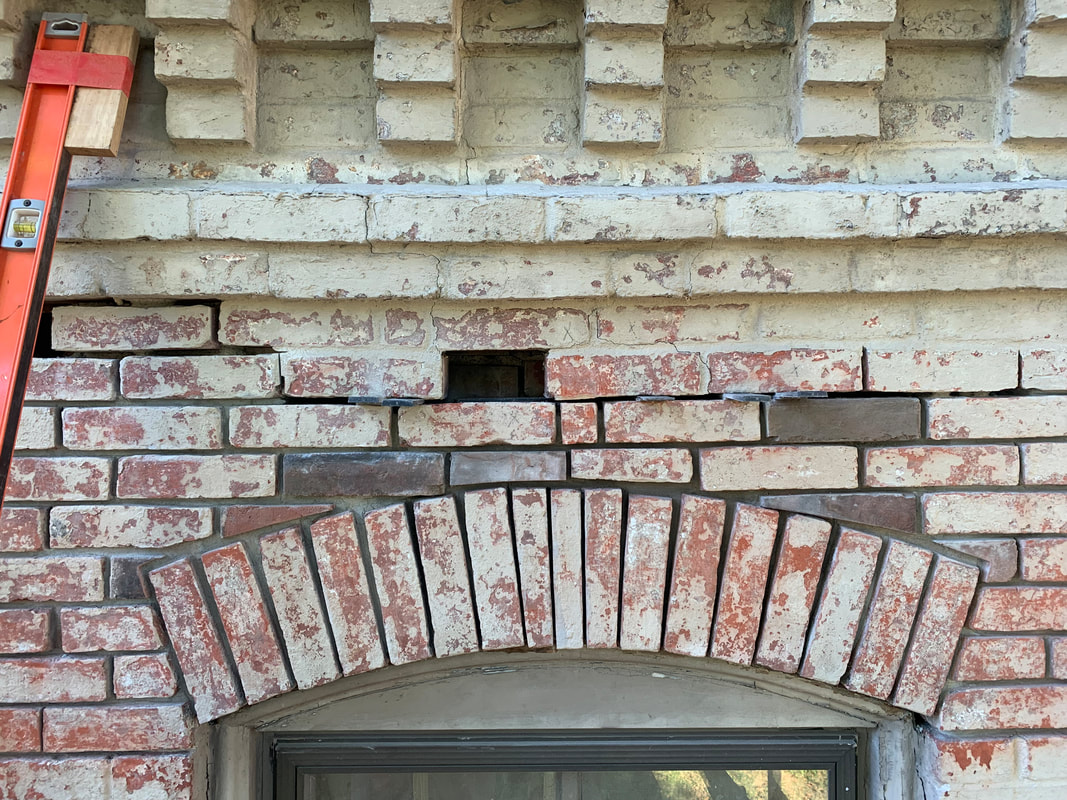 Once I got to the parapet (the part of the wall that sticks above the roof) of the previous wall, I only tore out the outer wythe. This time, I tore out both wythes from the lower cornice - those 2 lower rows of protruding brick - up. 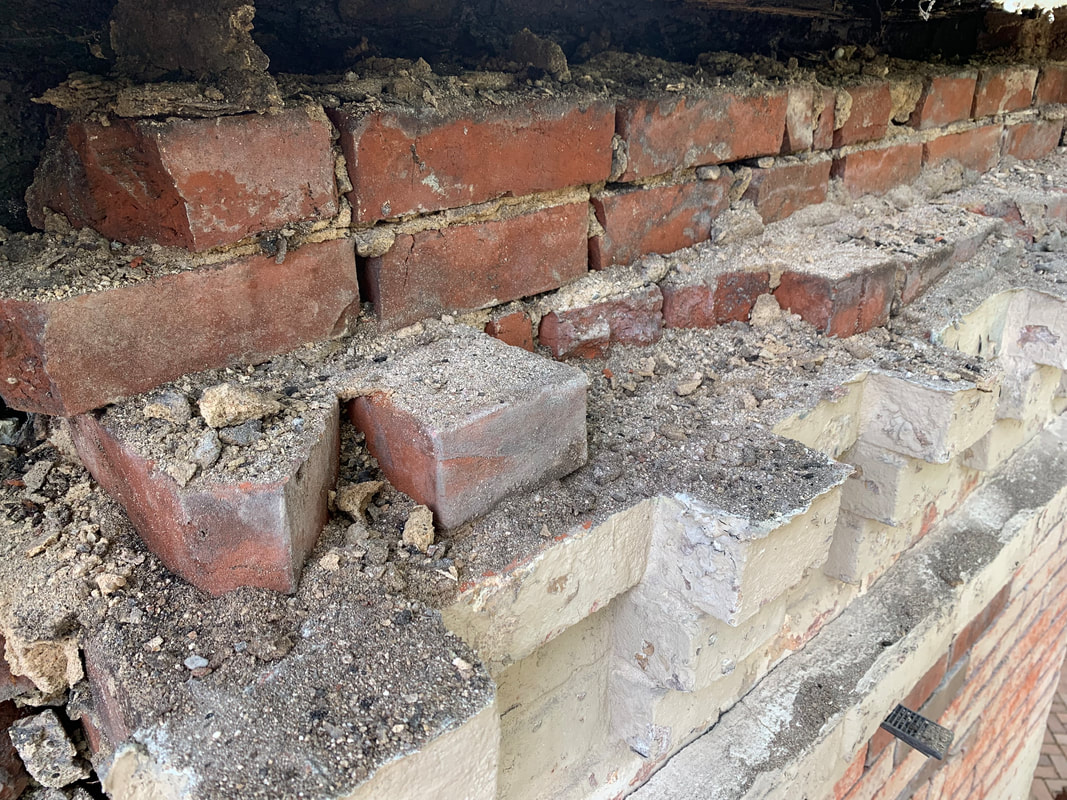 Zero tools were used, or required, for the demolition. I literally pulled everything apart with my hands. Brick walls aren't supposed to come apart that easily. 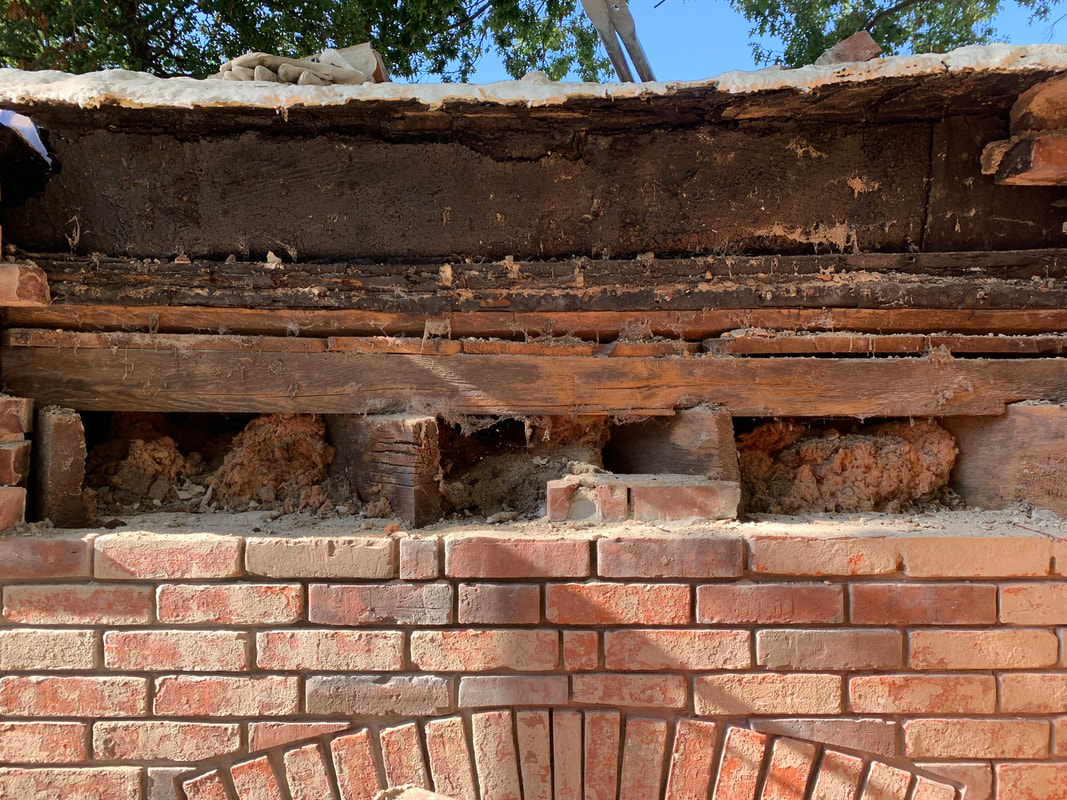 Fortunately the weather cooperated with me and I didn't have to worry about covering up the gaping hole in the side of my house too often. From this point on all I had to do was stack brick and keep everything level and plumb, which was halfway easy with the big open space to work in. 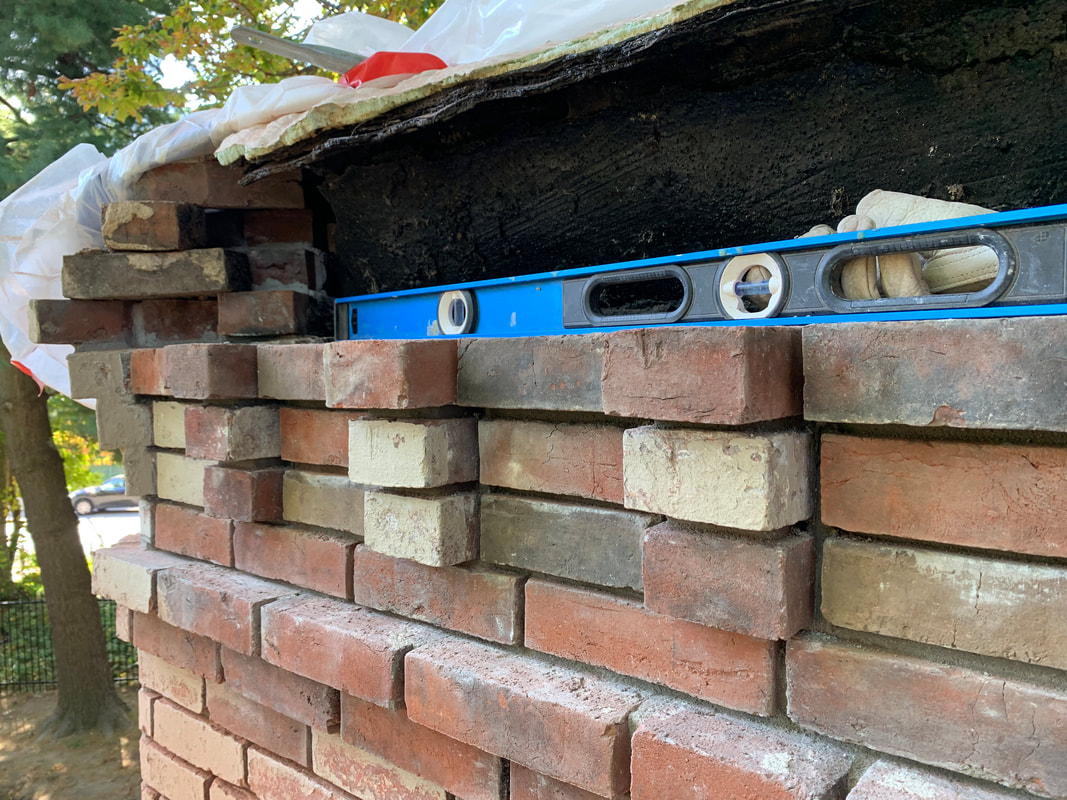 I reused the form from the previous wall rebuild to temporarily support the lower bricks of the upper cornice; they don't overlap a whole lot of the course below them and until they're all mortared in, it's a precarious setup. The form not only helps support the bricks while the mortar cures, it also gives me a straight edge to help with brick alignment. 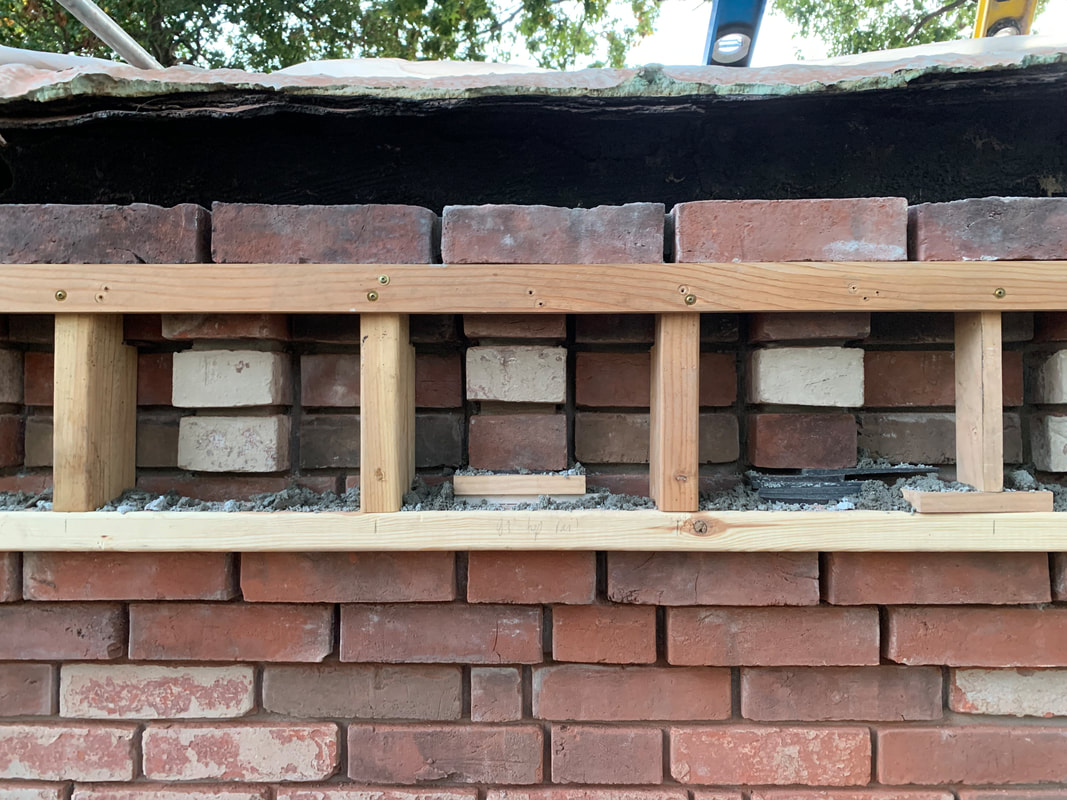 I didn't take any pics of the roof flashing because it's pretty boring, laborious work. But I was able to install some metal flashing, under the top brick course, that folds over the roof membrane. The roof corners were tricky - I had to get out the heat gun and kinda force the roof to fit the new wall (the roof previously fit the old wall, which was all wonky and leaning and not right in any way) - due to the 10+ layers of roofing material, but the heat and a little silicon roof patching as needed did the job just fine. This is the finished product. 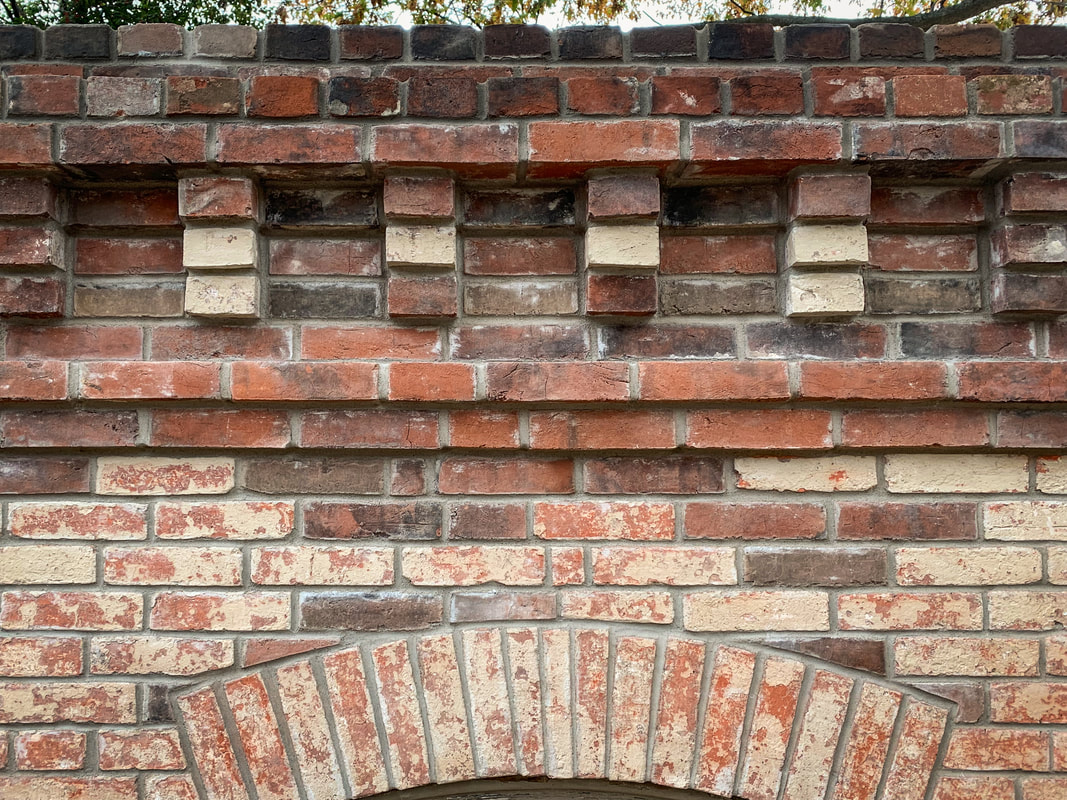  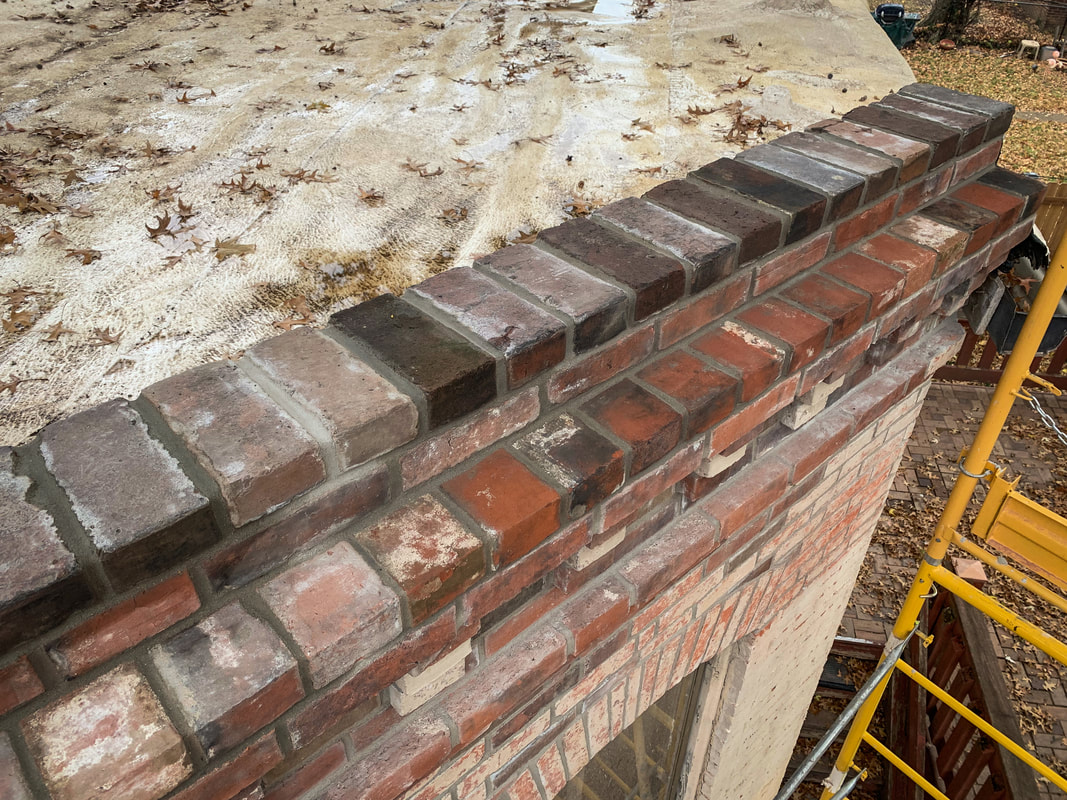 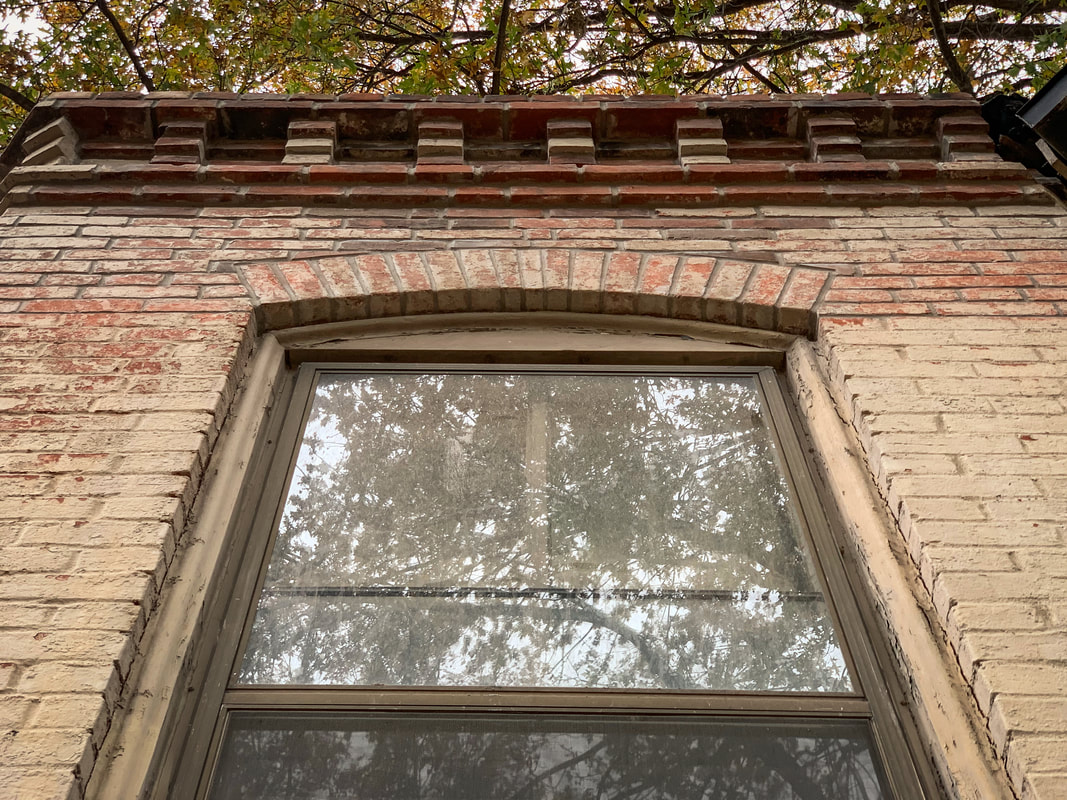 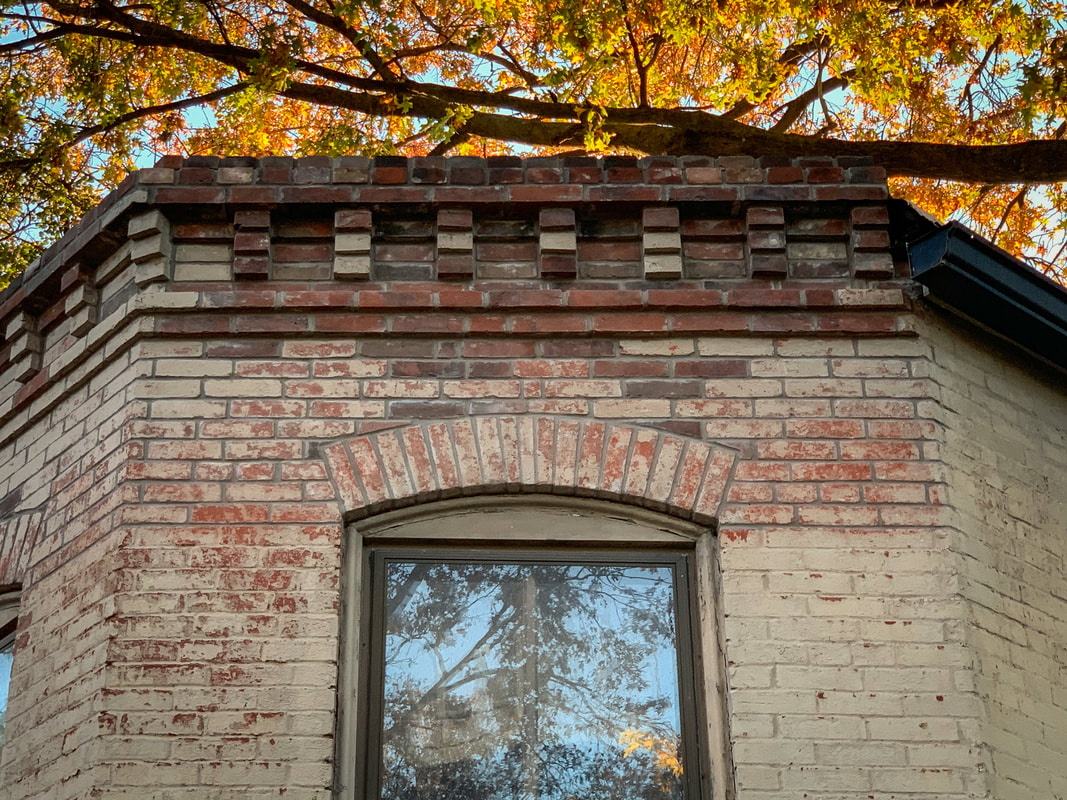 Overall, these 2 parapets are immeasurably more solid than they've been in a long time. That's the good news. The bad news is that I kinda feel like I ought to do this all the way up the east side of the house and around the front, which is like 60 liner feet. 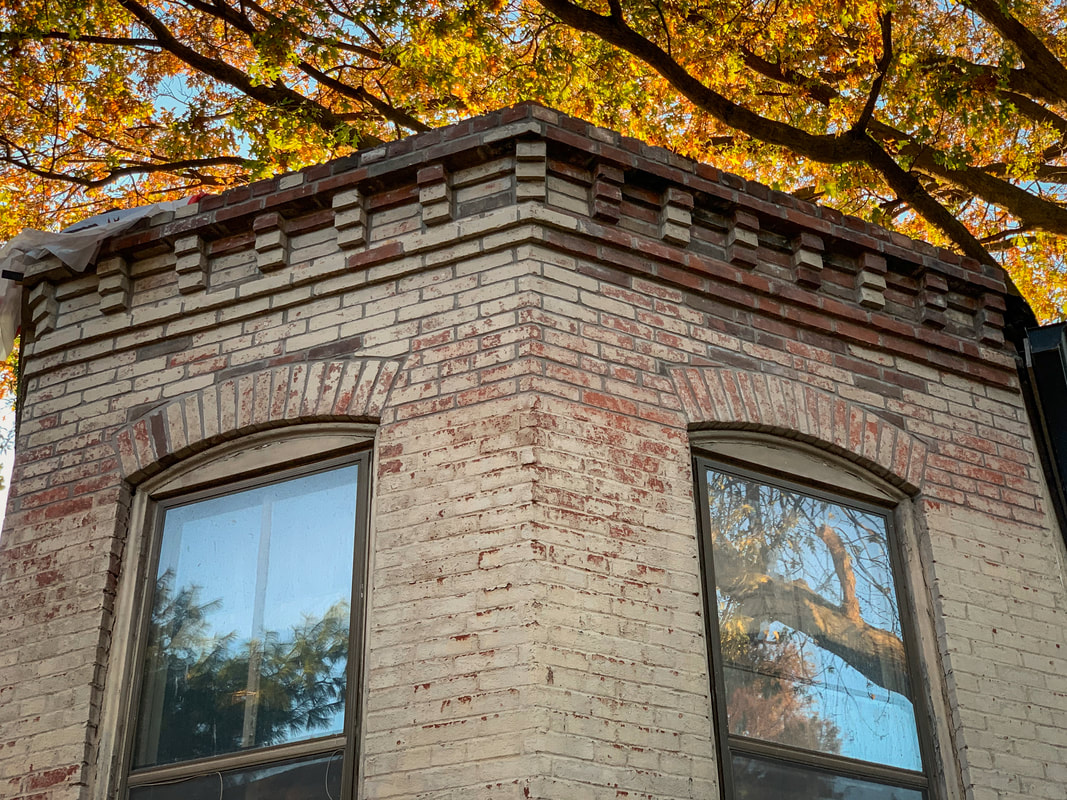 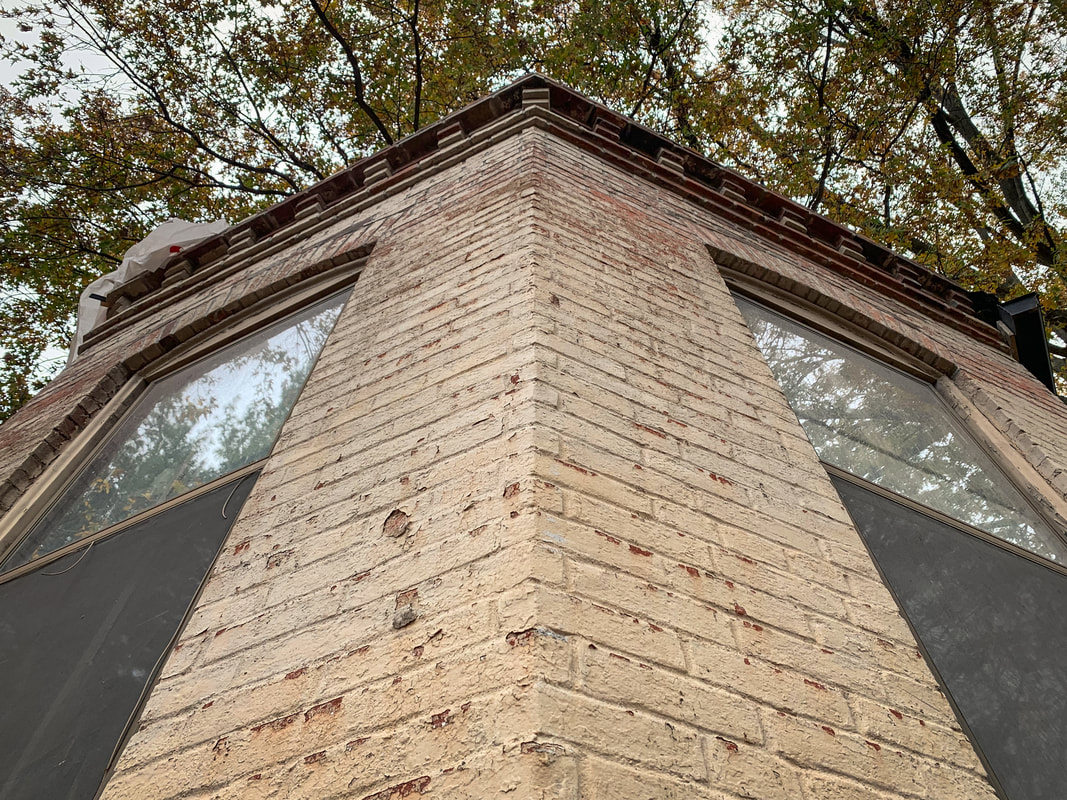 Luckily, it's too cold now to be doing this kind of work so the exterior repointing and rebuilding operation is shut down for the year and the scaffold is hibernating in the basement; I'll figure out the plan to address remaining areas of masonry need next year. In the meantime...I'm going to start prepping for window replacement. |