|
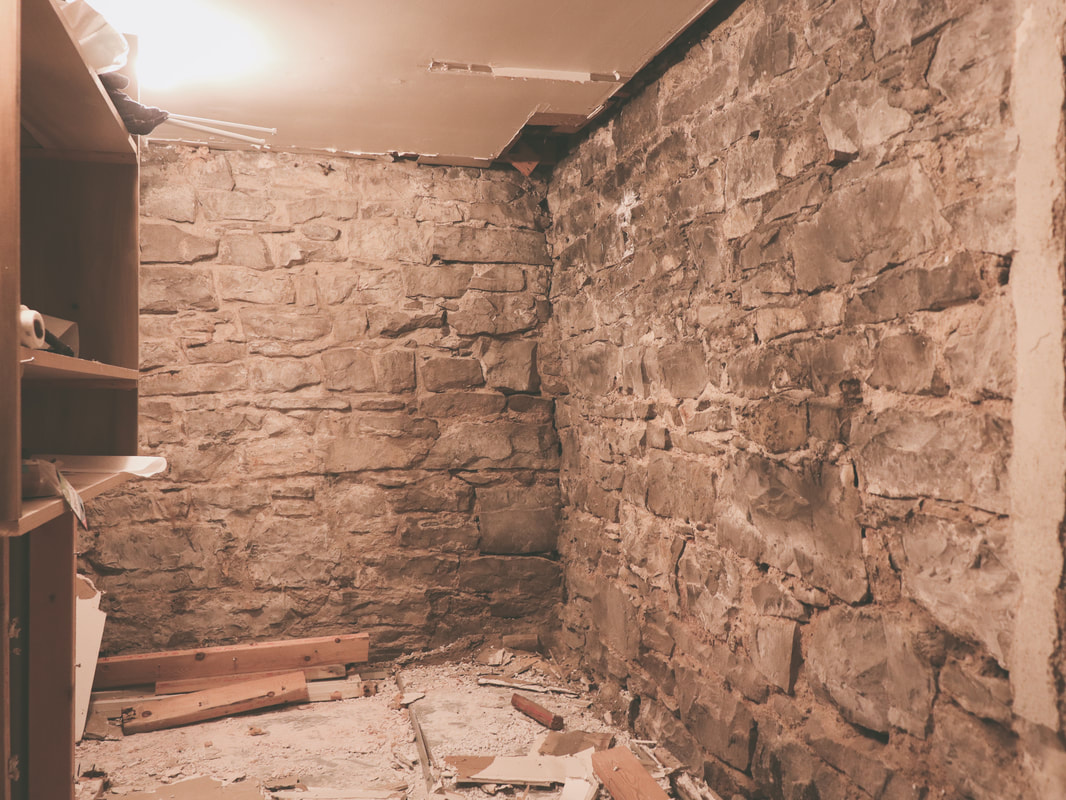
Let's get this outta the way first: if you're not startin' your days off with a 3+ mile hike through the woods with 2 dogs, you're missin' out. There are lessons to be learned (or, at least reminded of) and fun to be had. Roscoe, the elder statesman of the two, he's been on literally 1,000s of hikes and park excursions in his nearly 12 years of life, so it's all old news to him. He doesn't move as fast or nimbly as he once did, but he still gets the job done and he still enjoys doing it. Freckles, who is 14 months old, she's learning how to navigate things without being leashed. She's done pretty well with it so far, although I have to be selective with where we go and what times we go there. She REALLY enjoys the hikes. Taking the 2 out on hikes (or, "adventures") is very much like the real life version of the story of the tortoise and the hare. Roscoe moves at a solid, steady clip. He won't dazzle anybody with athleticism or daredevil shenanigans, but he's reliable, calm, and seems to always think of a way to overcome (go around, really) any obstacle he encounters. Freckles would sprint everywhere she goes if I let her, and she really likes being the frontrunner. She's not very big and doesn't always make great choices, but she ATTACKS life with a ridiculous level of fearlessness and excitement. When it comes to the basement repointing effort, inspiration can be drawn from both dogs. On the one hand, there's, like, 8 million stones that have to get repointed. If I think about it in those terms, it gets a little overwhelming and I have to remind myself that if I tackle the work in small, manageable chunks - slow and steady wins the race, right? - I'll eventually have it all knocked out. On the other hand, because I can overthink just about anything to death, when I encounter a masonry situation I'm not real familiar with or know how to handle, I do my best to NOT think about it too much and, instead, just get after it. The hare didn't win the race, but it probably didn't get too hung up on any trivial details in its pursuit of victory. I am not a mason, nor have I ever really done any repointing work. The exterior brick needs it pretty badly in several spots and rather than learn on the outside of the house, where all the world can see my work (and mistakes), I figured I'd cut my repointing teeth in the basement, where a few sections of wall could stand to be redone and if any of it turned out horribly, not too many people will ever see it. So, what have I learned in the early stages of my basement repointing effort?
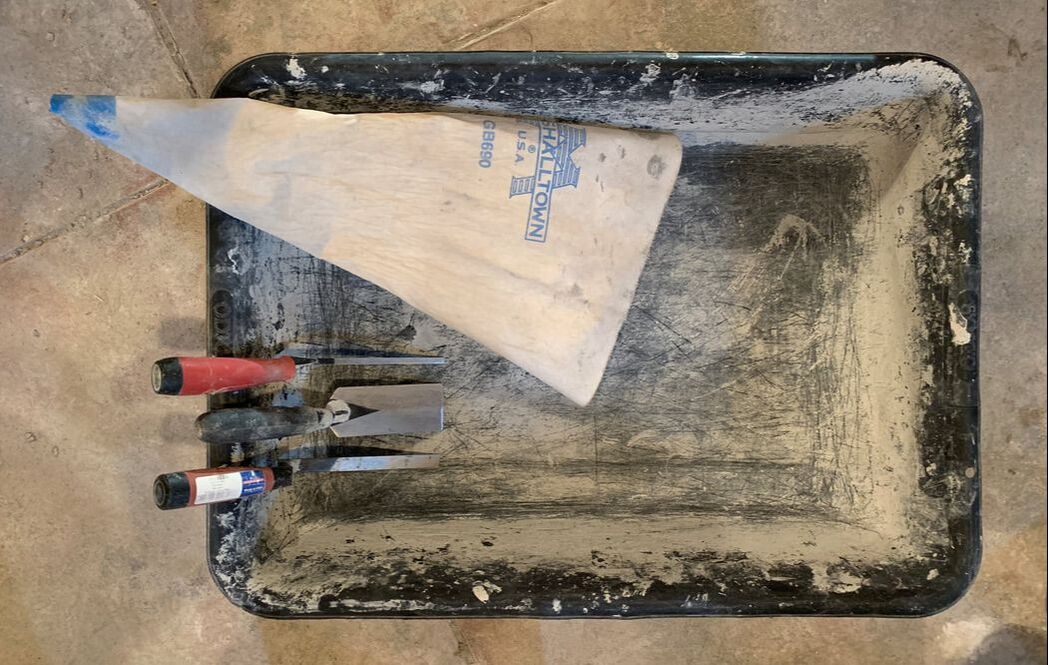
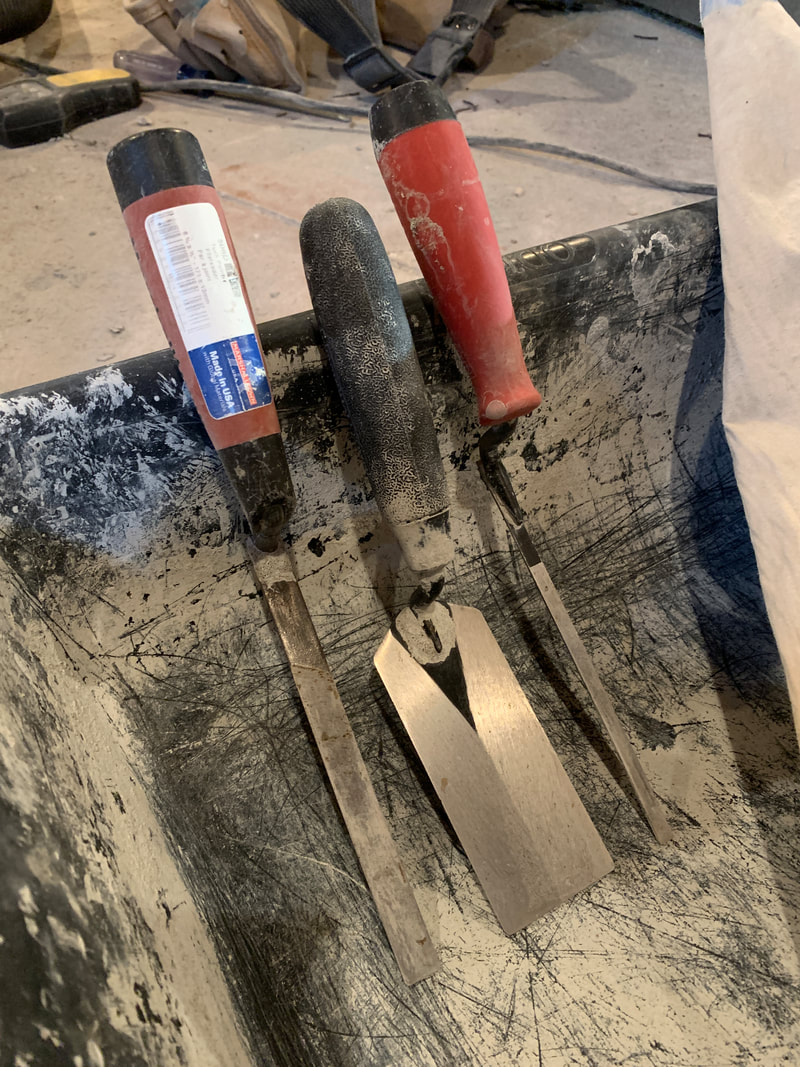
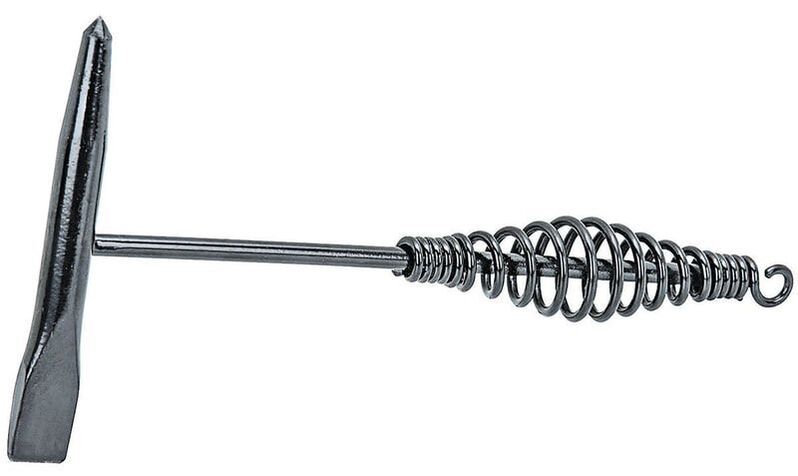
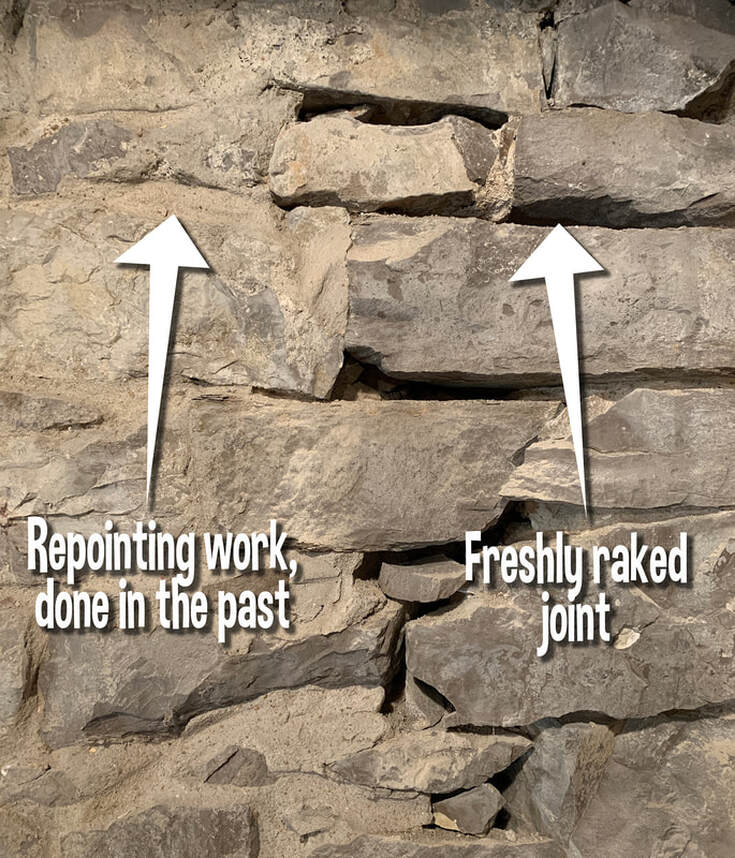
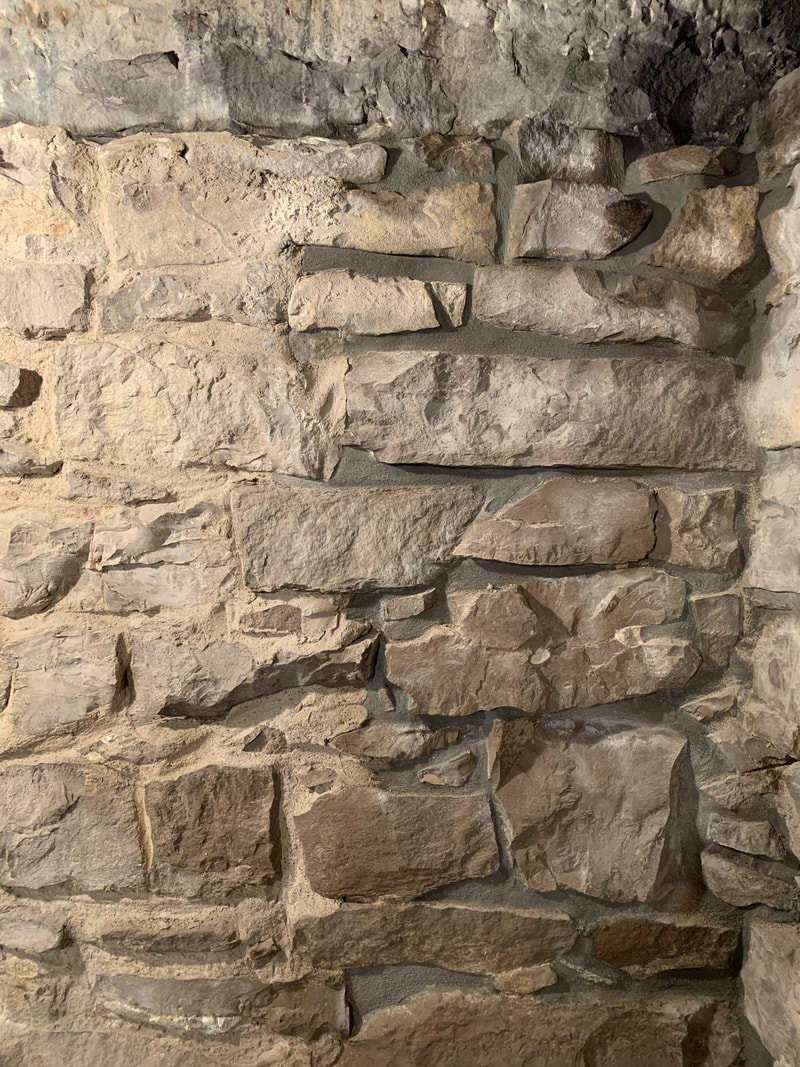
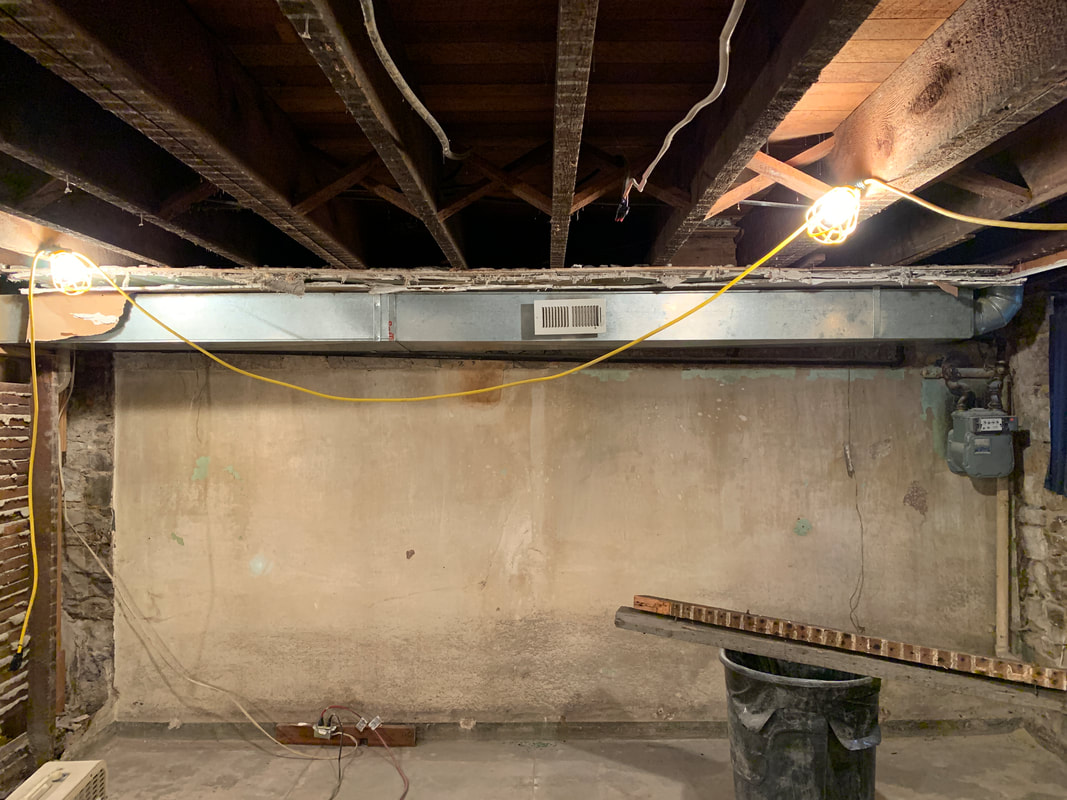
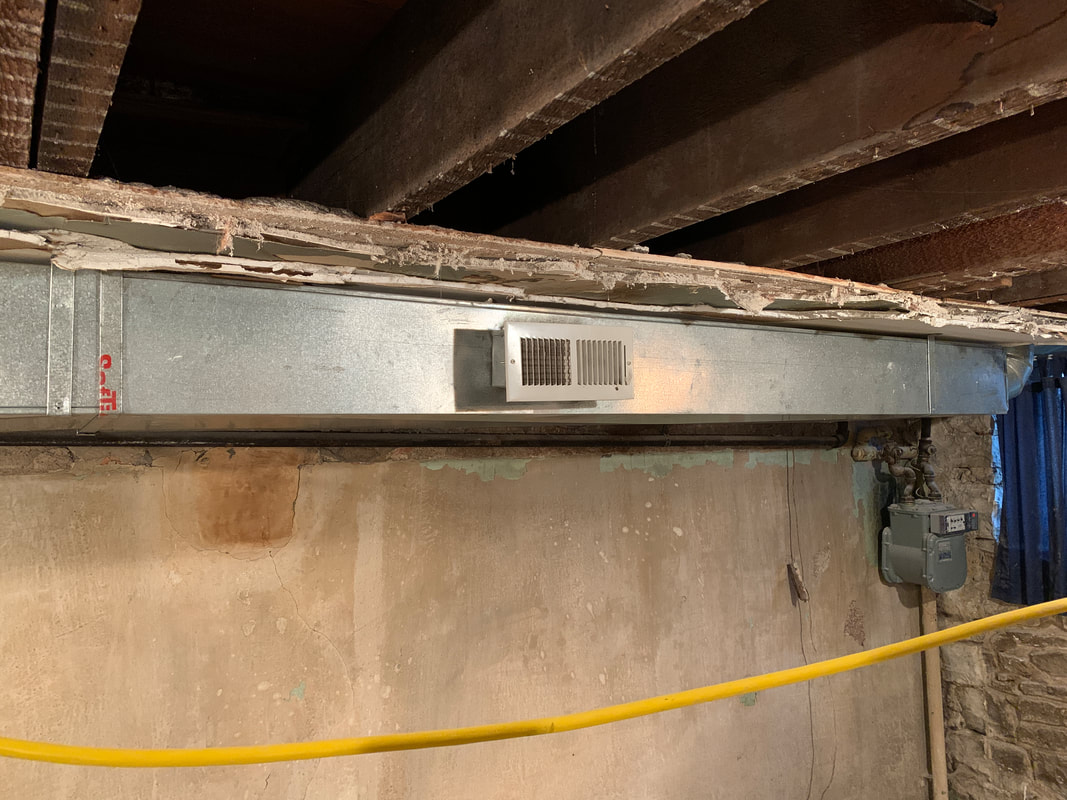
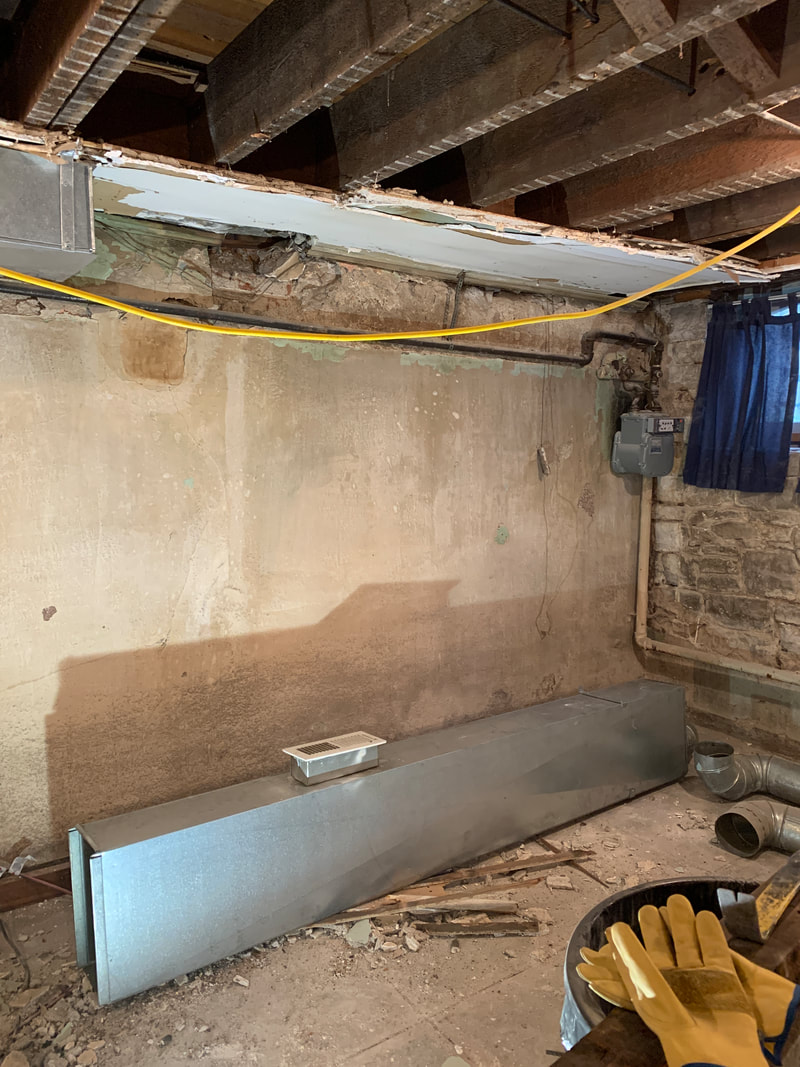
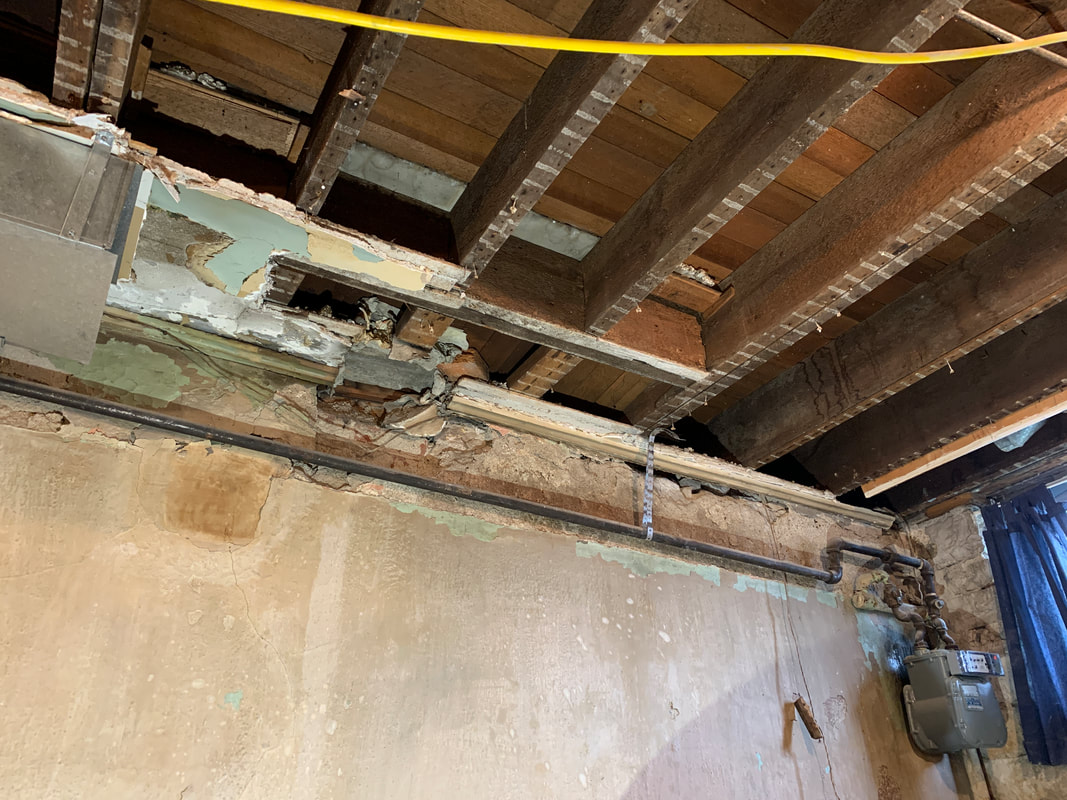
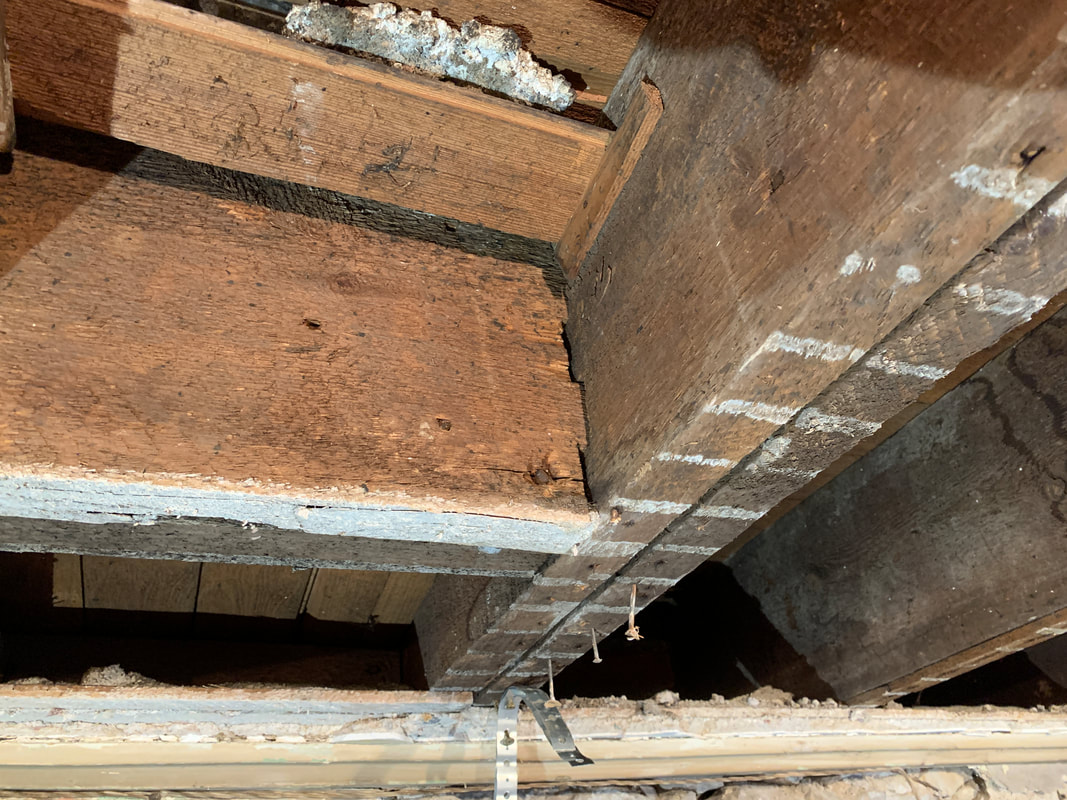
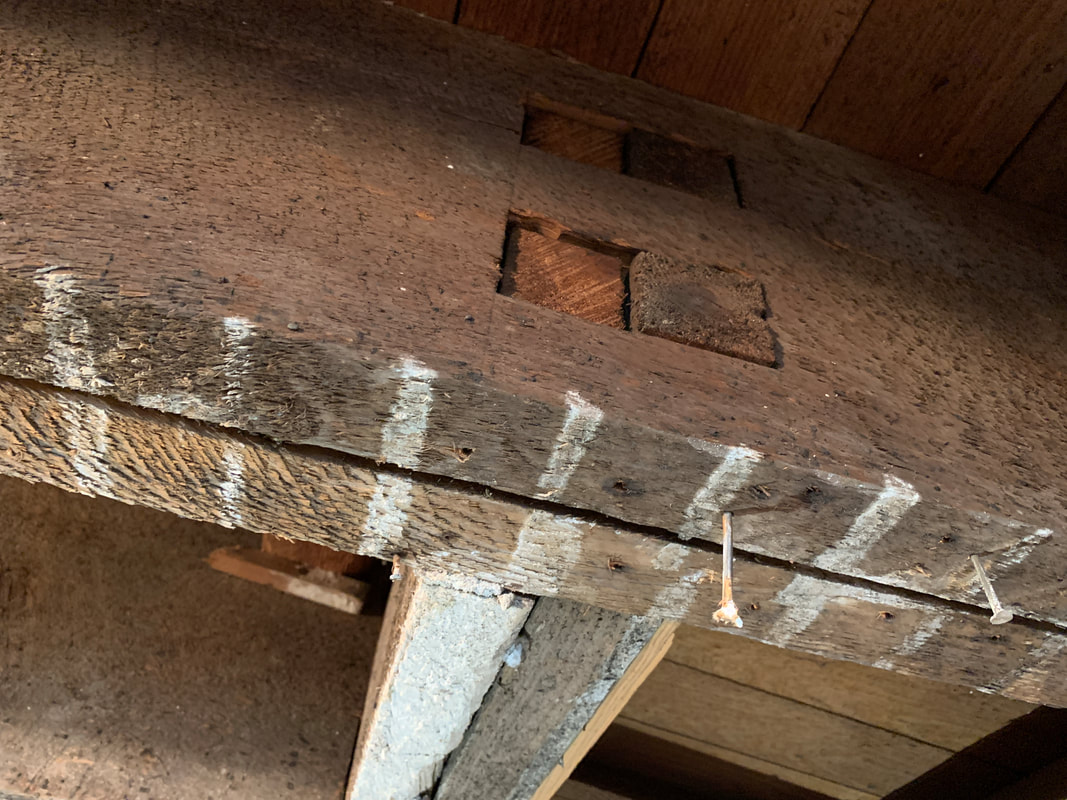
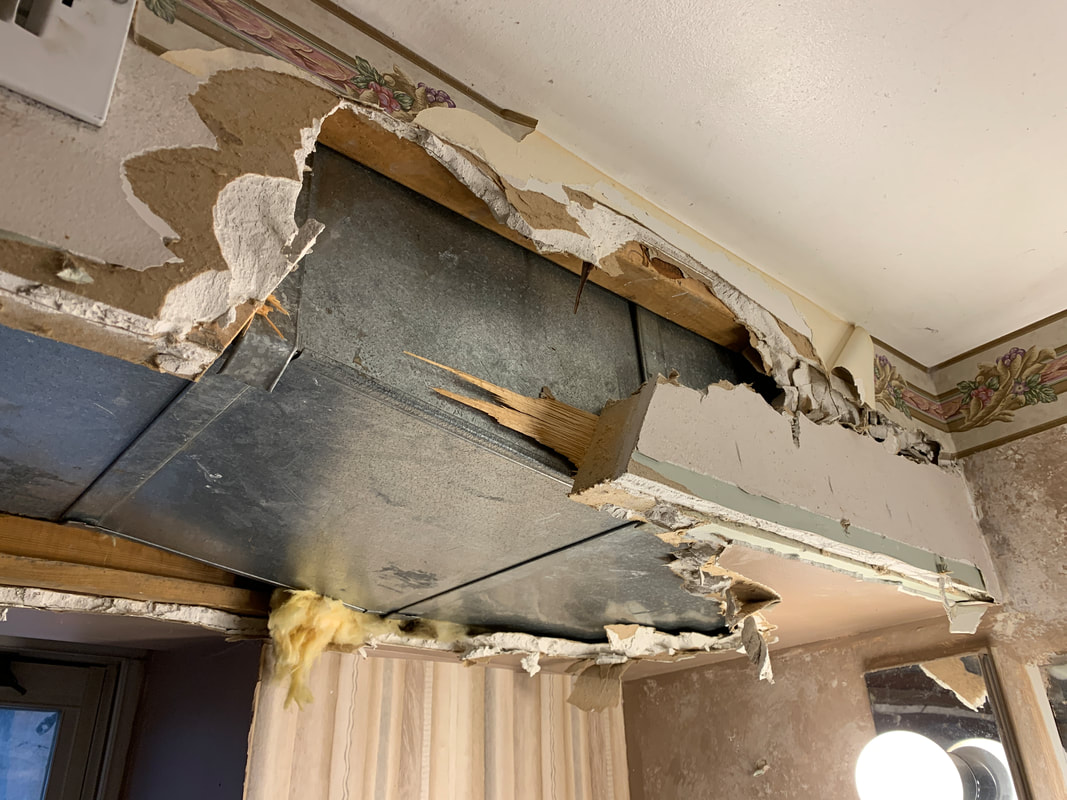
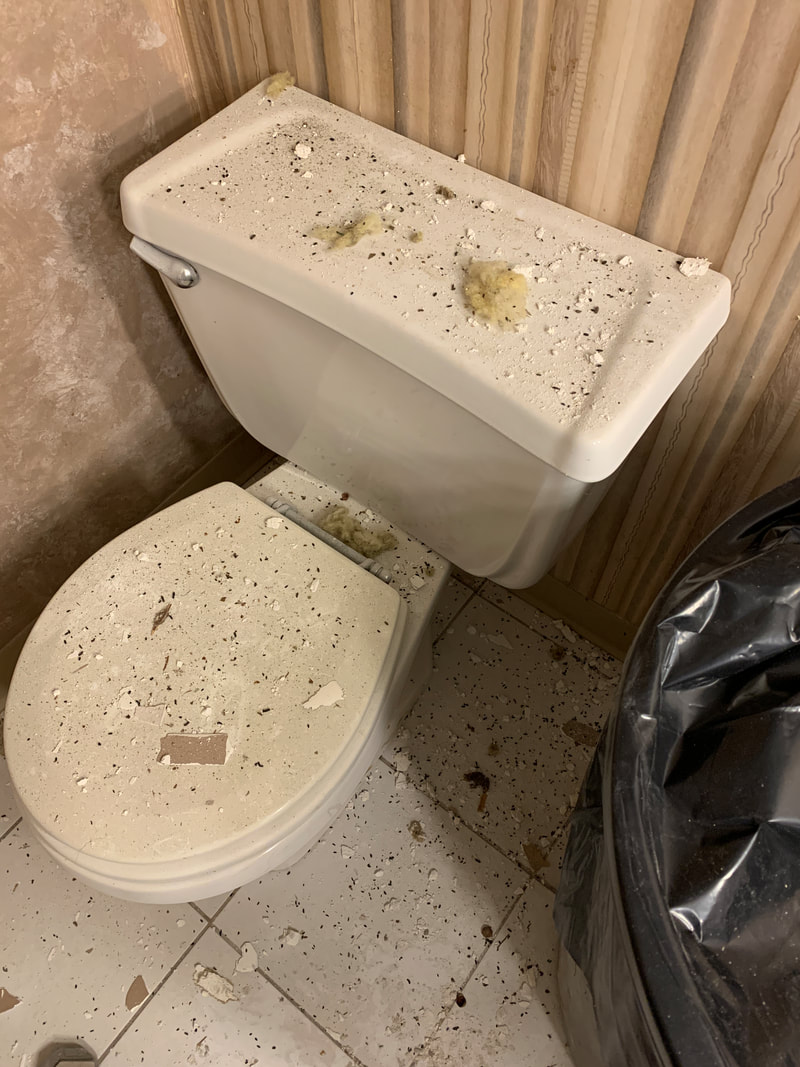
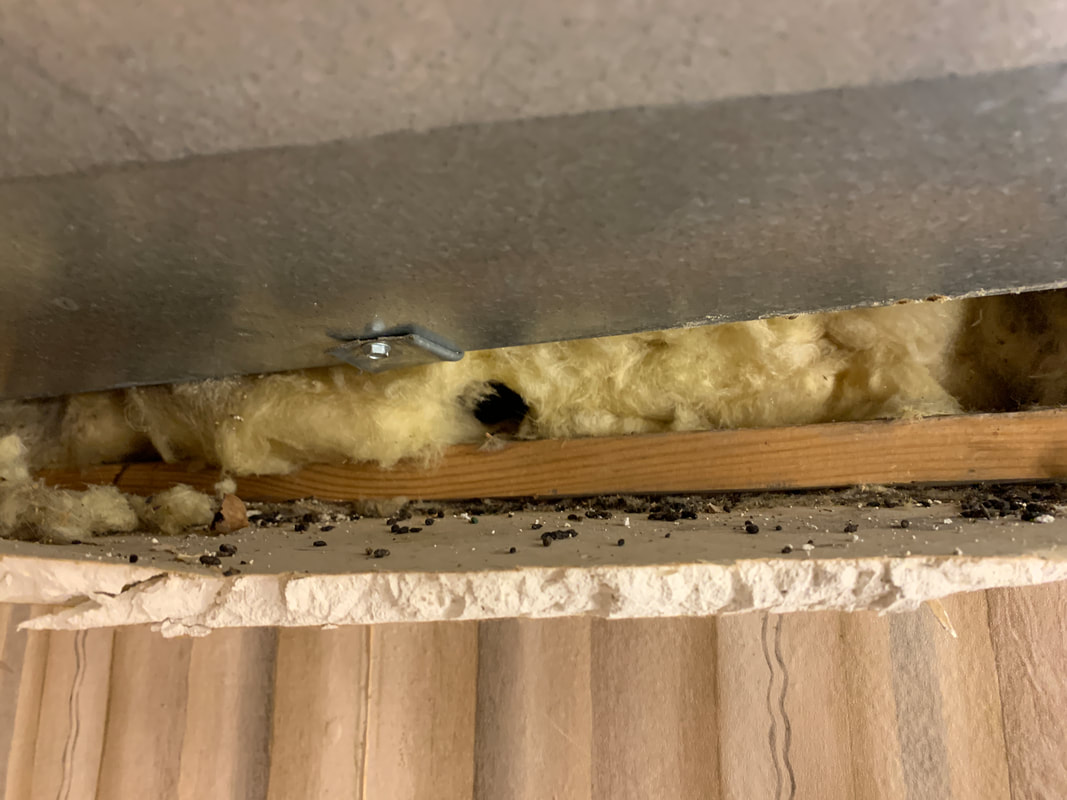
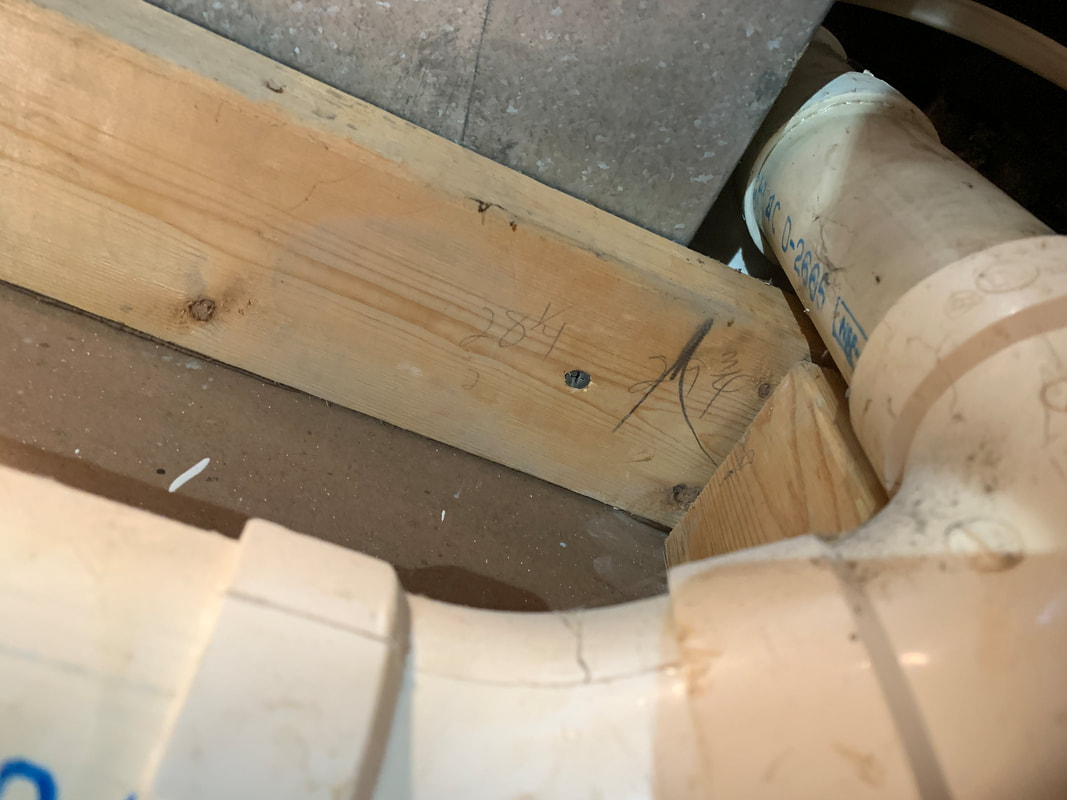
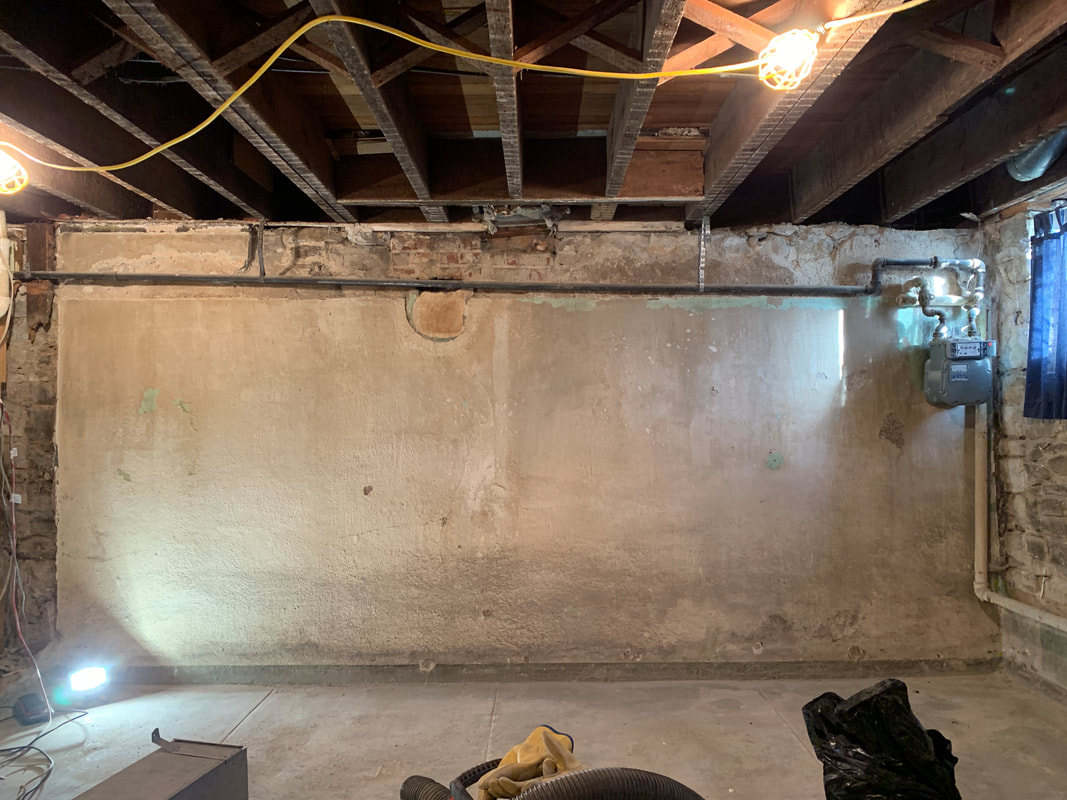
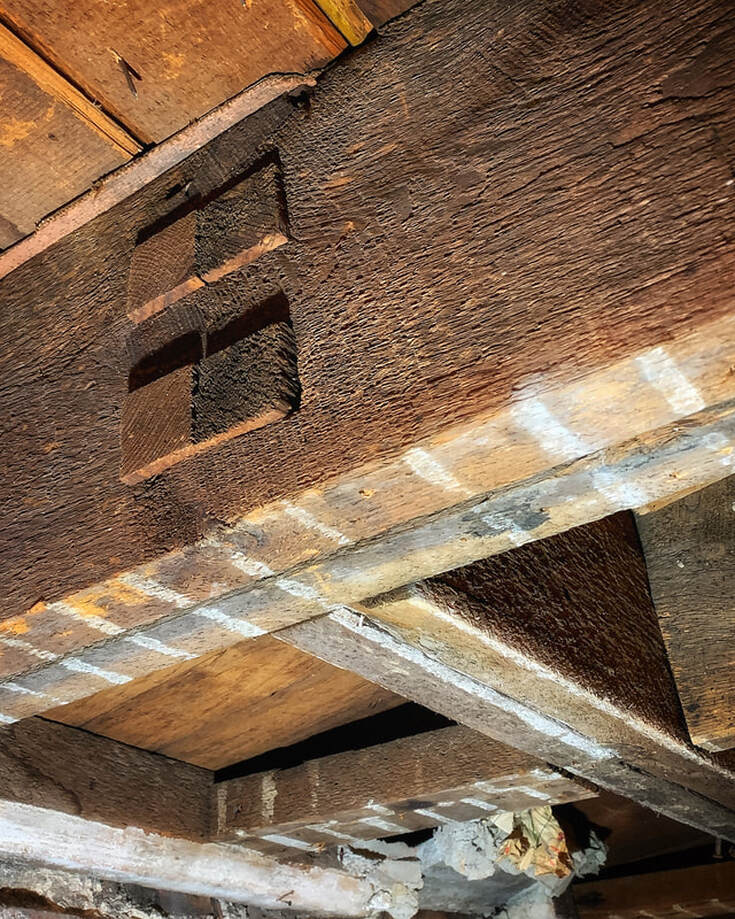
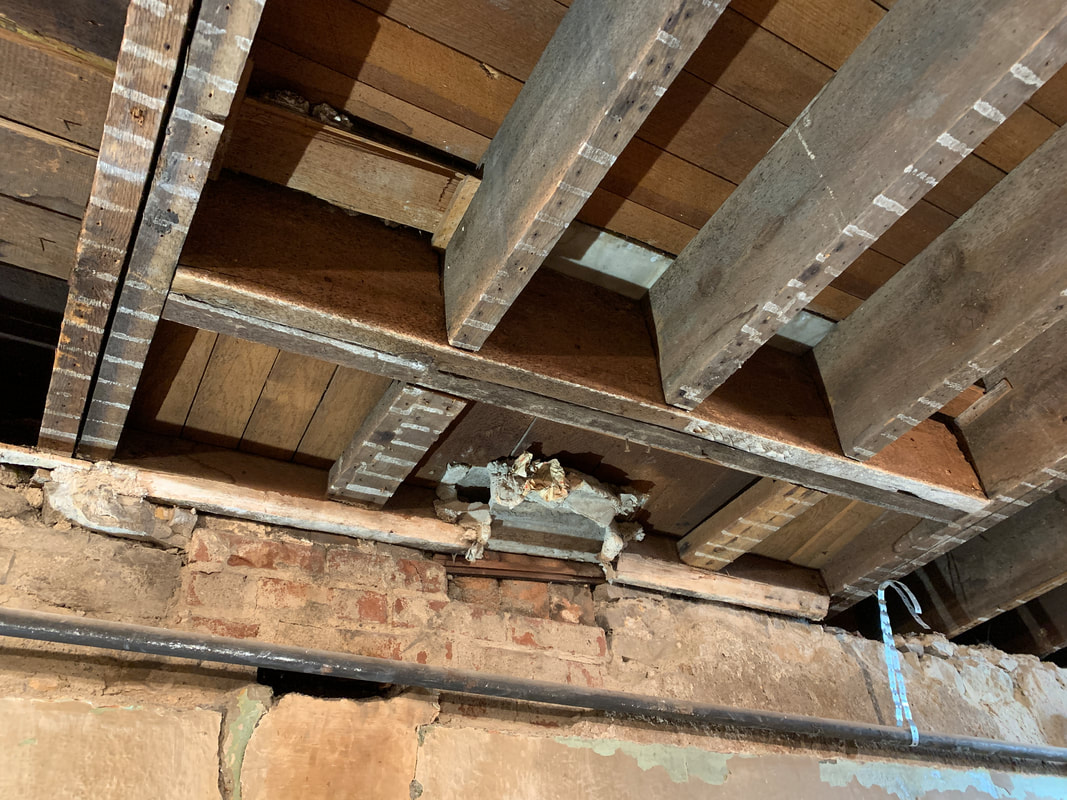
CONTRADICTORY INFORMATIONBefore I started repointing anything, I watched about 3 dozen YouTube videos where I saw about 3 dozen different repointing methods employed, each one claiming to be the "right" way to repoint stone. Awesome. Which mortar does one use? Type N? Type S? Type O? Type M? The differences between the mortar types boil down to their ratio of cement to lime to sand. In theory, different mortars are good in different situations, but for example, a lot of people will disagree about when and where to use Type N vs. Type S. In my case, I chose Type N; it's a good general purpose mortar and because my foundation stone is limestone, Type S's compressive strength is a little steep. Am I supposed to prep the stone with a little water before slapping in the mortar, or do I apply the mortar to completely dry stone? I hit the cleaned out joints with a couple shots of water from a squirt bottle. Sure, it adds a miniscule amount of water to the mortar and potentially causes it to cure to a marginally lower strength than if I hadn't introduced the water, but the water 1, knocks down the dust on the stone, allowing the mortar to adhere to the stone better than if the stone were dry, and 2, it works as a bit of a lubricant, enabling me to really push the mortar waaaay back into the deeper spots I can't reasonably get to with any tools. What tool(s) do I use to apply the mortar? A trowel? A jointer? A spoon? The palm of my hand? 99% of the time, I use a grout bag and a couple small jointers. Occasionally I may use a trowel to smooth out a mortar surface, or maybe apply the mortar by picking some up with the trowel and sliding it into a joint with one of the jointers, but mostly it's grout bag and jointer(s). PREPARATIONIn my book, prep is just about as challenging as getting mortar back into the joints and looking good, but it's way more work and way less fun. However, there isn't any sense in trying to rake out perfectly good, rock-solid mortar, so if I hit a patch that doesn't want to budge, I leave it as is. For the mortar that's in bad shape, which is most of the original stuff - and some of it has legit turned to dust due to water infiltration - I use this thing, a chipping hammer that's intended to be used for knocking slag off of welds: It works surprisingly well and is kinda like having 2 tools in 1, and the more tools I can wield with each hand the better. I use the pick end to beat on the old mortar and loosen it up, and I use the chisel-like end as sort of a scraper, running it through all the joints to really chew up the old mortar. For any little nooks and crannies this hammer is too big to get into, I use a crappy old flat blade screwdriver to clean things up. Then I shop vac the joints and suck up as many little crumbs and dust as I can. What's really important is cleaning out the joints as deeply as I can; this obviously allows me to get more mortar in the joint and make for a stronger end result than if I only cleaned out the joints to a shallow depth. Likewise, having a really deep, cleaned out joint allows me to have a little room to work with the jointers and the more room I have to work, the better the end result looks. Plus, the more stone I can apply fresh mortar to, the stronger the wall becomes. PATIENCEShaping the fresh mortar once it's between the stones so that it looks decent is sort of an art. It doesn't seem like it'd be all that difficult, but there is a razor thin line between the amount of pressure required to flatten or shape the mortar without having it move in all sortsa unintended directions and the amount of pressure that will make the mortar an unsightly, swampy mess. It can be frustrating work. Sometimes the stones' shapes don't allow for ideal jointer angles, or multi-directional tooling options. Sometimes I can get a spot flat and smooth, but in the process I pulled too much mortar out of the joint. Sometimes I feel like I'm about to apply the perfectly light amount of pressure for a final pass, only to pull a Lennie-and-his-puppy and totally demolish what I'd just worked really hard to get lookin' good. Sometimes I have 8-10 joints going, and I can't seem to get any of them lookin' right and I kinda feel crying wouldn't be inappropriate. But patience - not my strength, if you know me in real life - is critical. The mortar will slowly start to cure and stiffen up a bit, it'll become easier to work with, and the joints will end up lookin' pretty decent. That is, as long as I take a deep breath, clear my head, focus on 1 joint at a time, get it as good as I can get it, and come back to it again a few minutes later if I'm not happy with it. TIMINGIn my book, timing is everything when it comes to applying mortar to the stone joints and shaping it, and probably the thing that's most difficult to discern from all the YouTube videos out there. There is an optimal amount of time to let mortar sit in a joint before working it. There is an optimal amount of time to let a worked mortar joint sit before coming back to work it again. There is an optimal amount of time to let a final version mortar joint set up before hitting it with a brush to smooth everything out and clean off all the mortar boogers. And, there is an optimal time to let everything cure before using a little water to clean up any mortar slurry on the stone faces. Of course, this all varies depending on the depth of the mortar joints and how much mortar is being dealt with, but doing everything without waiting a little bit between steps, or waiting too long...bad news. Timing is critical. Once I had that figured out, the work became a whole lot easier. I still struggle with it sometimes, and I dunno that it's the kind of work that's ideally suited for an OCD perfectionist, but I definitely like seeing the end result. A few nights ago I was laying in bed and heard some uncharacteristic noises. Normally, Roscoe loses his shit when it's dark outside and he hears noises near - or in - the house. But this time, he didn't bark. At all. Normally, Freckles equates noises to animal footsteps, and makes every possible attempt to catch and eat whatever she thinks she hears. But this time, she didn't budge. At all. As a result, I didn't think much of it. But I knew it was a mouse. I mean, I didn't KNOW it was a mouse...I just had a feeling. That feeling may or may not have been based on finding a giant pile of fresh baby mouse poops in the basement about a week ago. The following morning I found a mouse squashed in one of the traps. So...I'm still sharing the house with rodents. Which is awesome. Long story short, the basement foundation pointing work got back-burnered over the weekend so I could demo out the last little bit of finished ceiling in the basement's front room. Those finished basement ceilings seem to serve as little mouse highways, and while getting rid of them doesn't eliminate their house access point, it does help prevent the mice from hanging out with us on the house's main floor. Back when I gutted the basement's front room, I left the ceiling above the duct intact because to remove it the duct would have to get disassembled and removed, which I didn't want to get into at the time. It's not complicated work, but removing the rectangular duct from the front room meant also getting into the neighboring bathroom ceiling, which I really didn't want to do. Mice have a funny way of changing one's priorities. Once I got the first big section of duct on the floor I tore out what little ceiling, which was drywall on top of plaster on top of wood lath, I could get to. Here you can see the underside of the marble fireplace hearth, and the bulked-up framing beneath the fireplace on the first floor. All those joints where joists run perpendicularly into other joists, they're all connected by mortises and (thru) tenons, which is kinda cool to see. No joist hangers (they didn't exist 142 years ago) and very few nails; can you imagine house framers today carrying an arsenal of chisels like the framers of the 19th century?! That, as I was about to realize, was the easy section to deal with. The next section was half in the front room, half in the bathroom, with a bunch of newer wall framing snugged up tight to the duct. There was even less wiggle room than I had with the first big section. So I started poking around the basement bathroom's ceiling to figure out just how much I was going to have to tear out to get at the next section of duct connections. You know I hated tearing up that lovely wallpaper border. Actually, what sucked about the demo was having lots of mouse poop rain down on me. All the little black specks? You guessed it: poops. However, I did get a little satisfaction out of the work; I found a couple little mouse tunnels in the insulation near the duct, which kinda confirmed my suspicion that the mice love that wall of the house. Unfortunately, the more modern basement finishing was a total DIY job: a shit show of bad framing and terrible ideas. Needless to say, the sawzall made an appearance and I did what I could to surgically remove the bare minimum. With no dumpster on site, I didn't want to create any more trash than was absolutely necessary. I ended up removing all the cleats and duct hangers, which should have allowed me to pull the big 8' long section through the bathroom wall, into the front room, and to the ground. SHOULD have. I yanked and pulled and wiggled and did everything I could think of, but the duct wouldn't budge. I did this for, like, 15 minutes before deciding to take a closer look. Subsequently, I f-bombed the entire thing for the next 15 minutes. Why? Because somebody figured the best way to hold the duct in place was to drive a handful of screws into it through the framing. So just back out the screws, right? Here's the thing...when residential space is built, the order of operations typically goes something like this:
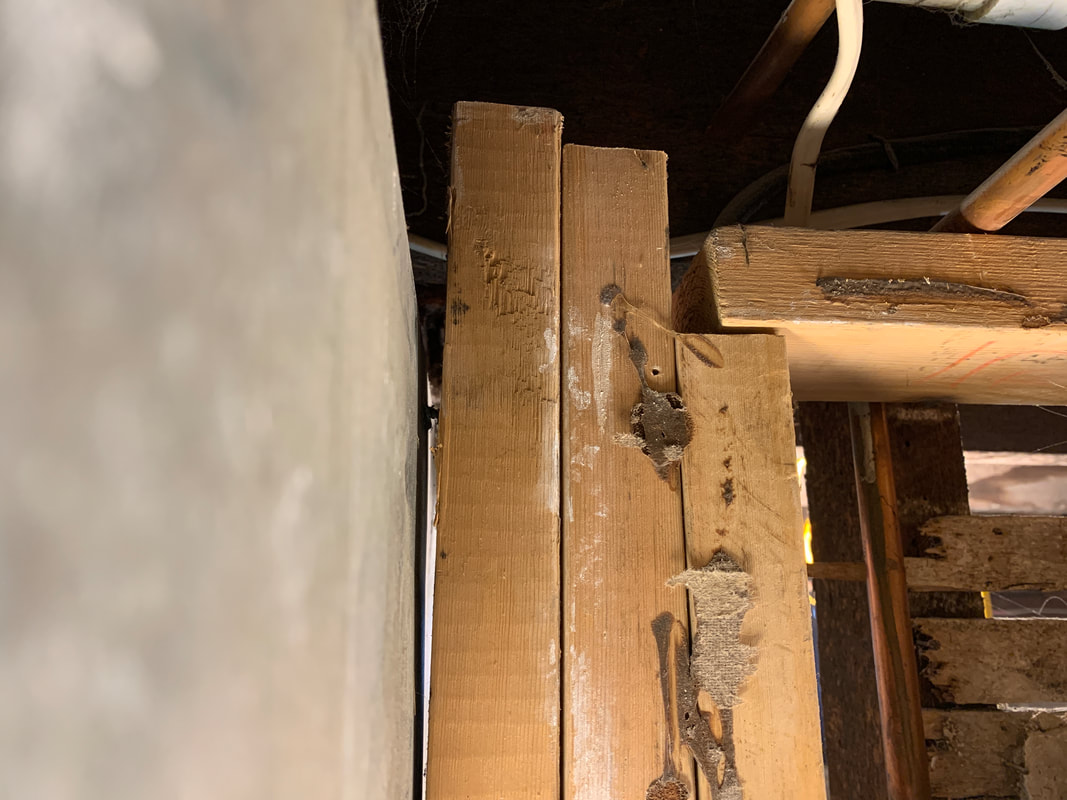
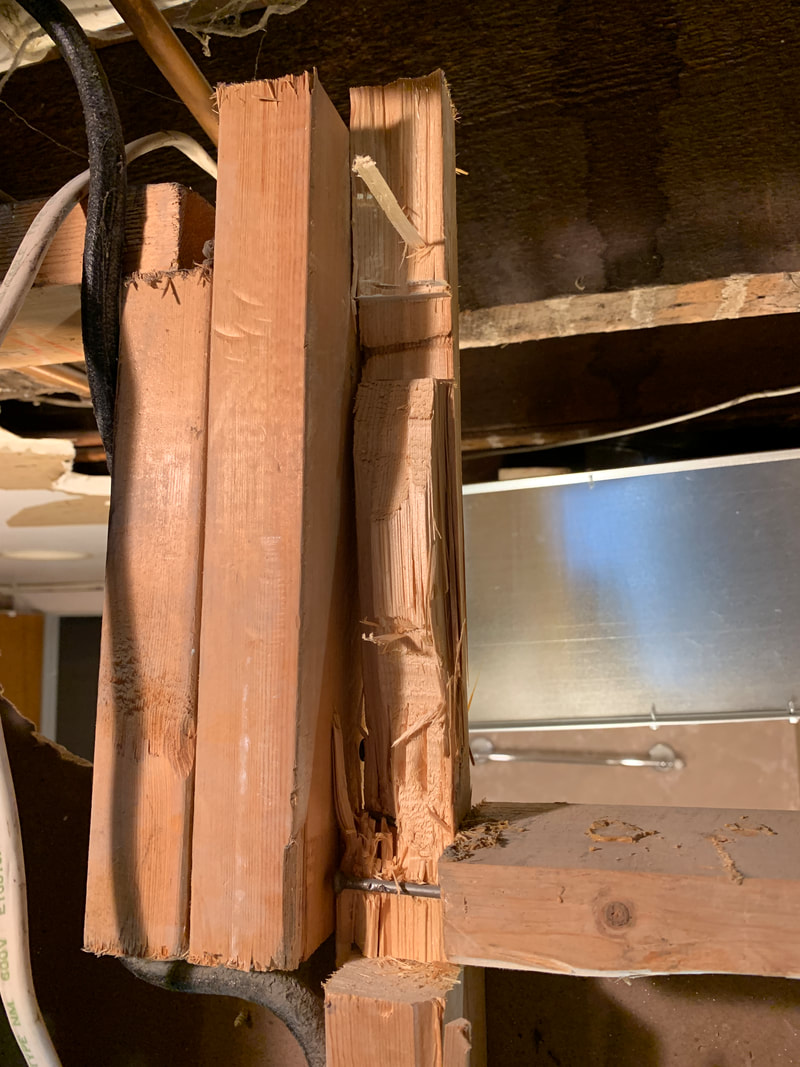
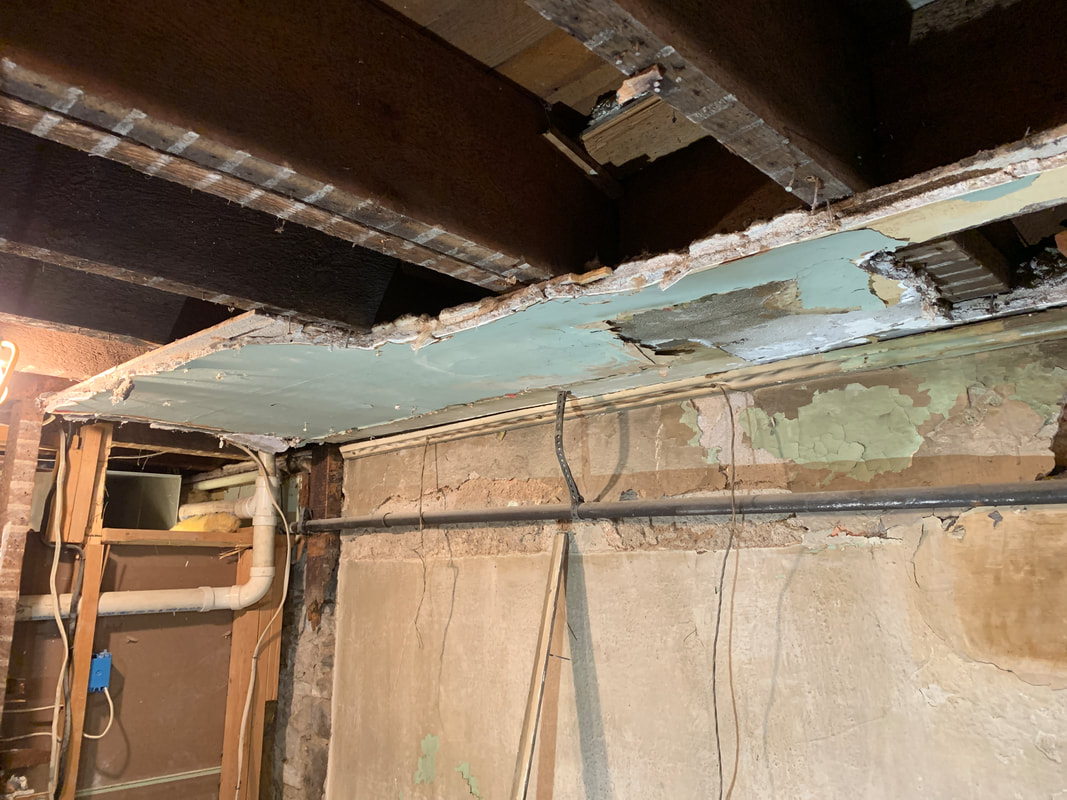
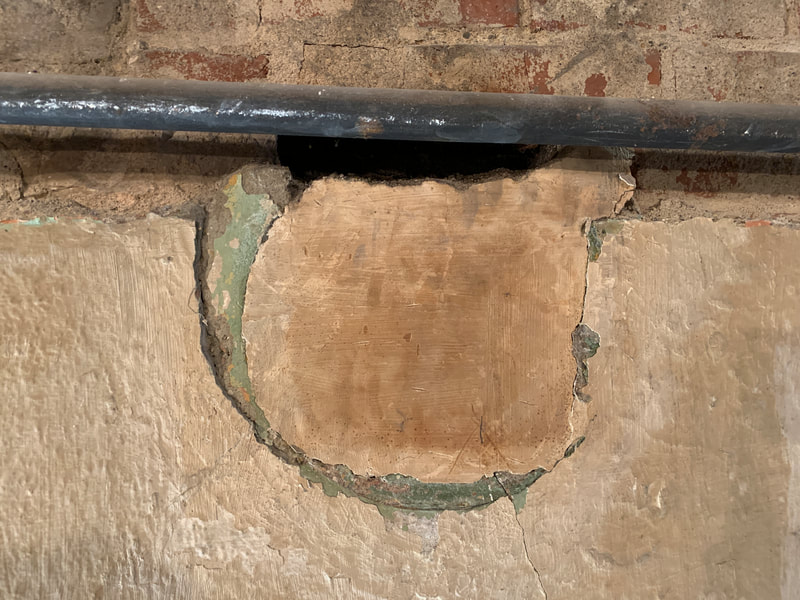
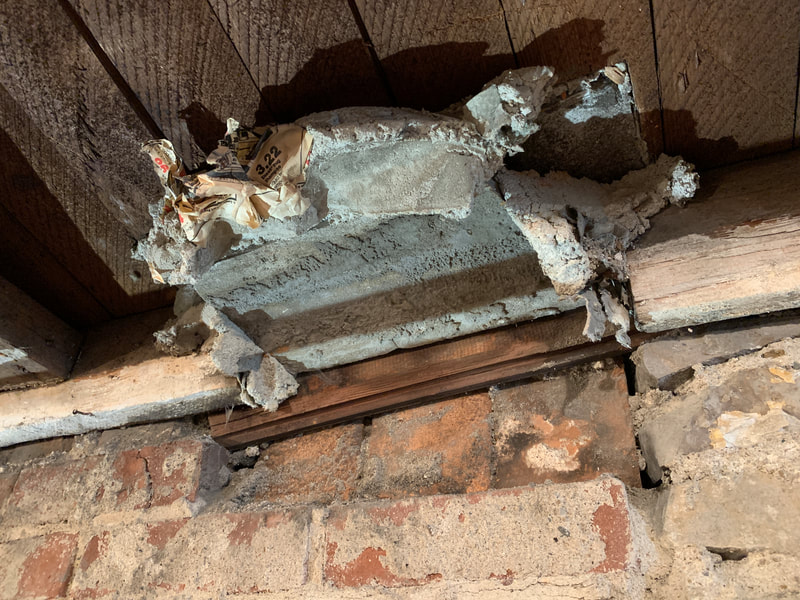
I know the pic makes it look like there's plenty of room, but I promise you, I own a pretty unhealthy quantity of tools and I couldn't find a single screwdriver, or combination of tools, that could bee-bop around that PVC pipe to back that screw out. And there were screws like this one, where I couldn't even see the head of the screw, all I could see was the screw going through a 2x4 (that was covered up by other 2x4s) and into the side of the duct: See the light shining between the duct and the nearest 2x4? And that little thing near the top of that light bridging the gap between the duct and the 2x4? That's a screw. And it has no business being there. My sawzall could only do so much in tight quarters. I got out one of my little oscillating saws, but it didn't entirely reach all the screws either. So...out came the 1 chisel I reserve for beating the holy hell out of any and all materials. I ended up chiseling away enough material to remove the screws, but I wrestled with that nonsense for the better part of an hour and I'm pretty sure the dogs, hanging out on the first floor (they won't come down the basement stairs) thought I was engaged in some sort of fight-to-the-death with another human being. Eventually, I removed the screws and then the duct came apart like it was supposed to. Then it was back to the ceiling demo, which was a dusty, nasty, poopy affair. I ended up with this: There was a stupid amount of work involved in getting to that little area of remaining ceiling, but now it's gone. I didn't put the ducts back because I first need to repoint the top section of the wall, so the house's living room isn't getting any hot air right now, but we'll be OK. I'll take no warm air to the front of the house in exchange for not having mice come up through the floor near that fireplace. On the bright side, removing the ceiling revealed all the mortise and tenon joints, which haven't seen daylight in 142 years. I'm also going to try to figure out what all is going on with the fireplace above this area; there are several purposely-put-there holes in the wall and ceiling that could have been old flus or cleanouts. I don't think they'll amount to anything, but I kinda dig trying to figure out what all this old stuff did or was used for. So...that's that. Probably still have mice. Definitely don't have warm air getting to the living room. But now the mice have 1 less way to get upstairs and poop under my bag of hockey gear, and I'll call that a successful operation. |
Archives
July 2024
|


