|
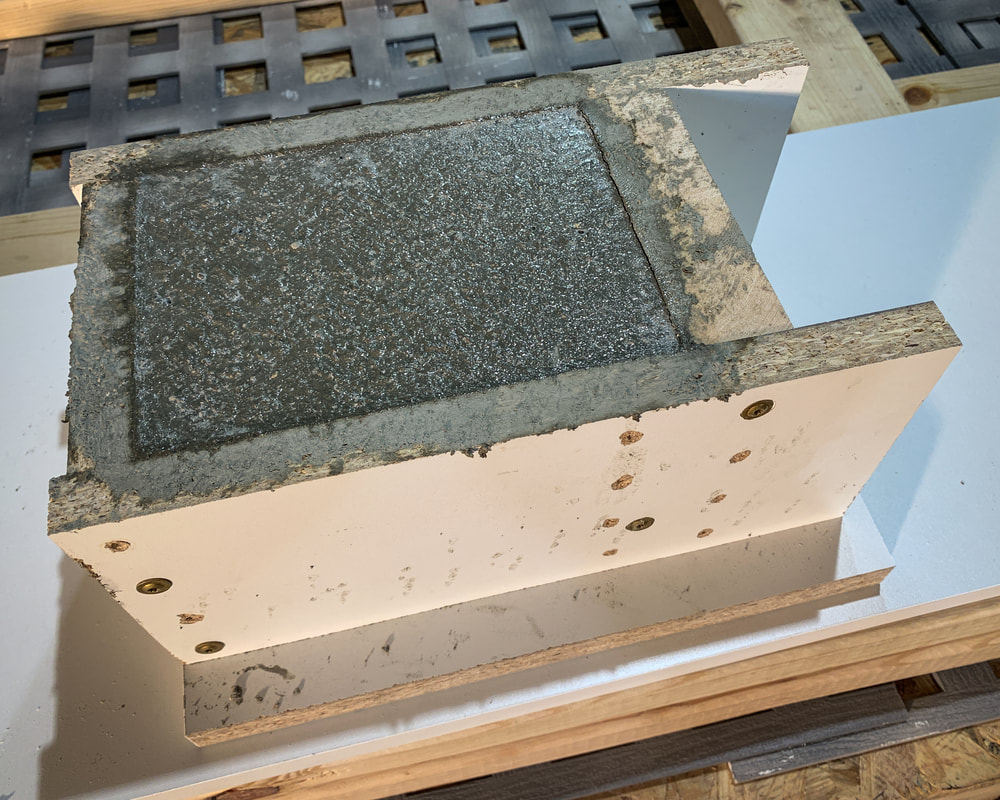
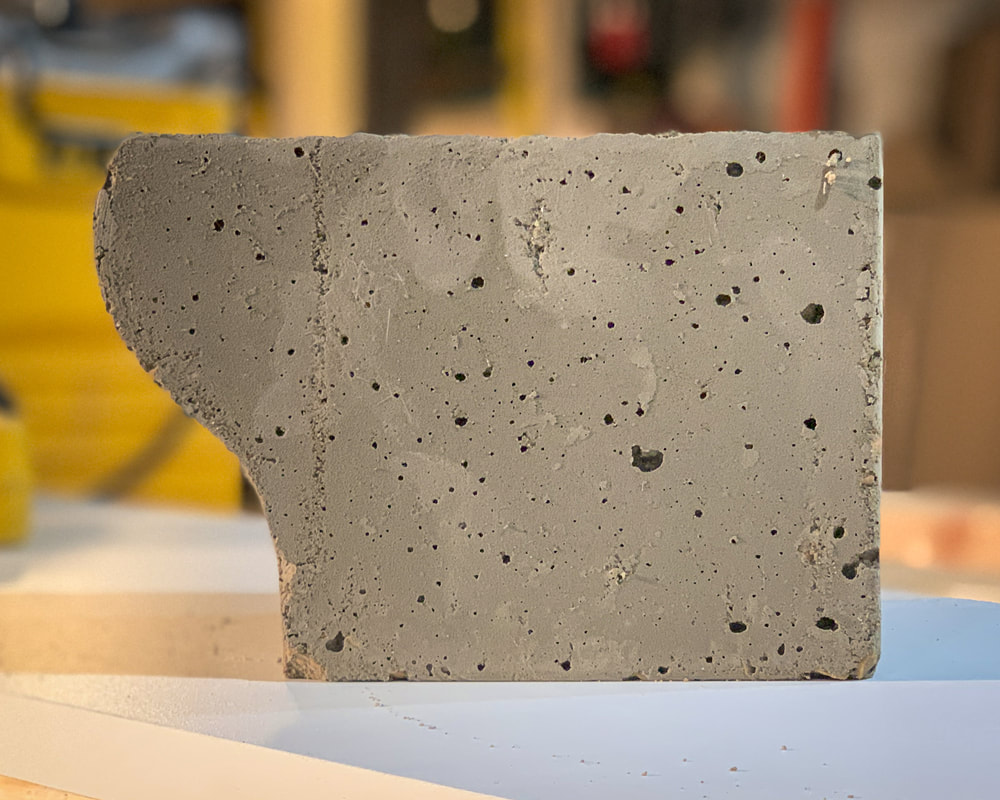
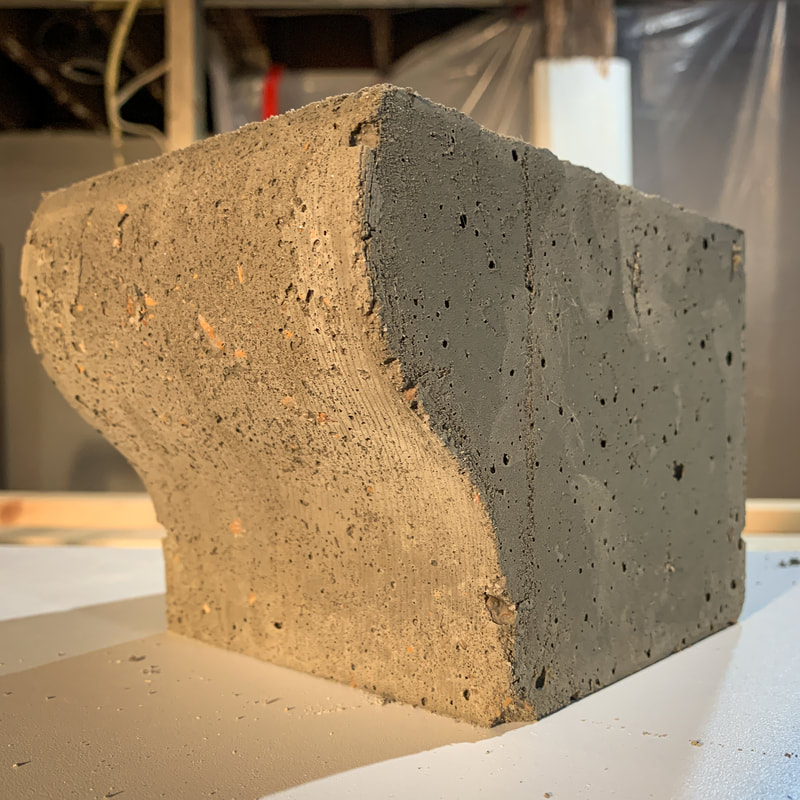
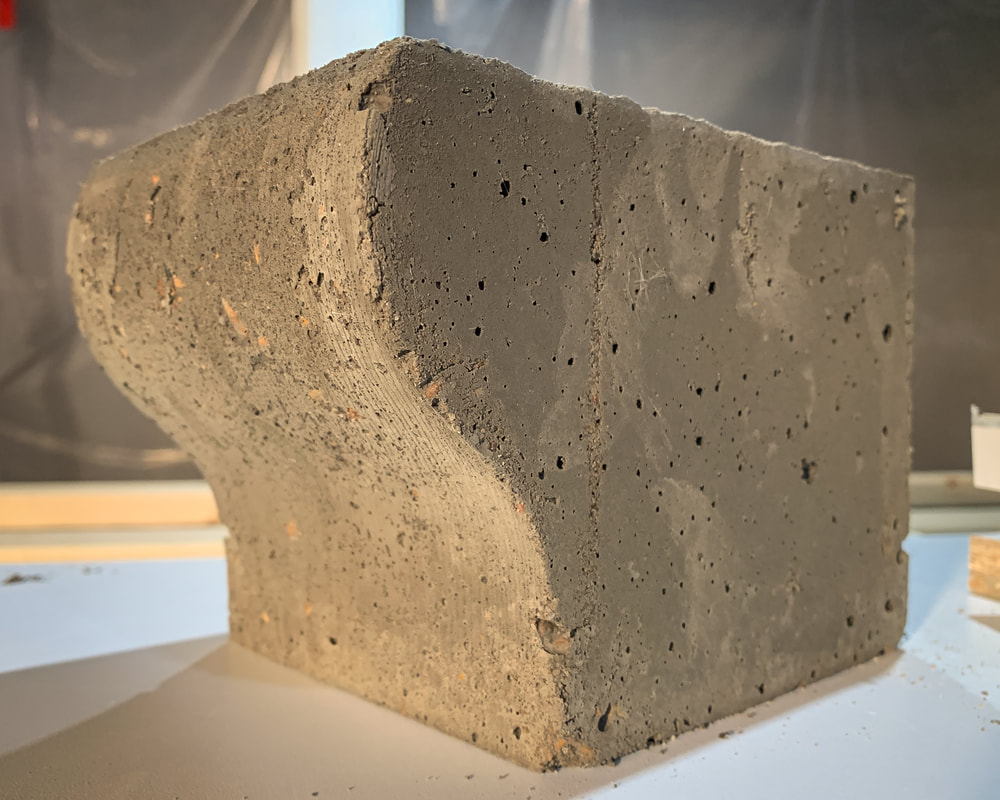
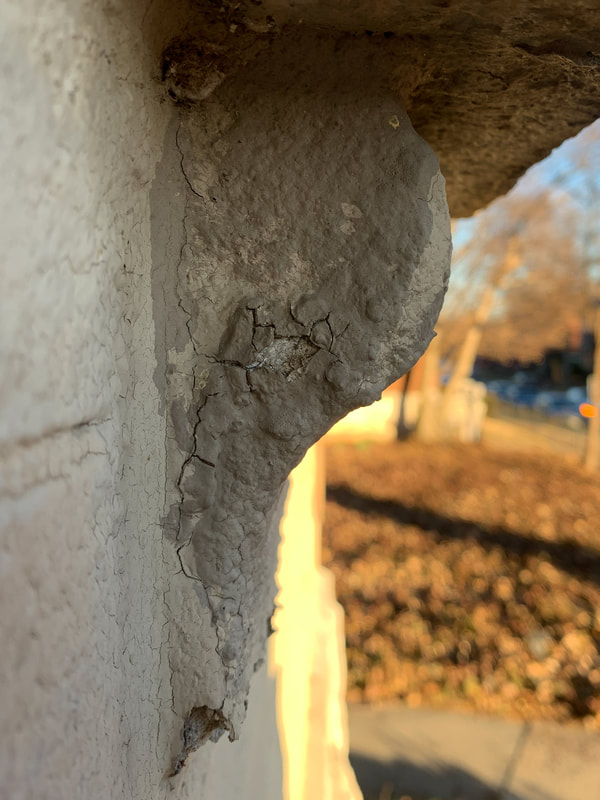
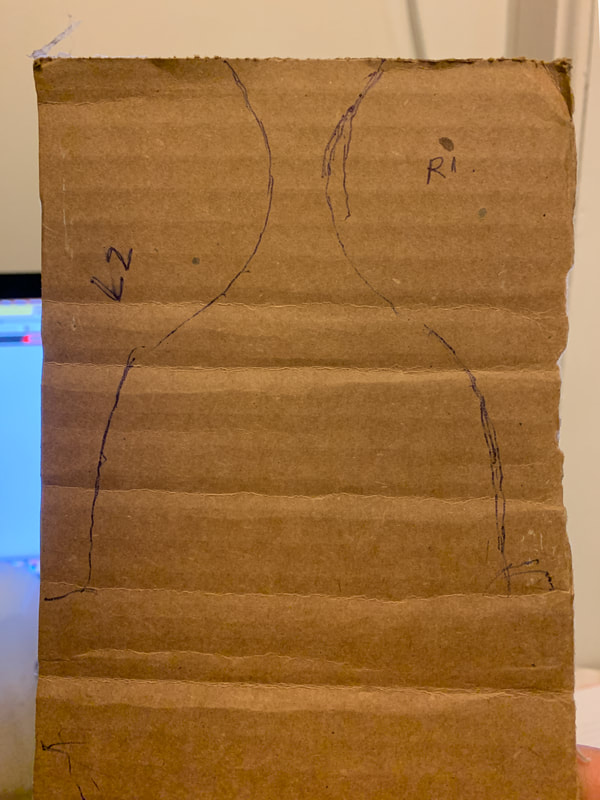
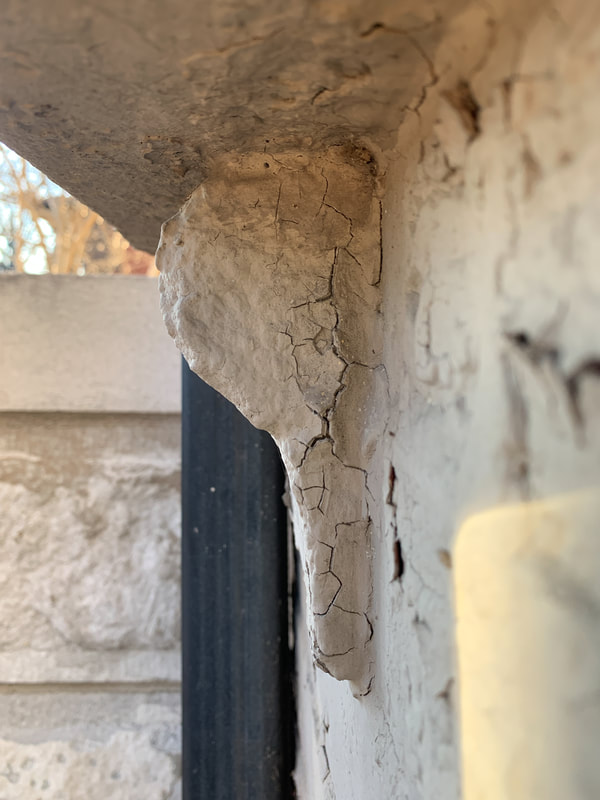
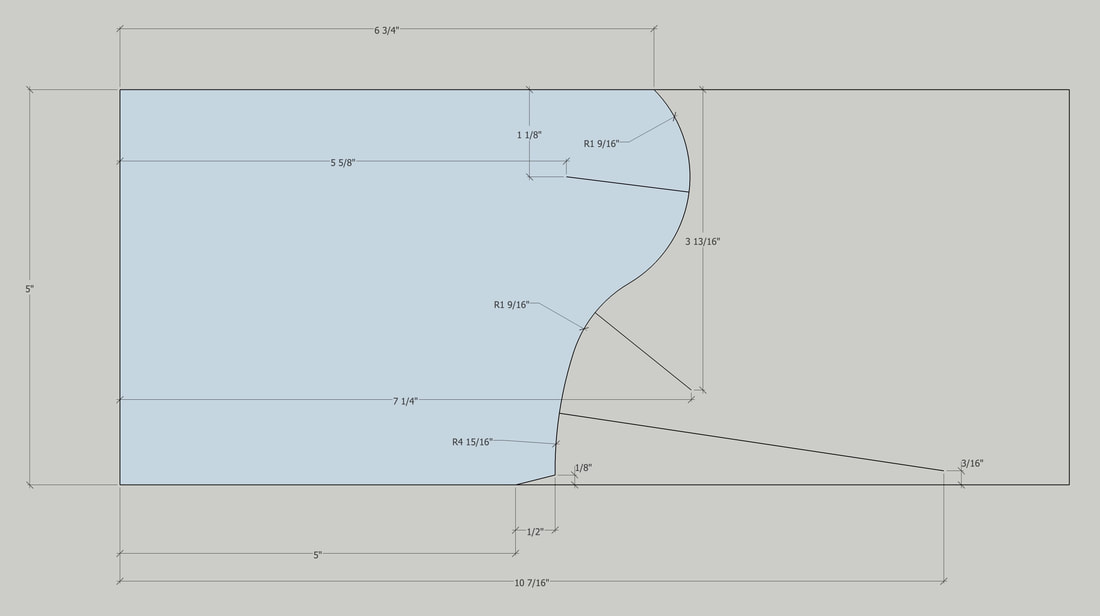
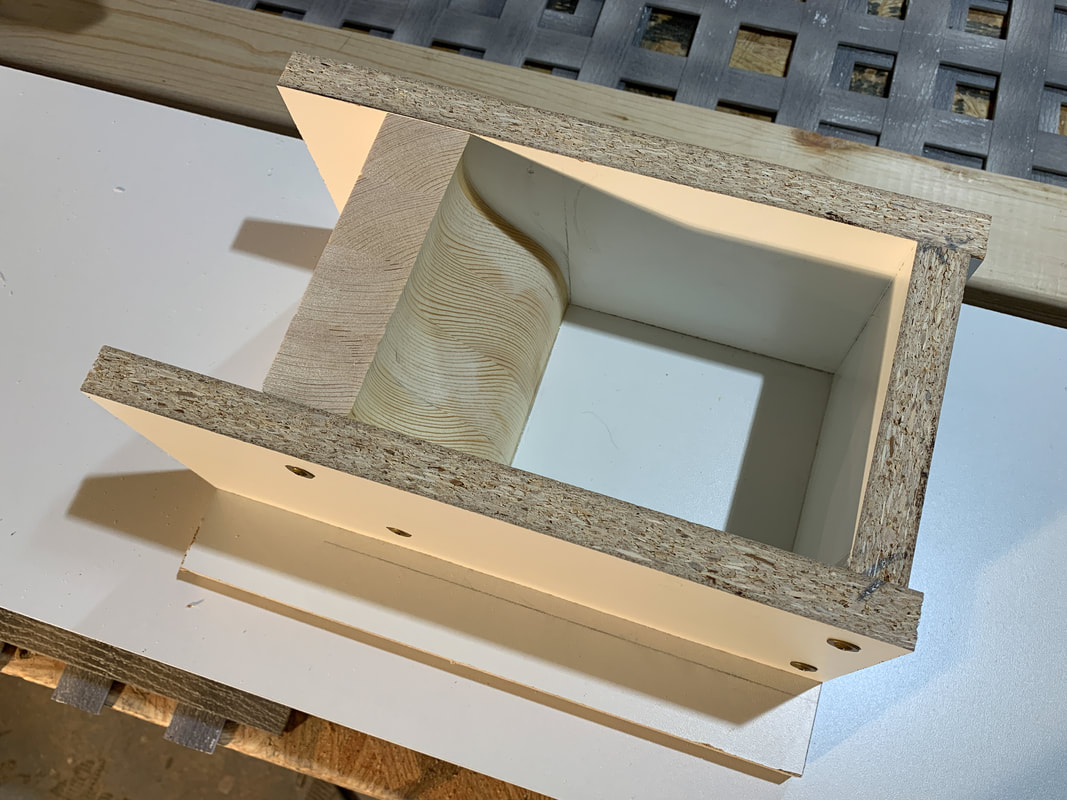
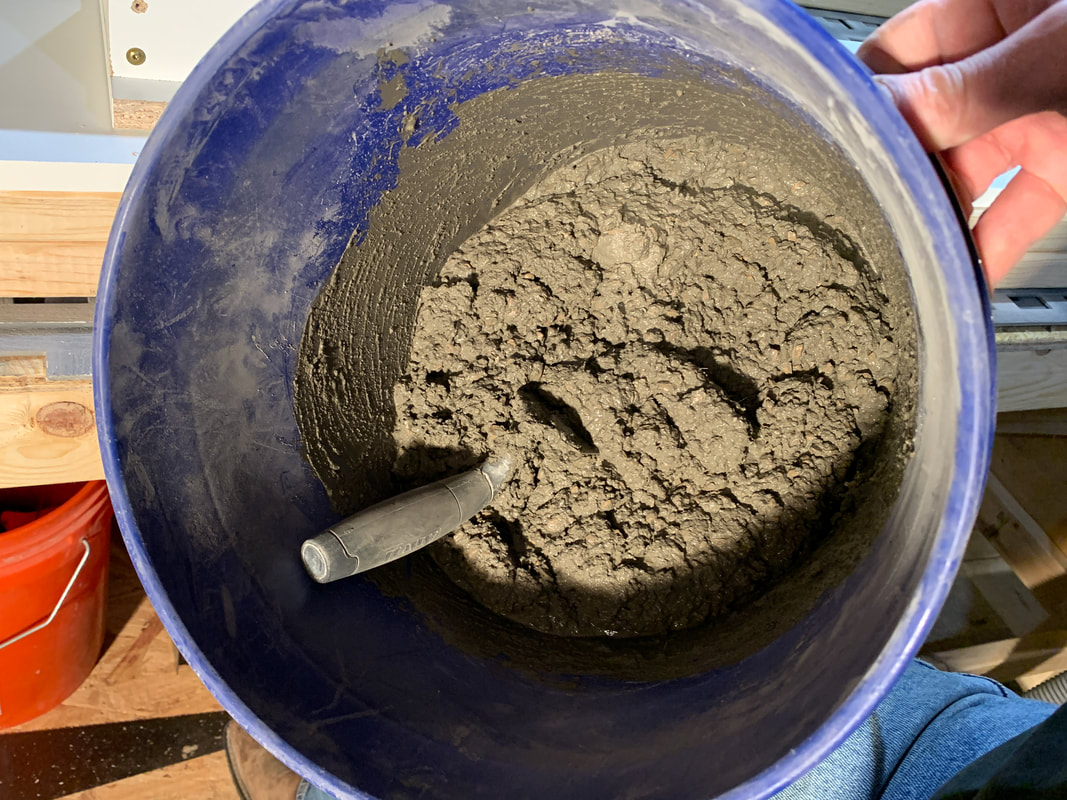
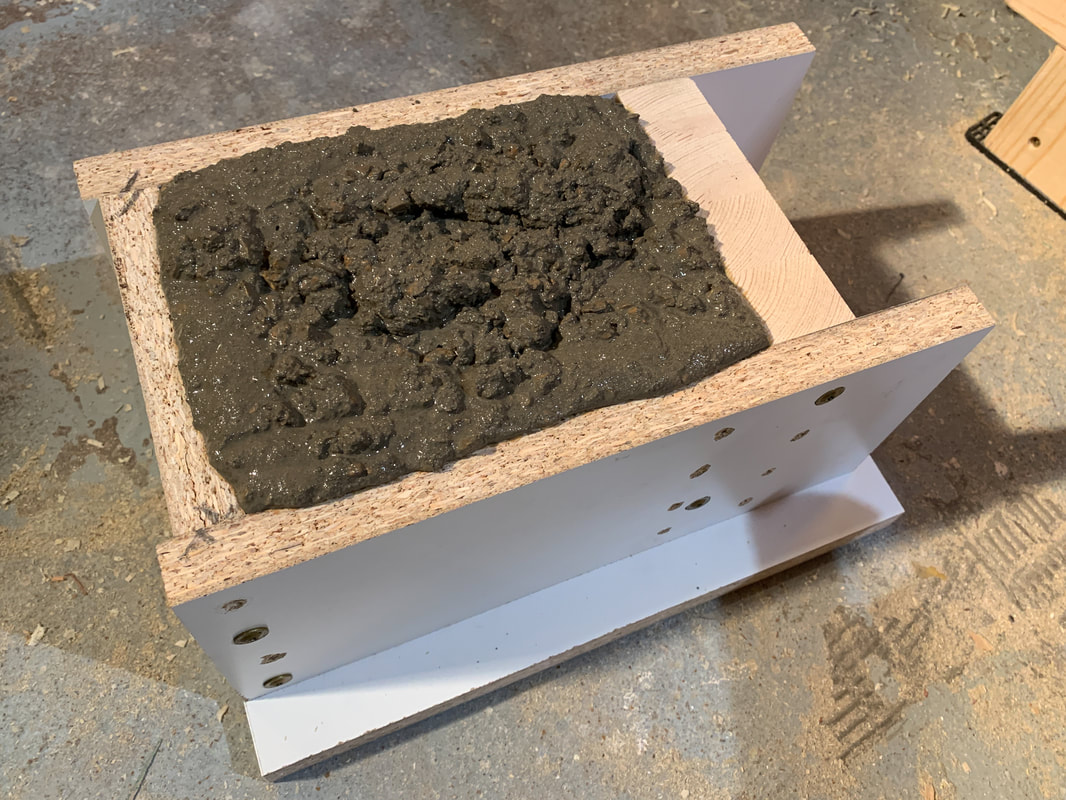
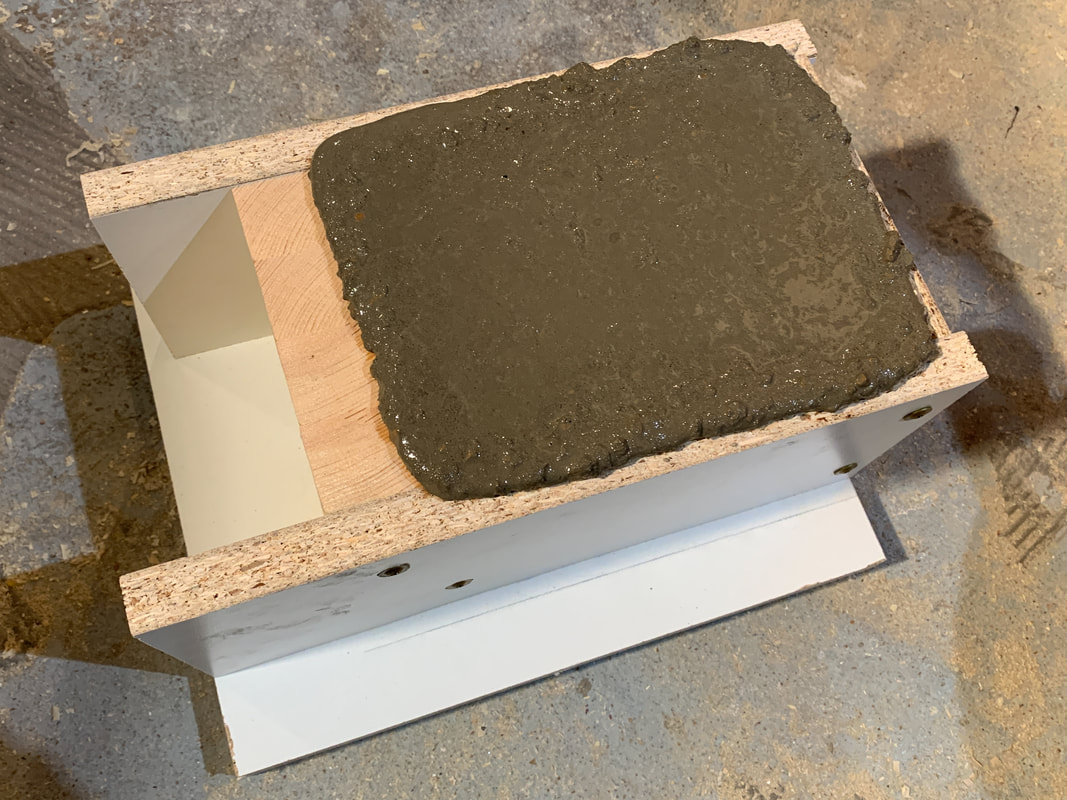
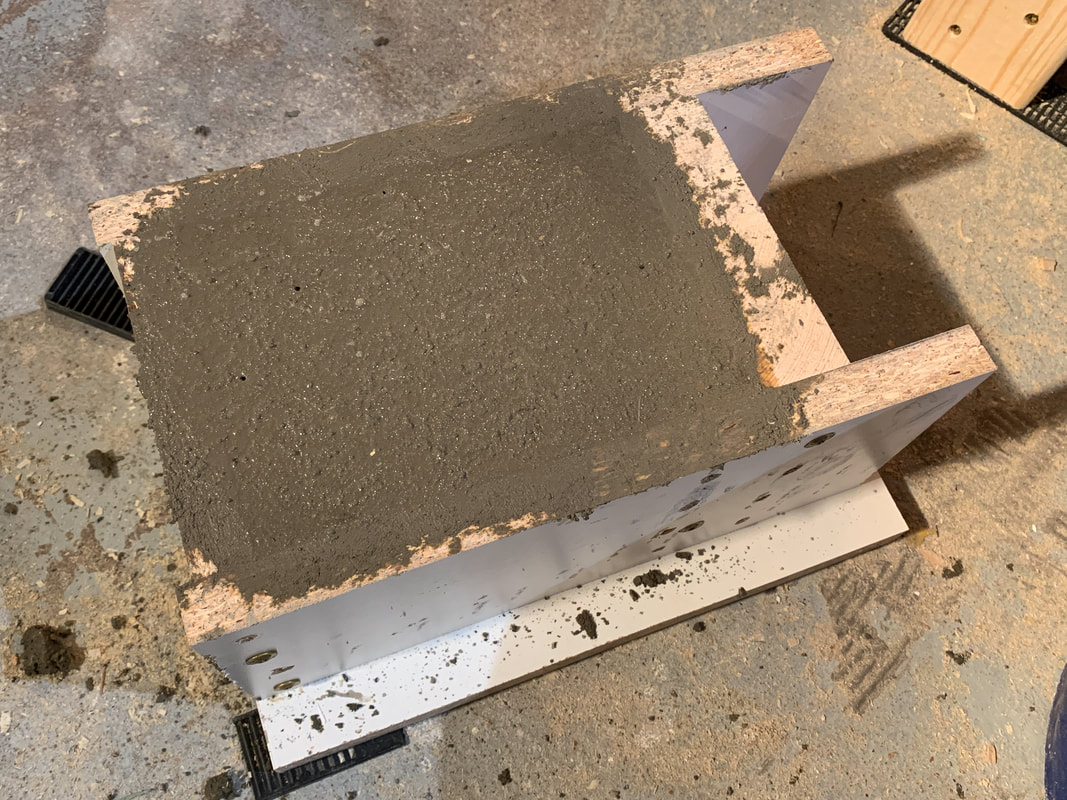
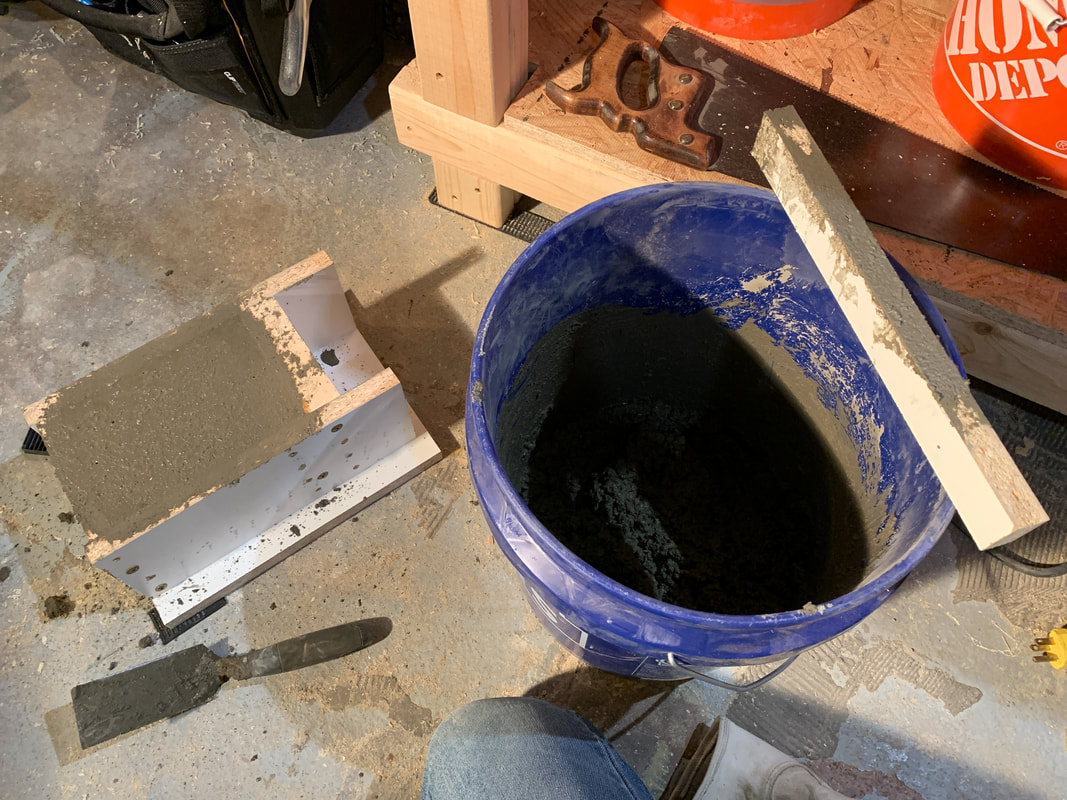
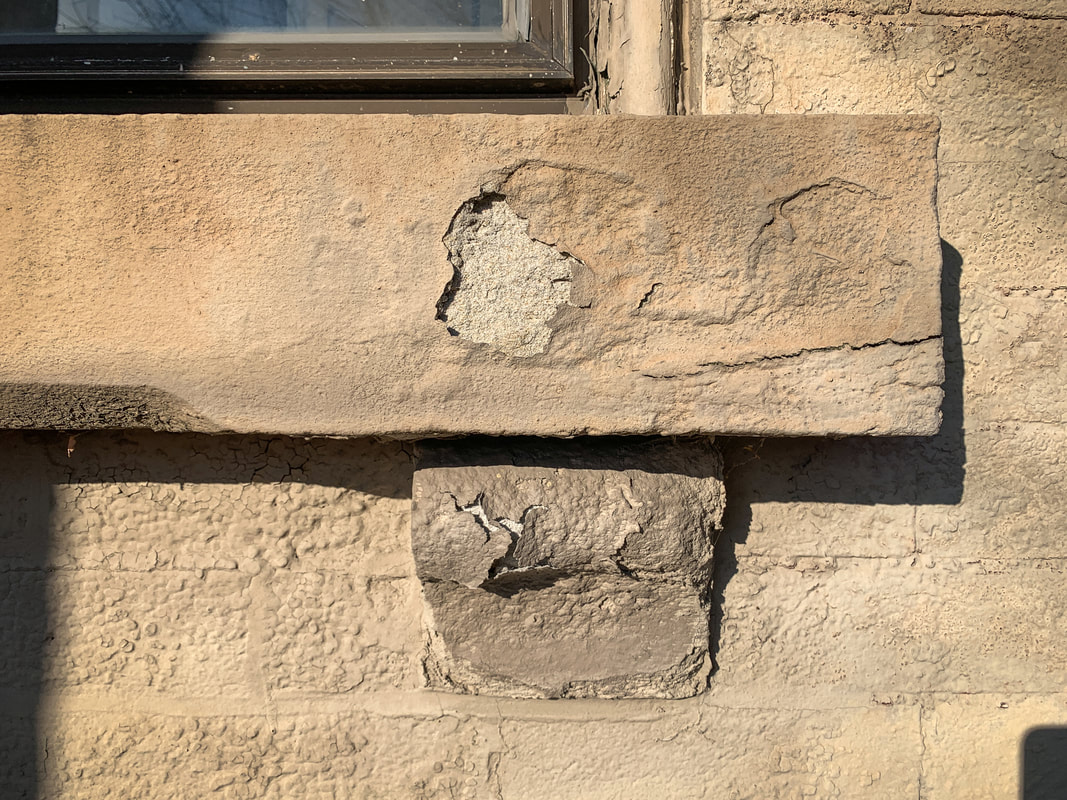
Well...there's some good, there's some bad, and there's some ugly, which is kinda what I expected. It looks like it'd be simple - just pour concrete in the form - but there are some very critical things that have to be just right for everything to work, and it's rare to be lucky enough to nail those things on a 1st try. The good part was the form. It held up just fine and, with a few tweaks to how I go about actually constructing it, I can replicate that process whenever I cast the corbels for real. The bad part was not vibrating the concrete enough after it had been placed. See all those little holes? Those were air bubbles, which is what vibrating is supposed eliminate. Obviously, I didn't do a very good job - either in method or duration - vibrating the concrete. And then there's the ugly, which I sorta saw coming. The concrete mix I used was all wrong, too much relatively large aggregate and not enough fine aggregate. In other words, too much gravel, not enough sand. Next time around, I think I'll go with 2 parts sand, 1 part cement, a tiny amount of plasticizer, and then however much water I need to get a decent concrete flow. So...round 2 will be next weekend, hopefully with better results. Today I took a crack at casting a prototype window sill corbel. Why a prototype? Because I've never ever ever formed up a small mold and attempted to cast a small object, and I'm confident that it'll take me at least 3 attempts before I get a result I can live with. Backing up a hair, I'm going to address some of the more egregious issues on the house's front wall this year. The big ticket item will be the windows and while I'm confident in my ability to build the windows, replacing the precast sills and sill corbels will be a brand new experience. That said, I've poured concrete, I've formed concrete, I've built plenty of things, and in theory, I know how the concrete casting process is supposed to work. But knowing how to do it and having actually done it are two very different things. I started out by trying to figure out the dimensions of the curvy front of the existing corbels. They're so caked with paint and mortar that actually measuring anything was out of the question so I traced around all 4, took a pic of the tracing, dropped the photo into SketchUp, scaled it appropriately, drew the shape on top of the tracing, and reverse engineered the dimensions from that. Building the form, aside from the curved portion was pretty simple, but the curvy portion took some work. Making a long story short, I grabbed a scrap 2x4, cut it into 4 short, manageable pieces, jointed them, planed them, roughed out the curved shape on all 4 on the bandsaw, glued the 4 blocks togethers, let the glue dry, spindle sanded the 4-block assembly to its final shape, and then cut the assembly to the appropriate height. The rest of the form was just melamine-skinned particle board, quick and dirty. When the entire form was assembled, it looked like this: Then I mixed up some concrete, using whatever seemed like the most appropriate concrete variety available at the big box stores. Normally I'd go to the local concrete supply place a couple miles down the road and get something based on advice from people who know what's what, but they're only open M-F and I didn't get around to buying materials until today (Saturday), after what's becoming a weekly Saturday morning excursion, taking Freckles to Tower Grove Park. Anyhow...I mixed up concrete. I don't think I picked a great product for this application, it seems like I need something with smaller aggregate to get a good finish. I'll find out tomorrow when I strip the forms. The rest of the job was straightforward: put concrete in the form, vibrate everything to remove voids and (hopefully) liquify the concrete a bit such that the sides will all be nice and smooth (vs. real aggregatey), screed it, then let it sit overnight. I wasn't real concerned with tooling the top; 1, this is just a prototype and 2, no part of the top will never be visible. Today's exercise was primarily to run through the process of building the form and figuring out if my concrete mix will work. I made a couple mistakes in the construction, and sorta painted myself into some corners when building the curved portion - very small pieces of wood take a lot of tools, like the table saw, planer, and jointer, out of the equation - but it was a good learning experience. Tomorrow I'll strip the forms and see how she turned out. With any luck I'll only have a couple things to correct, but there's also a chance it'll turn out halfway decent. Either way, once I get the corbel casting figured out dealing with the sills ought to be pretty easy. Let's take a break from the neighborhood analysis for a minute to cover a quick - but fun - little project I tackled over the weekend. Technically, I didn't tackle the project I set out to tackle initially, but I still tackled a project and got some valuable info. 30,000 foot view, earlier this year I decided to make 2023 the year I (finally) address a good chunk of the front of the house. That means repointing all the limestone, repointing the brick where it's needed, and rebuilding the windows. And I mean REE-BILL-DING the windows:
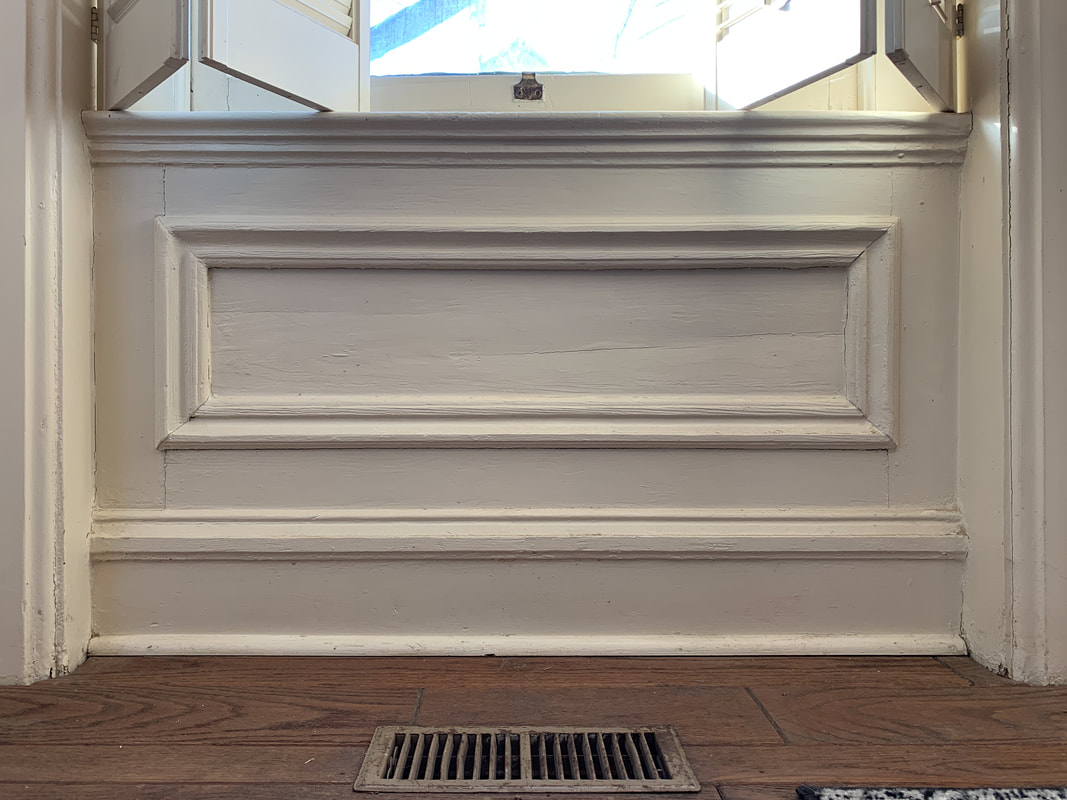
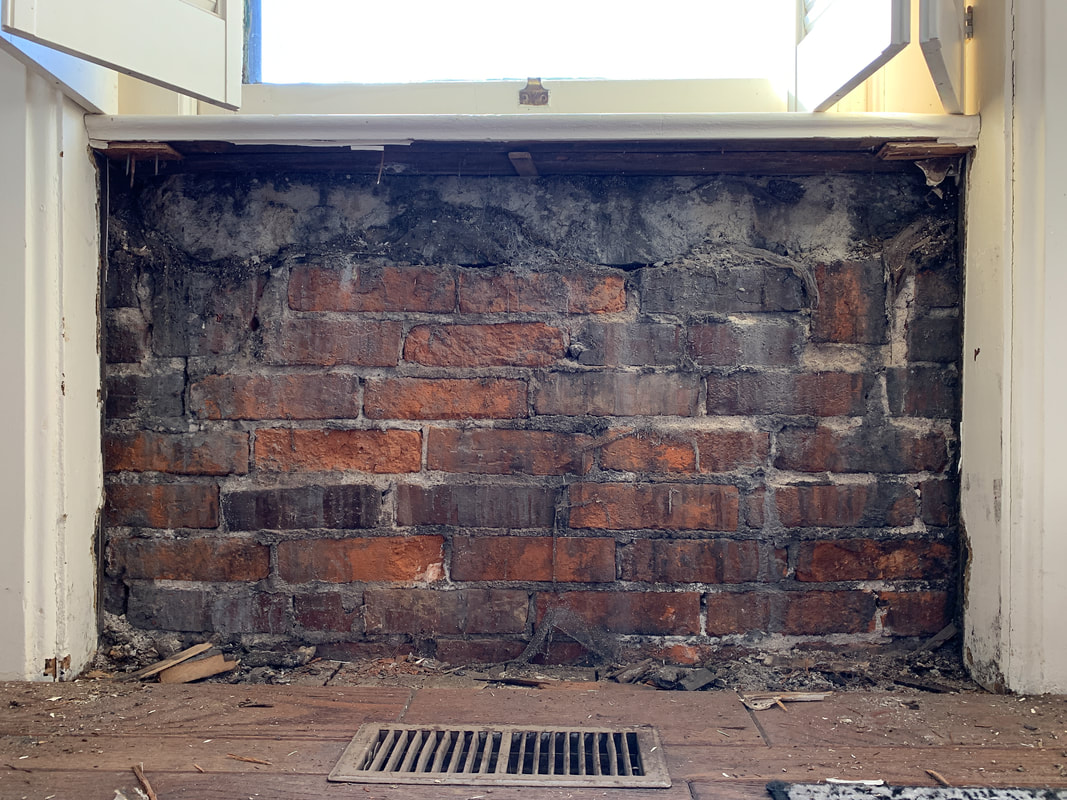
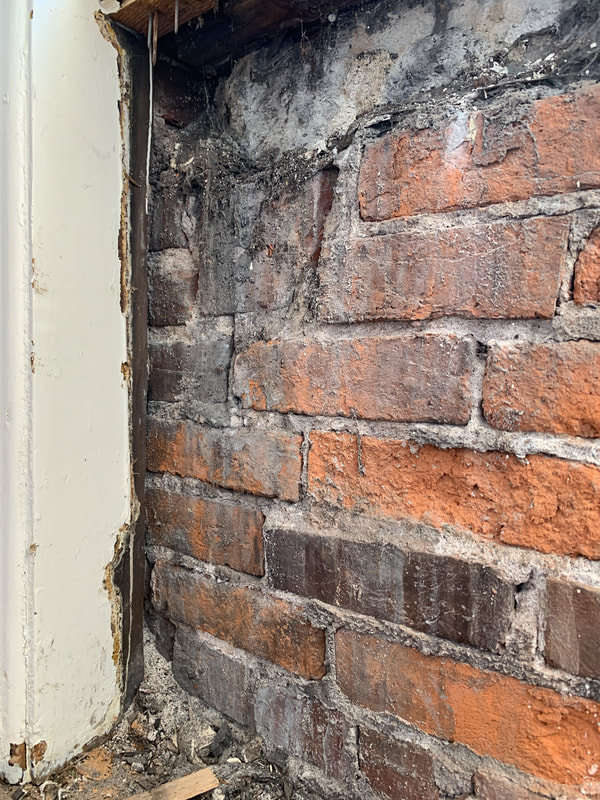
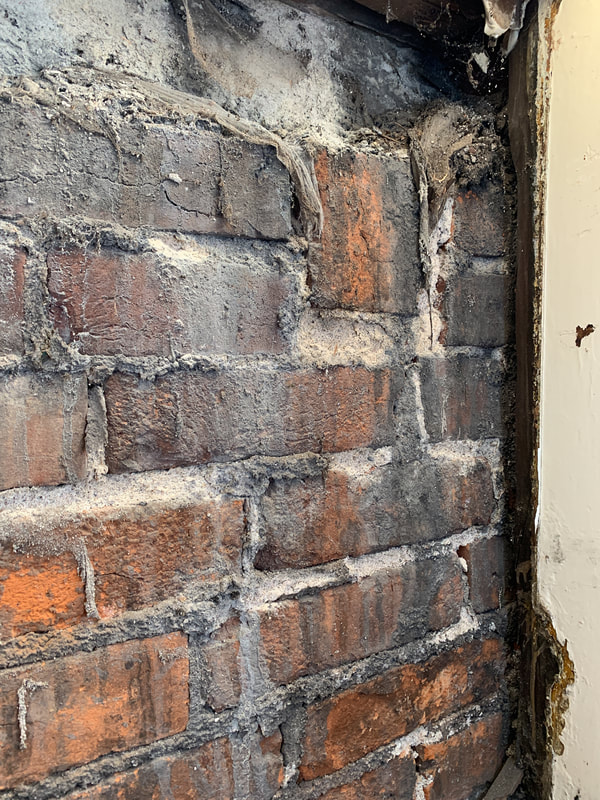
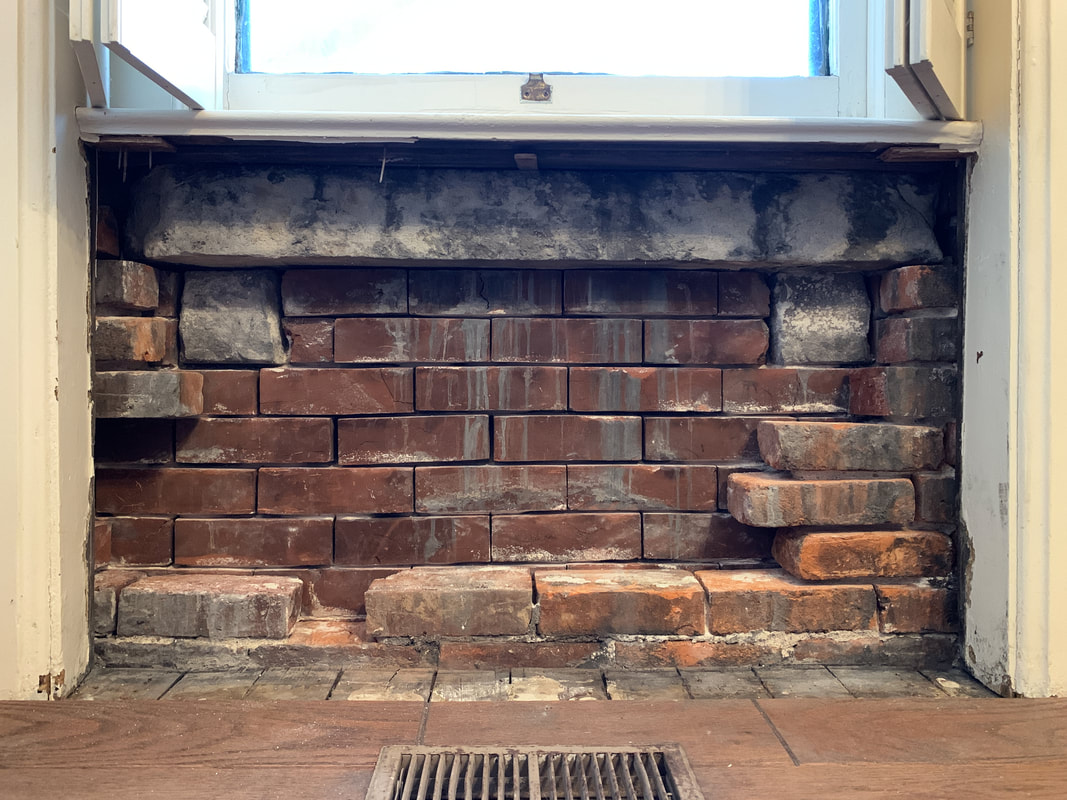
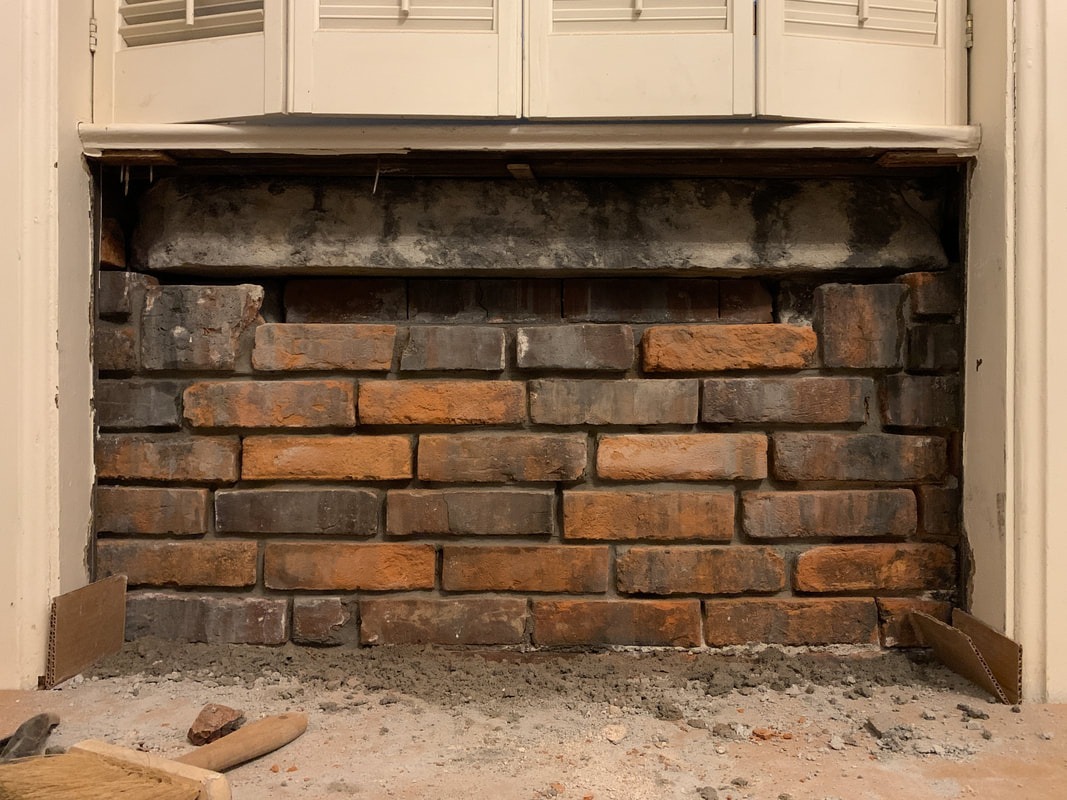
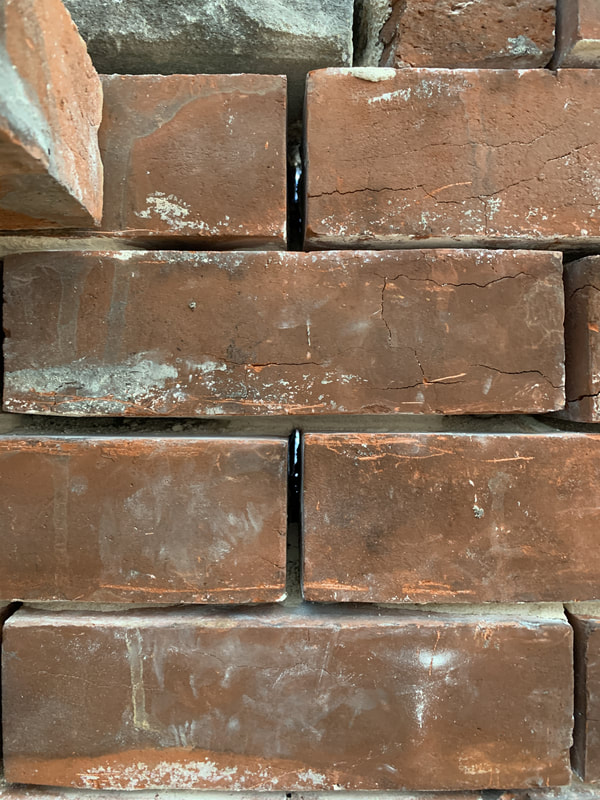
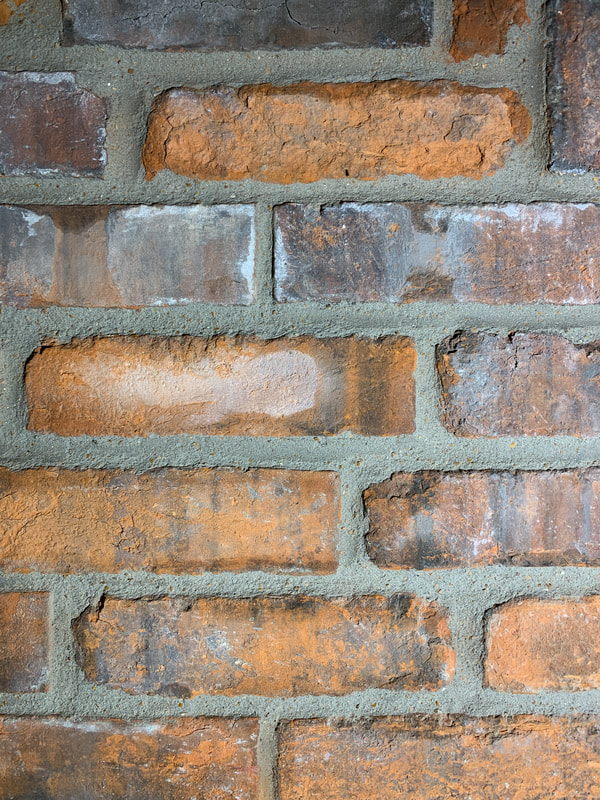
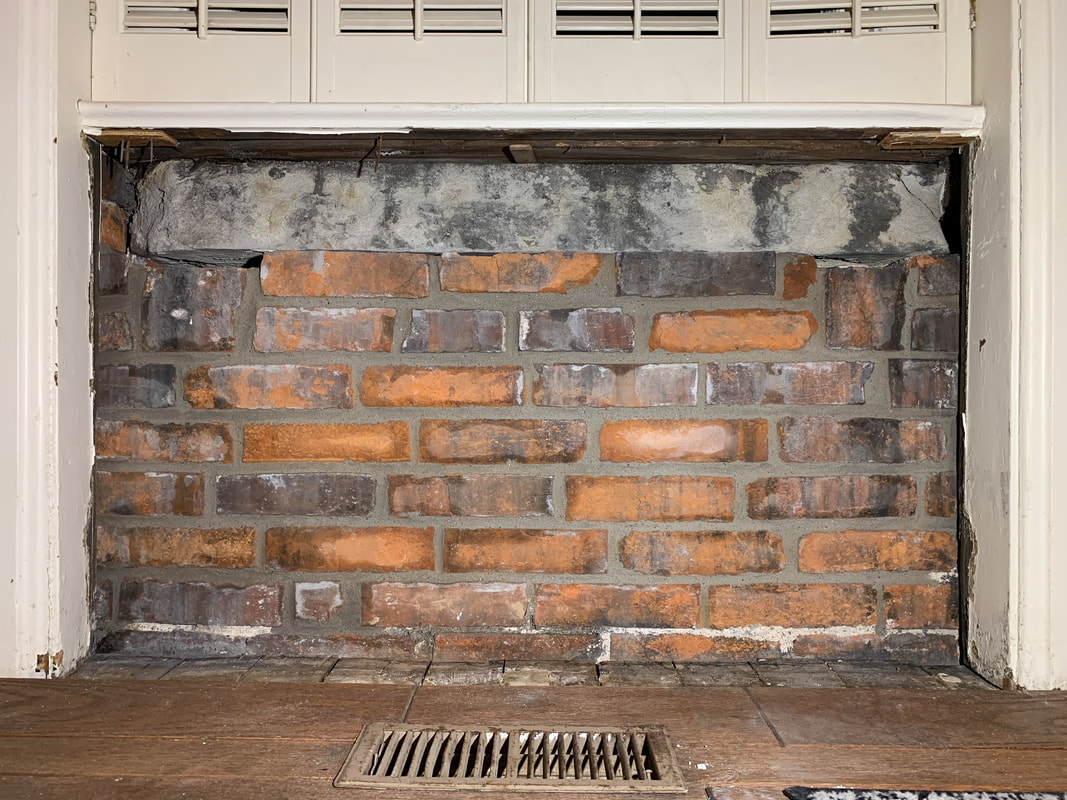
This pic obviously doesn't show EVERYTHING that's goin' on, but it's the gist of it. It's all bad. One of the first things I need to do is make the sills and sill corbels. Since I've never done anything like that before, I'm guessing it'll take a few tries to get it right. My game plan for last weekend was to try casting a sill corbel. Getting the exterior dimensions was easy enough but I needed to know how far into the wall those things went, and the only way to figure that out was to remove the original millwork under the window on the inside of the house. I was going to replace the millwork anyhow, given its condition. While the panel removal yielded the dimensional info I sought, it also revealed some brick in pretty rough shape. I figured I might as well repoint the brick while I was there, but about 2 seconds into removing mortar I realized I could pull the entire inner wythe apart with my hands. So I did. See those 2 square, gray-colored things? Those are the backs of the sill corbels. That's what I was hoping to find. The rotten mortar holding the wall together, not so much. With the inner wythe out of the way, I could see daylight through the wall in multiple spots. I haven't repointed any brick in about a year and a half so it took me a minute to get the feel for the tools, but before too long I was slingin' mortar and stackin' brick. I dunno why, but it always makes me happy to go from holes in the wall to no holes in the wall. The whole job took about 10 hours of work, start to finish. I didn't mortar up under the window sill because it's coming out later this year and there's no sense in making that job more difficult than it needs to be. Maybe NEXT weekend I'll get around to casting those corbels... |
Archives
July 2024
|
