|
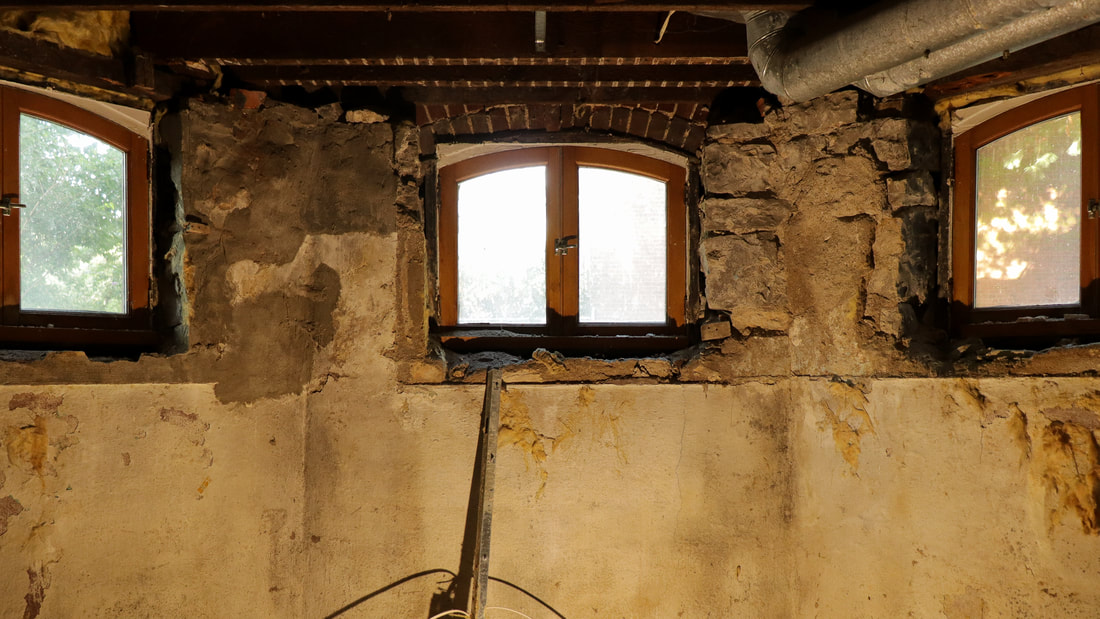
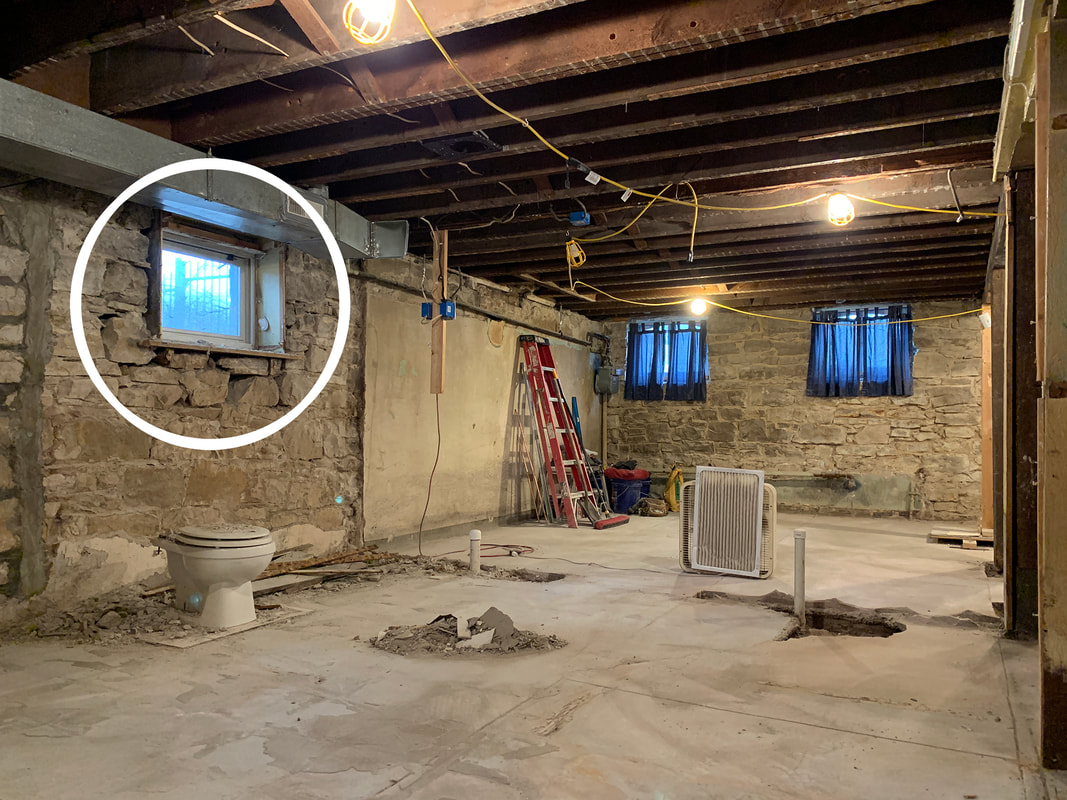
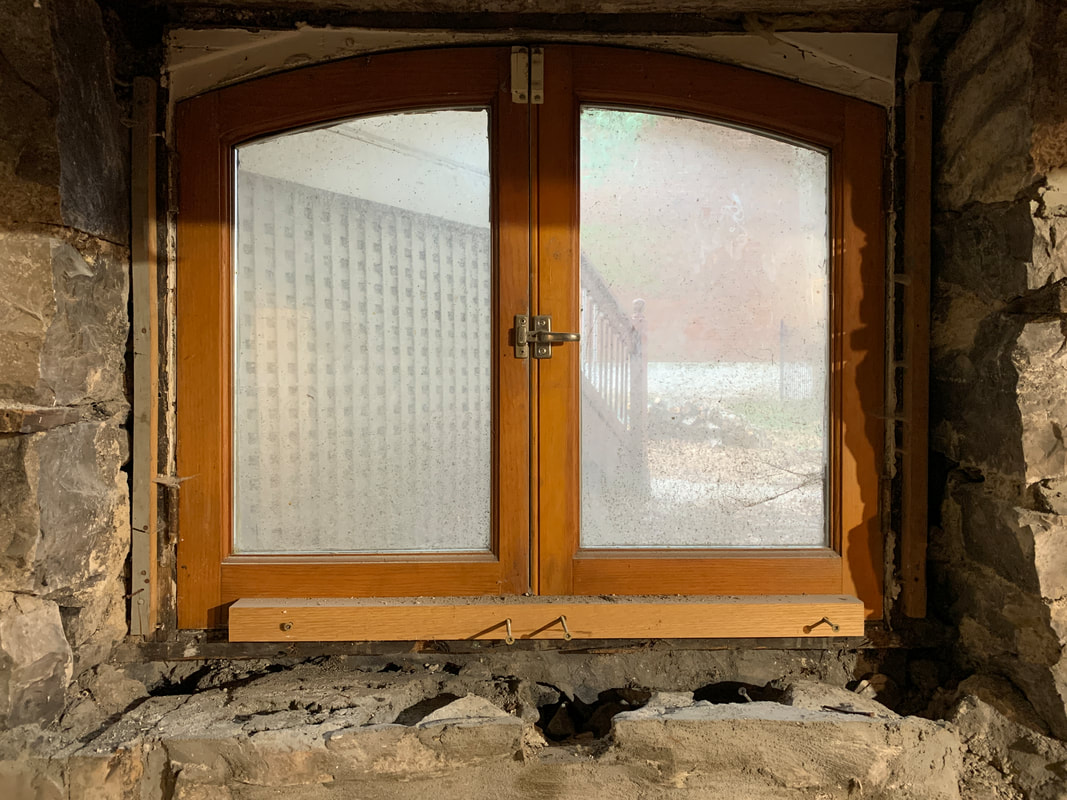
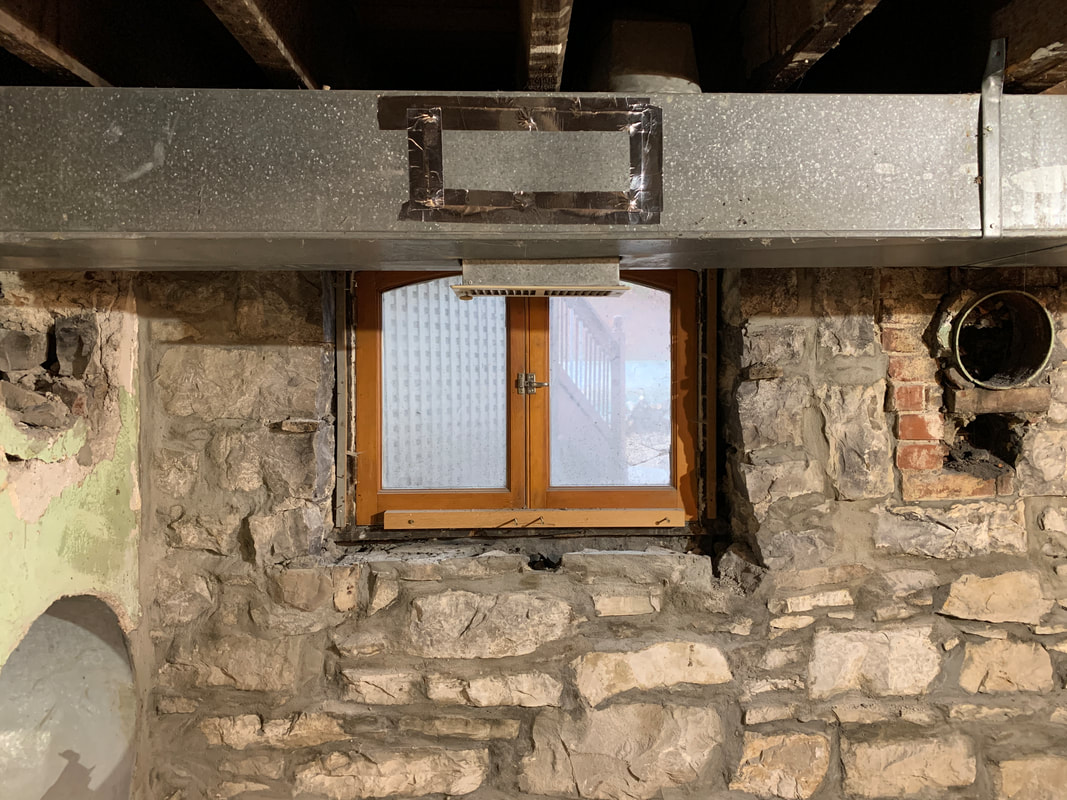
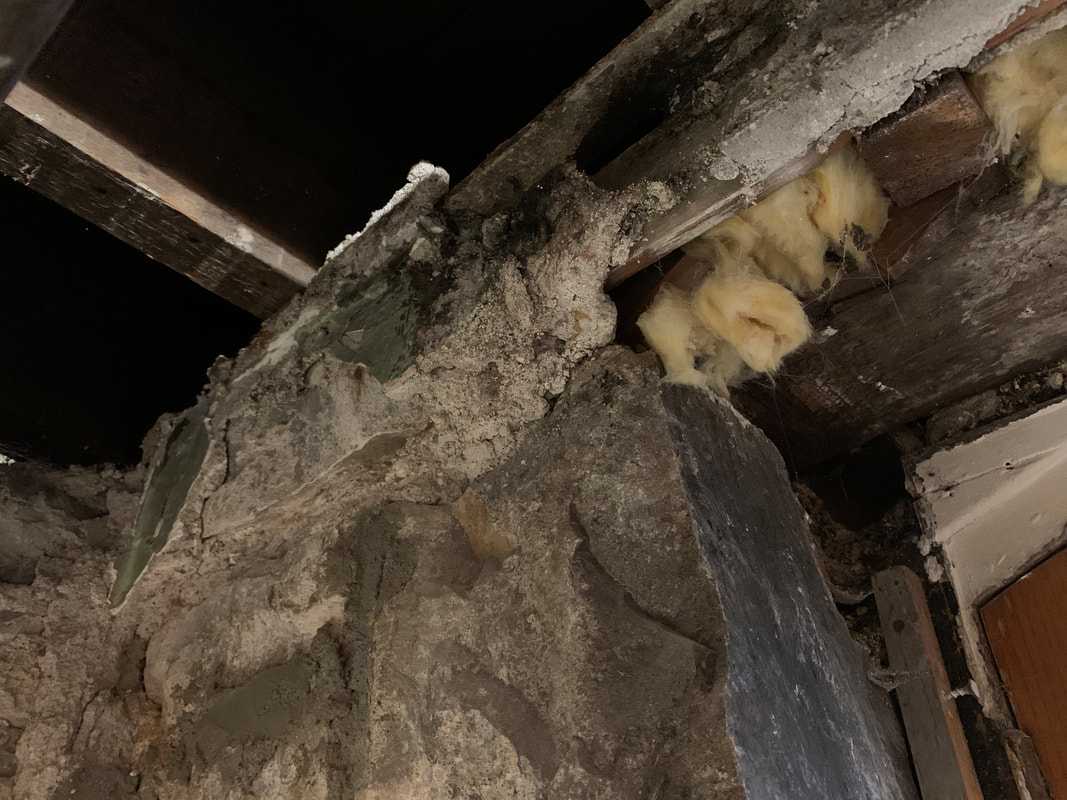
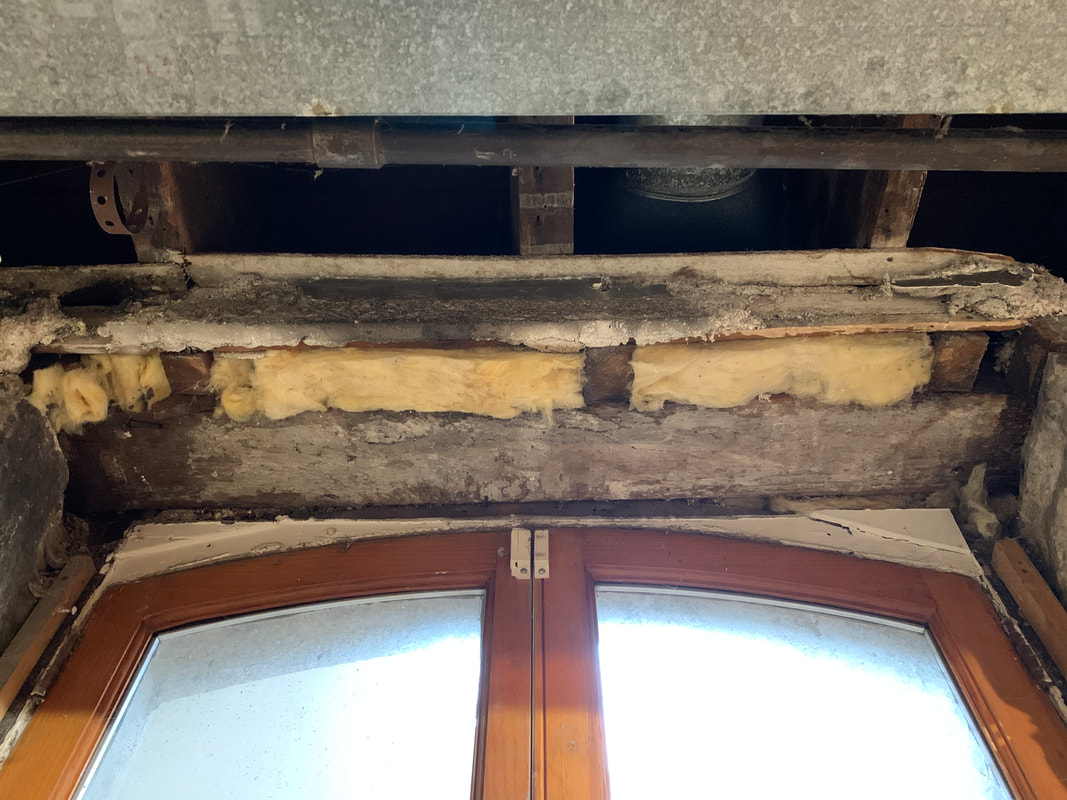
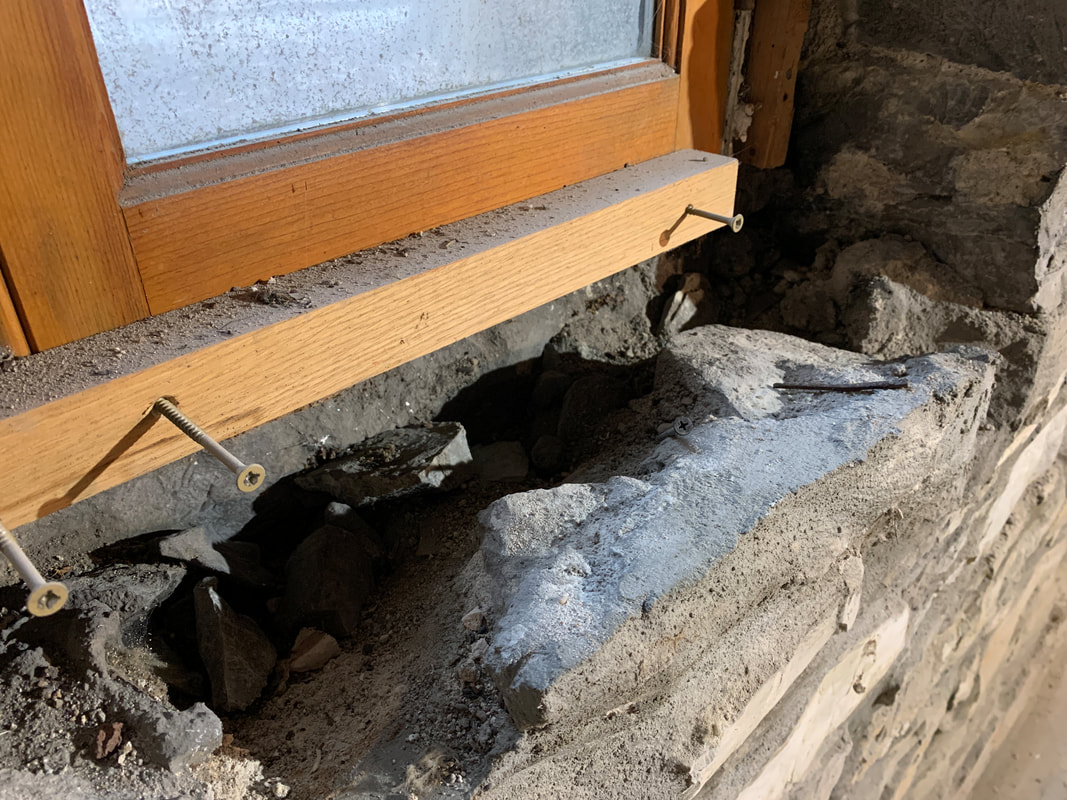
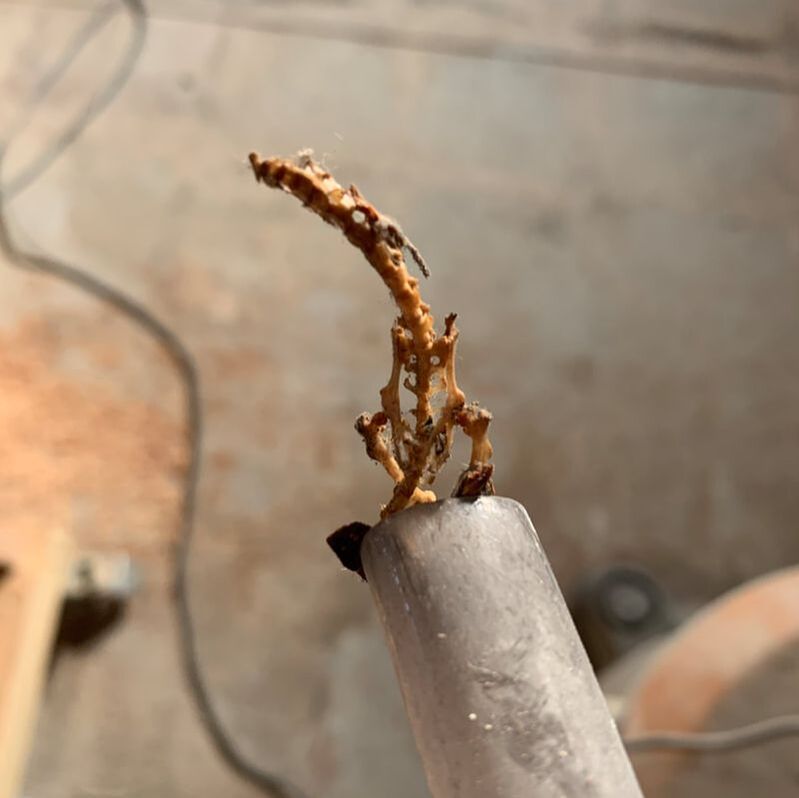
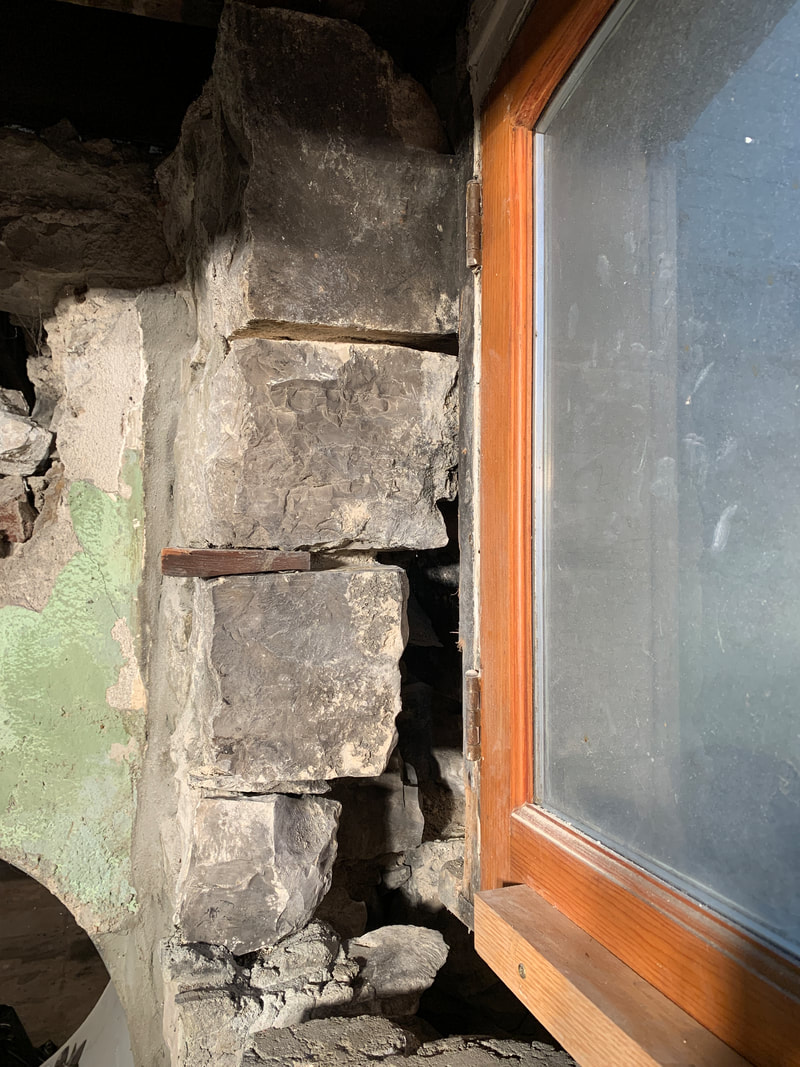
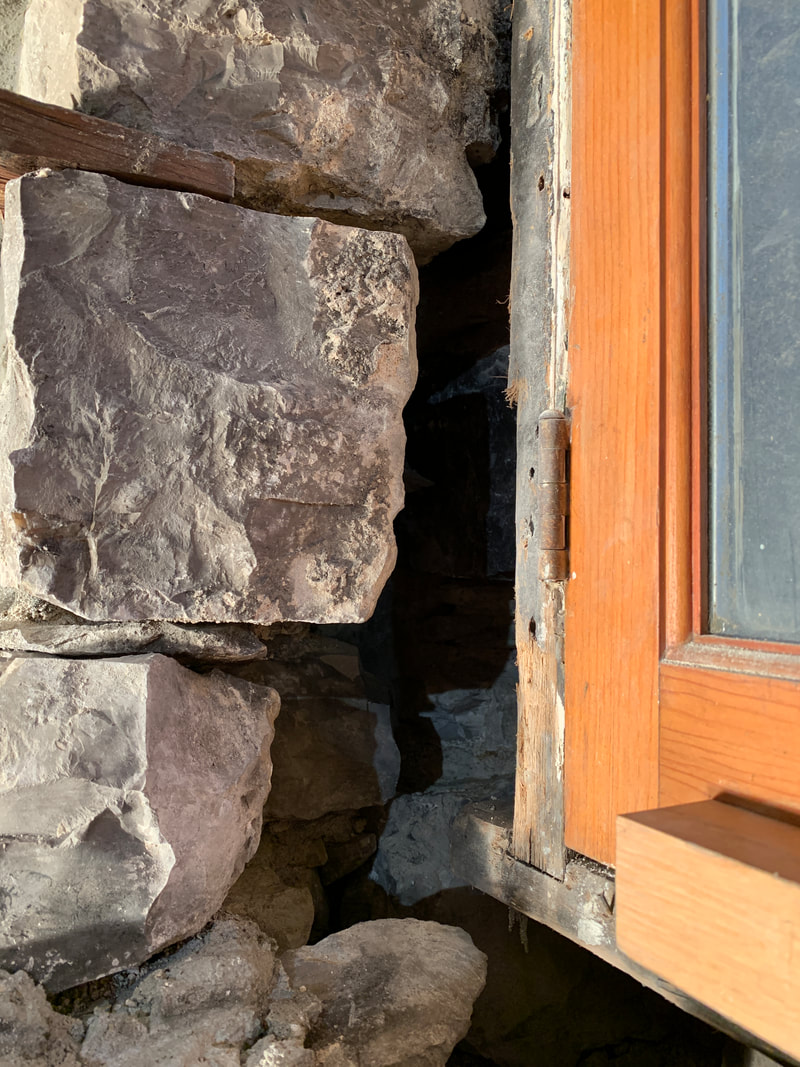
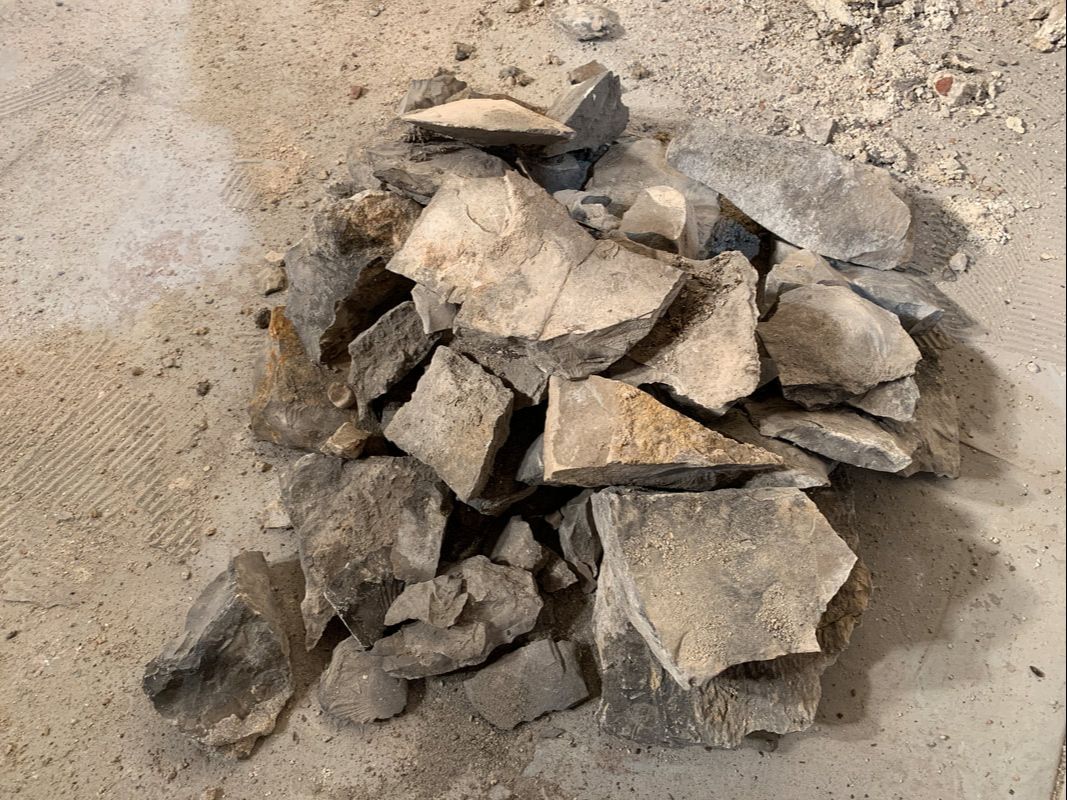
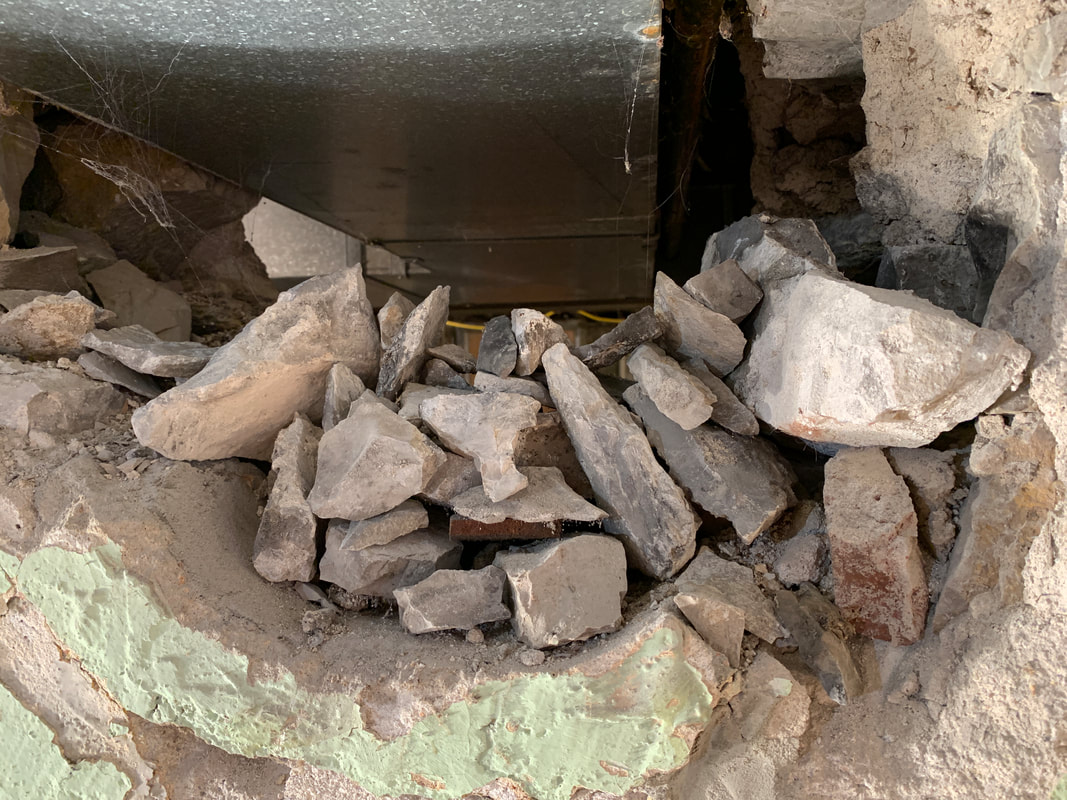
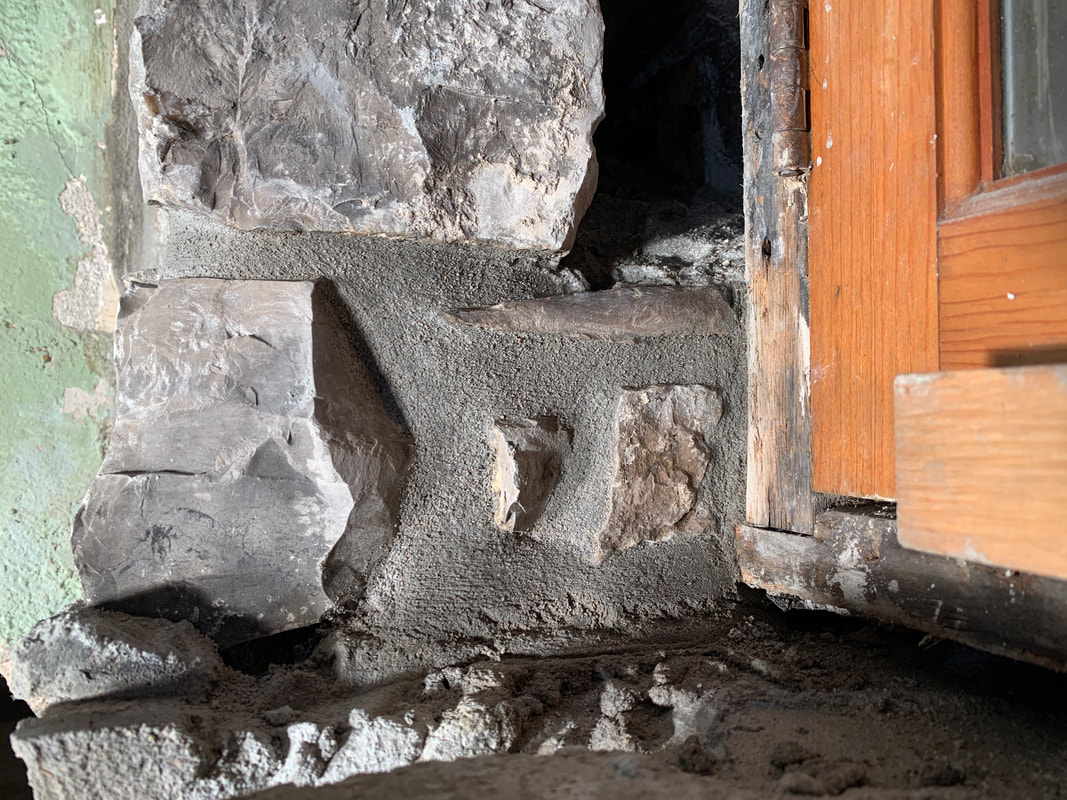
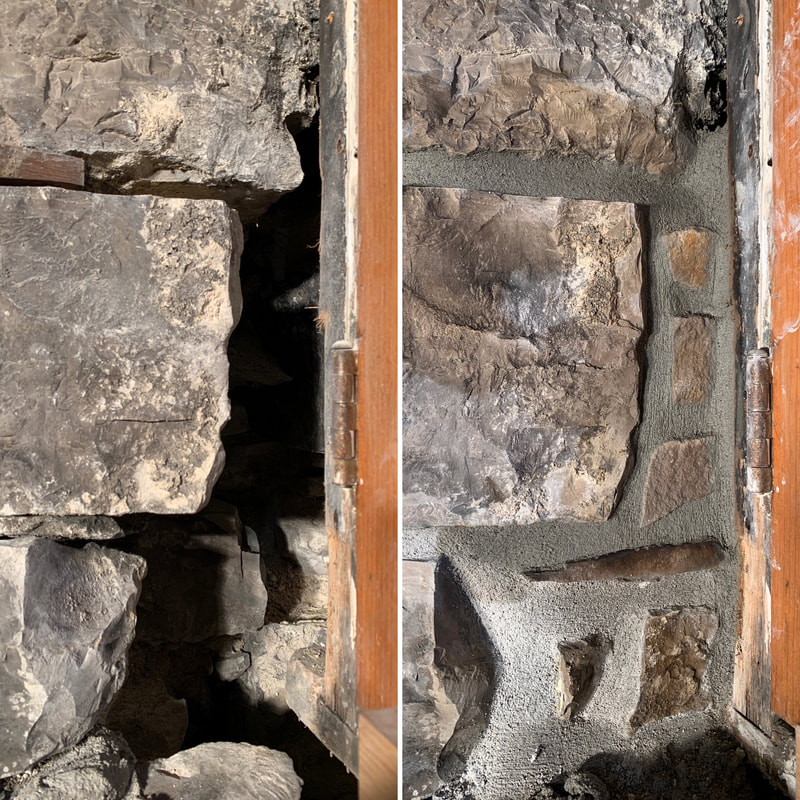
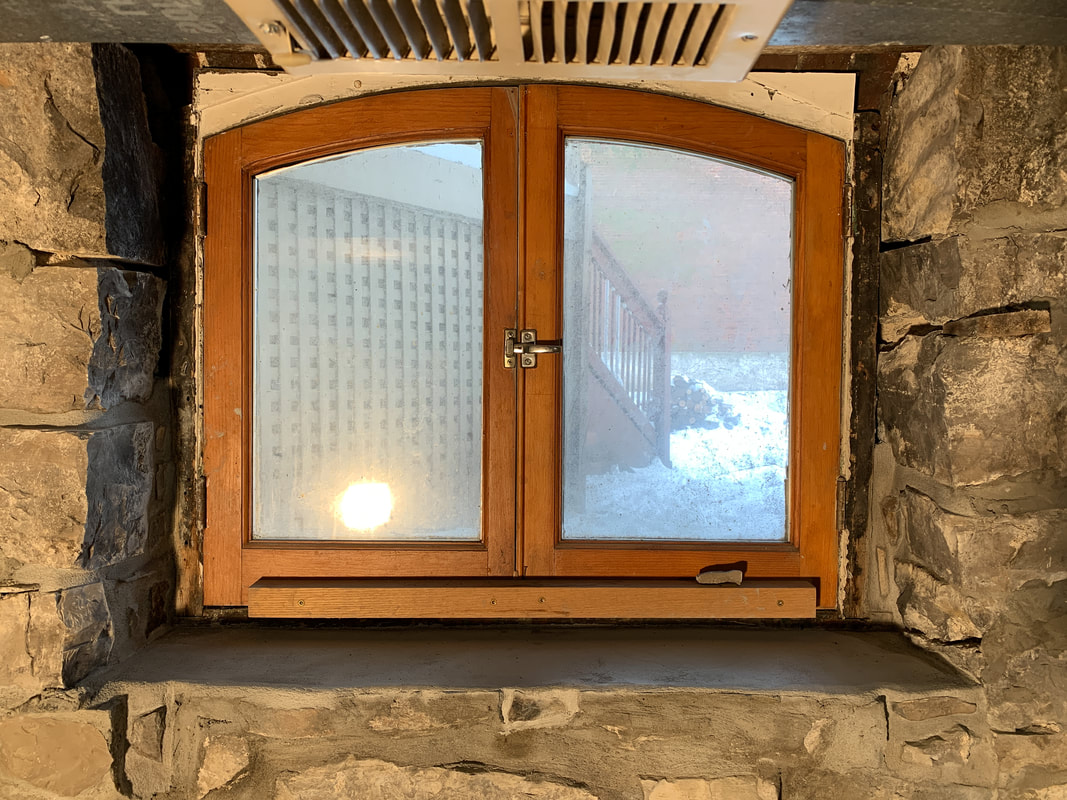
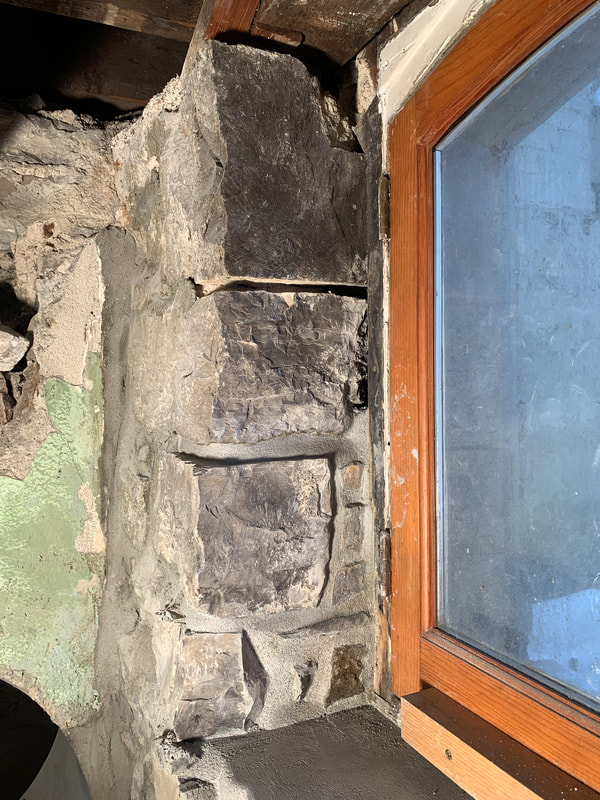
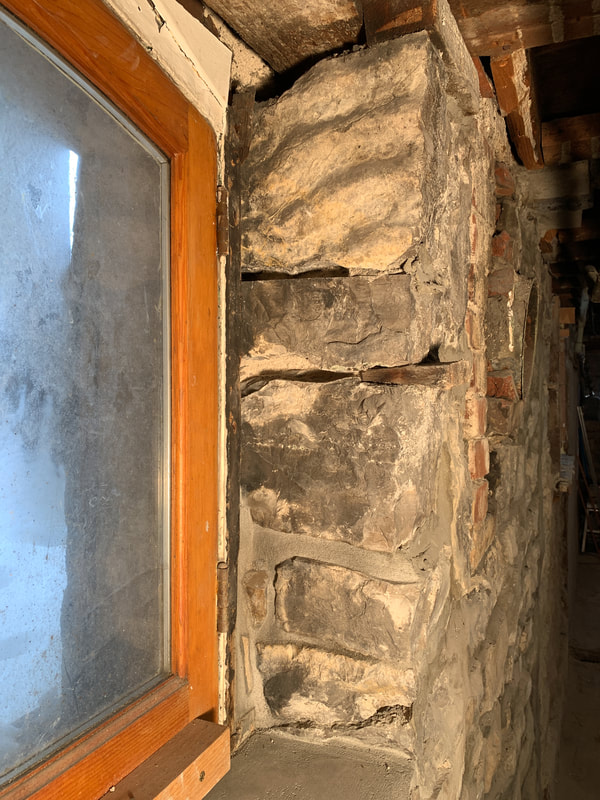
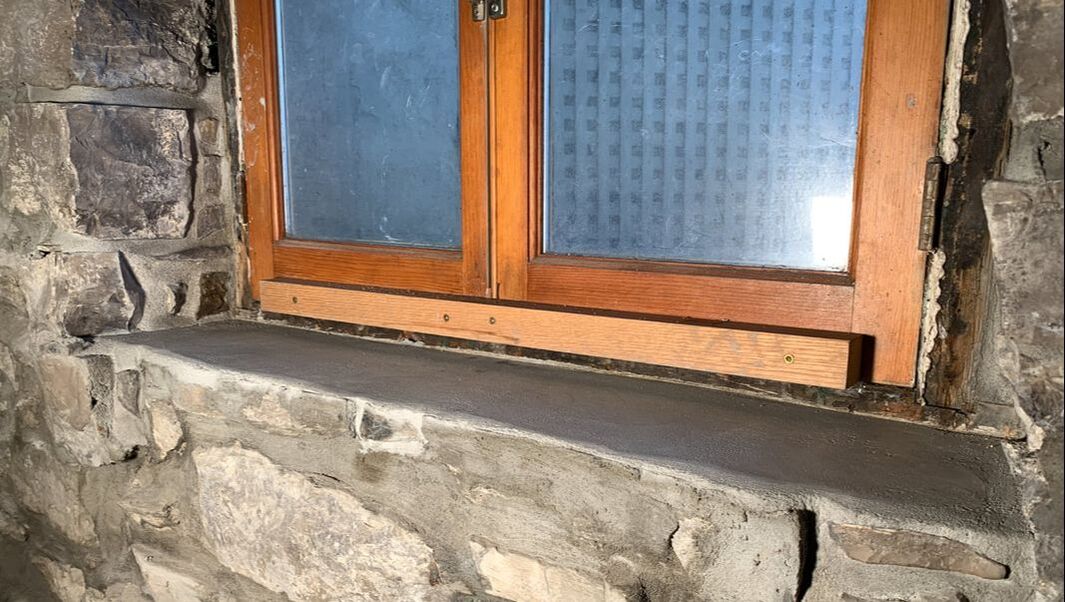
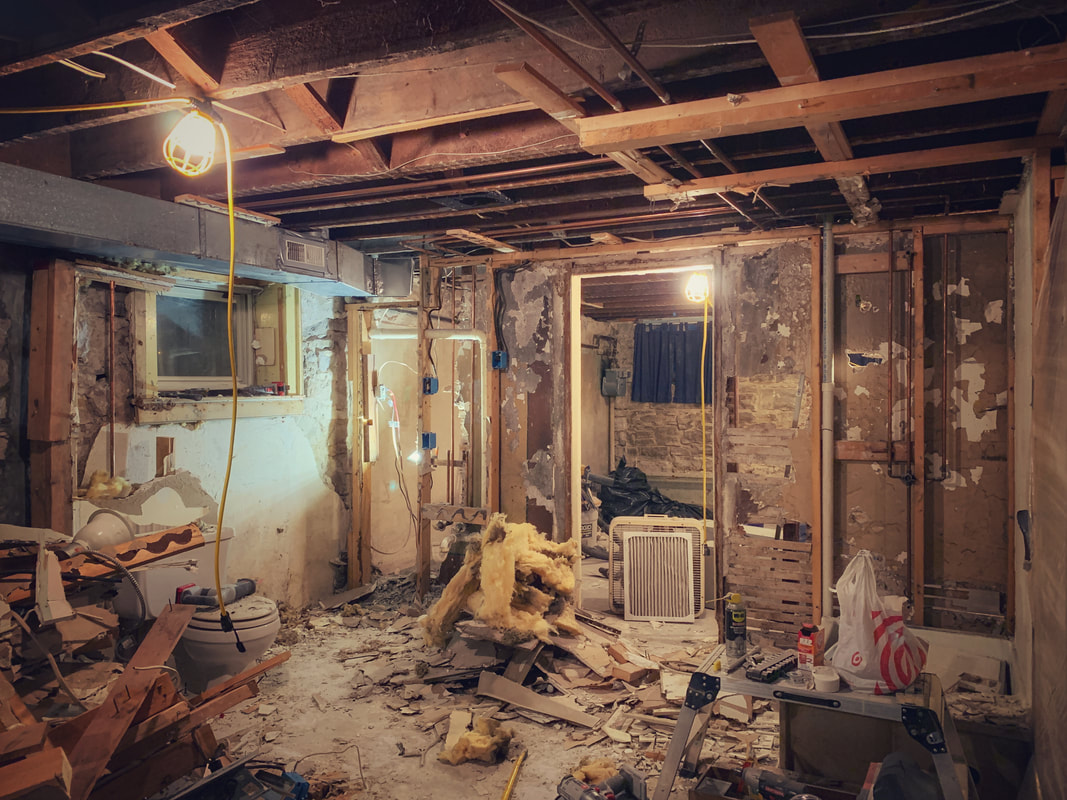
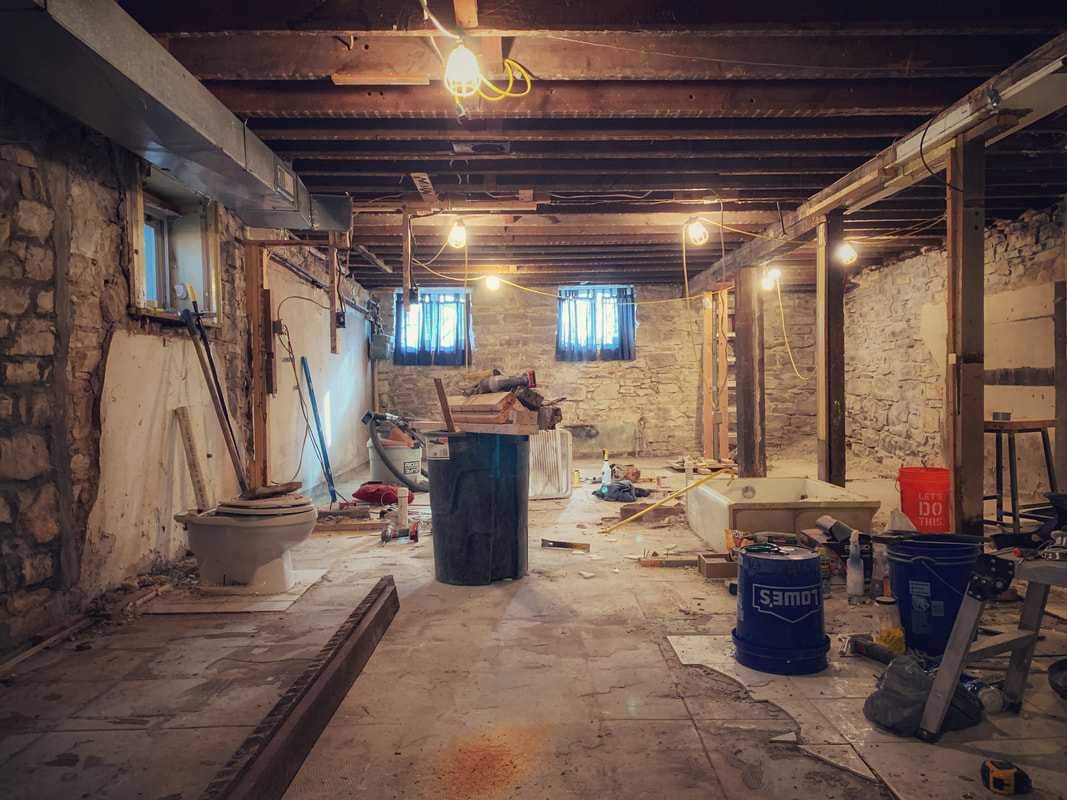
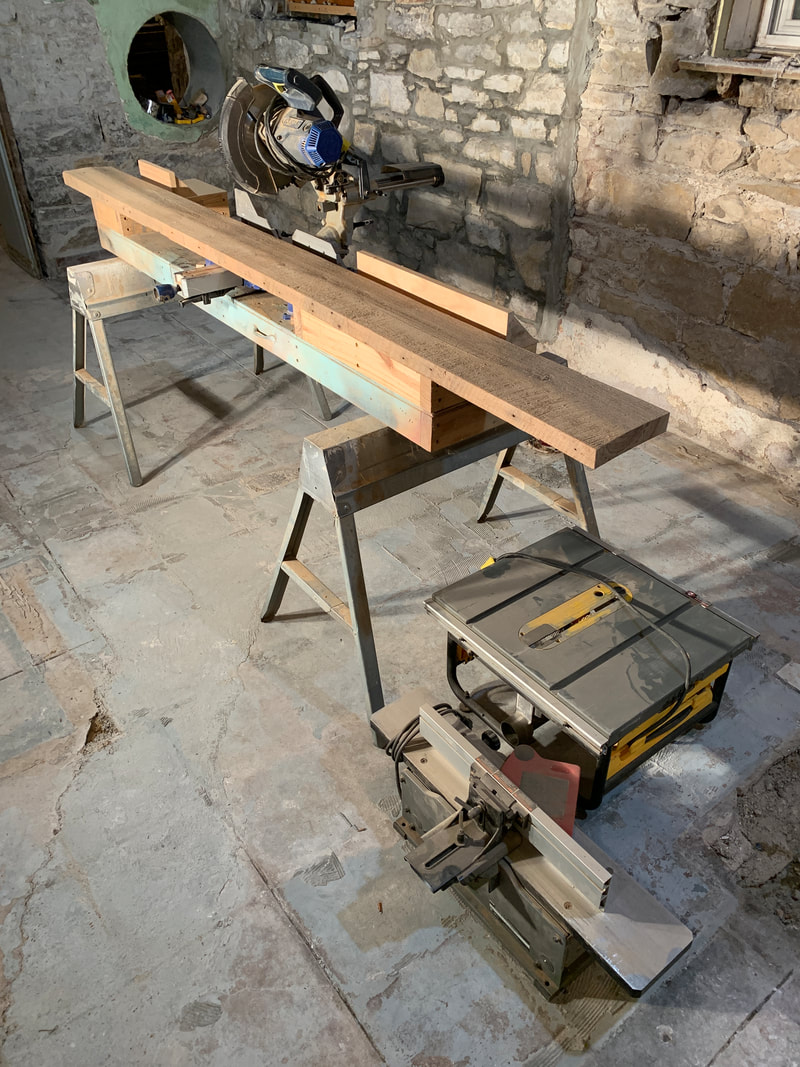
Last year I gutted the basement. I didn't pull every last nail or scrape every last plaster crumb off the walls, but I knocked out the bulk of the heavy lifting. While doing that, I discovered that the stone around the windows - particularly in the angled, bumped-out section - was in rough shape. With the drywall, insulation, and framing removed, this is what I was left with: At the time, at first glance, I felt like these 3 windows (of 9 basement window openings in total) were the worst of the bunch. They obviously needed to be repointed at the very least, but that project didn't rank real high on the priority list. Later in the year I demo'd the basement bathroom and in doing so, I discovered a brand new candidate for the basement-window-opening-in-the-worst-shape award: The bathroom window had obviously been a mouse infiltration point, which made the window repointing project creep a little higher on the priority list. I decided I'd better inspect all the windows a little more closely, and because this was December and it had started getting cold outside, I realized that there were a couple window openings allowing a lot of outside air into the basement. Like, it was discernibly windy INSIDE the basement near some of the windows. In particular, the window north of the bathroom window and south of the bump out windows was the worst air infiltration culprit. That's where I started repointing. This is that window opening, before I started raking out old mortar. It's a tough window to photograph because a big duct runs directly overhead, but here's a little context: The stone foundation makes use of some interesting construction. There's an outer wythe, for lack of a better term, of large, super heavy stones with relatively flat faces. There's an inner wythe, made up of somewhat smaller stones that have somewhat flat faces, and then in between, it's like the builders just dumped mortar and all the smaller, stone off cuts to fill the void between the wythes. If and when water gets in the wall, which will happen if windows aren't properly maintained, the stones hold up just fine. But the mortar, that's a different story, and in the interior space that's just as much mortar as it is stone, that's where these windows really have some issues. Anyhow, I started cleaning up the window, removing old insulation, trim, plaster, anything that wasn't window, stone, or mortar. This included getting a skeleton stuck in the shop-vac. After that, I started raking out mortar. I sort of assumed I'd be able to remove quite a bit, but what I hadn't anticipated was having it fall apart inside the wall to the extent that I could reach my arm - up to my elbow - into the walls to pull out loose stone. When it was all said I had removed plenty of mortar and quite a bit of loose stone. Then I started putting things back together. This window was tricky because I had to work from the inside out, starting with the big voids deep inside the wall on either side of the window. I did my best to find appropriately sized stones for the various nooks and crannies, but because I couldn't really see what I was doing, the work was ultimately an exercise in dumping a LOT of new mortar back into the voids, spreading it around as best I could, stuffing rocks into the wall as far back as I could push them, adding more mortar, spreading it around, and hoping for the best. The closer I got to the surface of the wall, the easier the work became. I figured I'd repoint right up to the window jamb, and make sure the surface joints were as clean as I could make them. Because of the quantity of mortar I was having to lay down, I didn't attempt to do too much in any given chunk of time so that what had been applied had a chance to set up and start curing. The mortar will shrink a tiny bit as it cures, and in small amounts - like a 1/2" strip between stones - the shrinkage is borderline nonexistent. Inside the wall, where I couldn't see what I was doing, I didn't want to have a giant ball of mortar that was going to wind up shrinking and cracking. By working methodically and in small sections, I could focus my attention on making sure I was filling voids with mostly stone - not mortar - and then come back the following day to assess what needed to happen in the next small section. To this point, I've buttoned up the sill and about 1/2 way up either side of the window, but I stopped there because after pulling some insulation down from the bricked-in window opening north of this window, I discovered that it had legit holes in the wall. Big holes in the wall take precedence over small holes in the wall, so I'll come back to get this thing finished up sometime soon. But for now, she looks like this: Been a while since we talked, eh? Long story short, I was sorta in the middle of a couple different projects and then my computer died. DIED died. Not like I needed to add more memory or clean up some files or reboot it and load some previous backed up version of everything; she DIED. It was time, as the ol' iMac was just about 10 years old. Of course once one uses a 21" iMac for a decade, there really isn't any substitute except another 21" (or larger) iMac. I like buying the refurbished ones from Apple because it typically save me a few hundred bucks, but of course I waited a hair too long to pull the trigger on a new (refurbished) one and **POOF**, the 21" models were all sold out. So I had to wait, and then once I was able to purchase one, I had to deal with FedEx delivering it to the wrong house, which was quite the little adventure. But now I'm back up and running...I think I left off with some basement demo. Let's start catching up there. This is how the basement bathroom looked a few blog updates ago: Then she looked like this: And now, she looks more or less like this: I did go ahead and remove the toilet as well, but I didn't think that event was monumental enough to merit pics. By all rights I should have started in right after that on repointing the window above the toilet, but it's a vinyl replacement window stuffed inside the original wood jamb and I want to go back to a wood window that matches the others; repointing the stone around that window opening at this point feels a lot like I'd be polishing a turd. Plus, I have a little side project I need to get going on, and that side project necessitates the use of all my woodworking tools, and the old bathroom space seemed like the best spot, currently, in the house to set that stuff up. So that's what I started doing, moving the bigger tools from all over the main floor of the house into the basement. A lot more got moved than what I captured in the pic, but I didn't waste a whole lot of time before setting things up, firing things up, and making sawdust and a mess in general all over the basement. Maybe we can discuss that little side project next... |
Archives
July 2024
|
