|
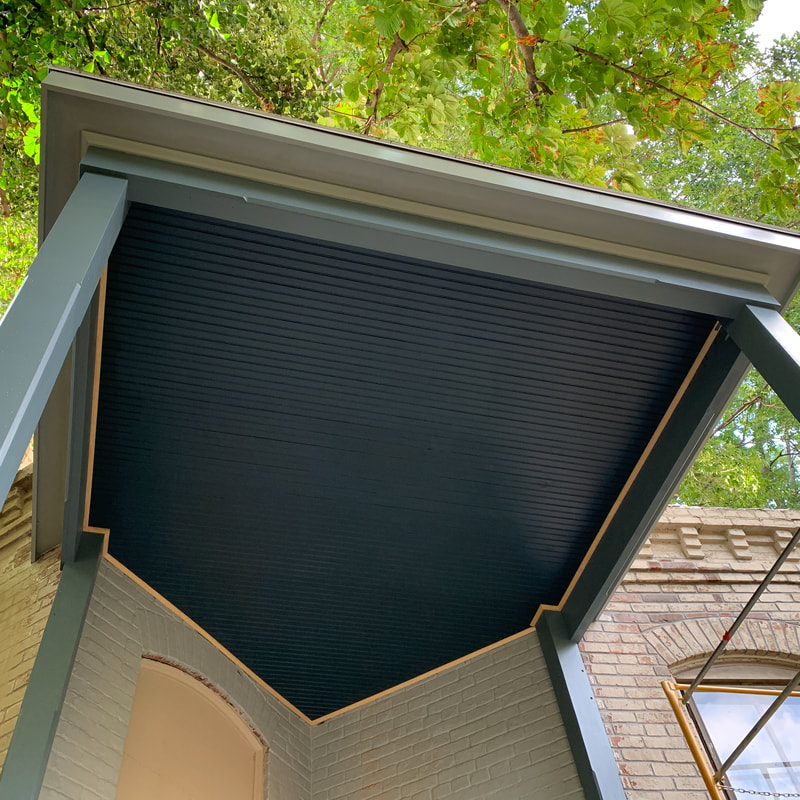
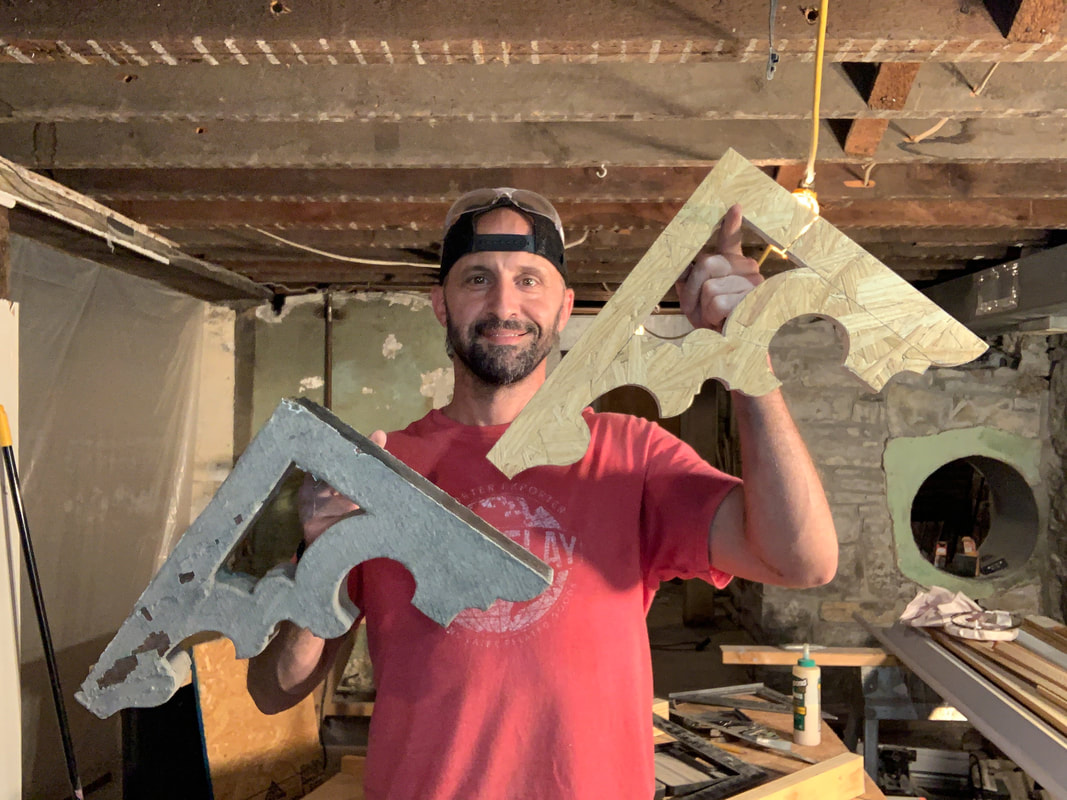
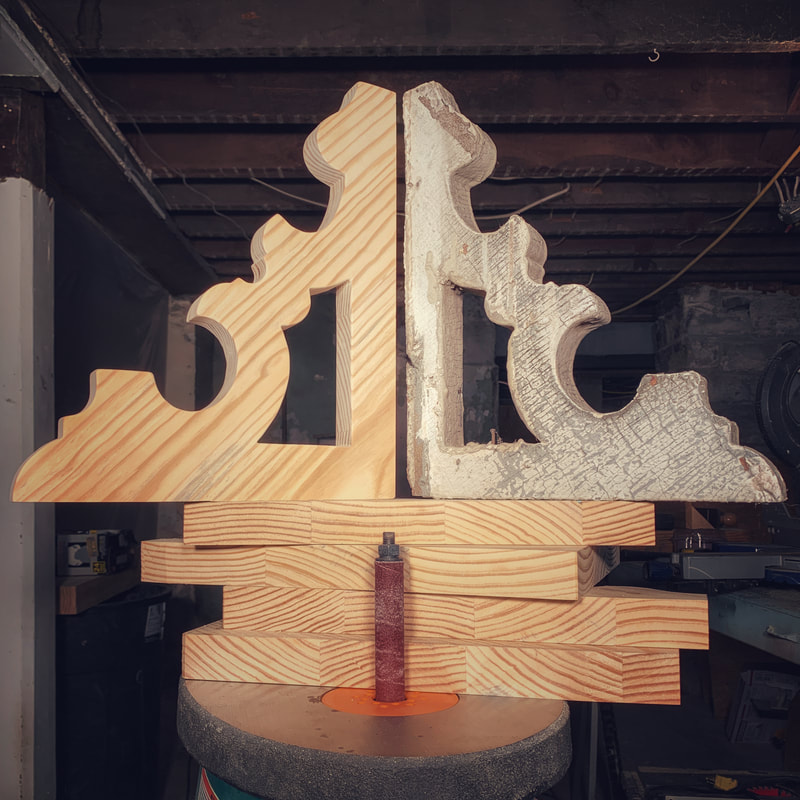
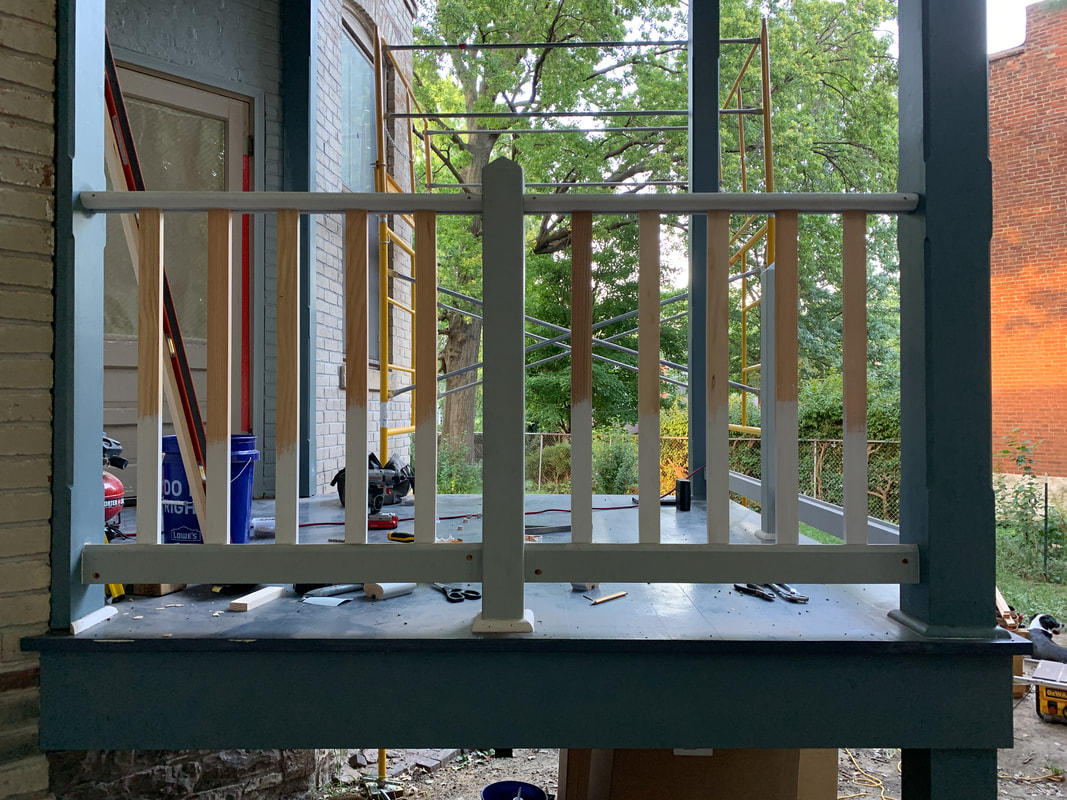
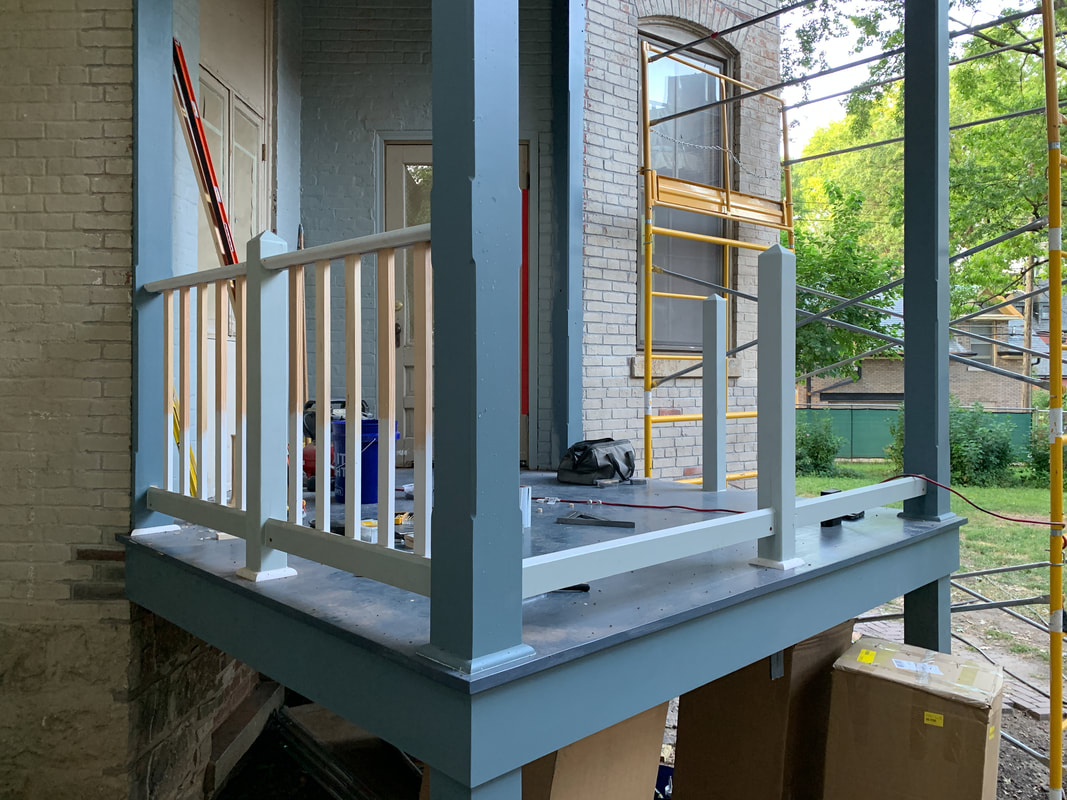
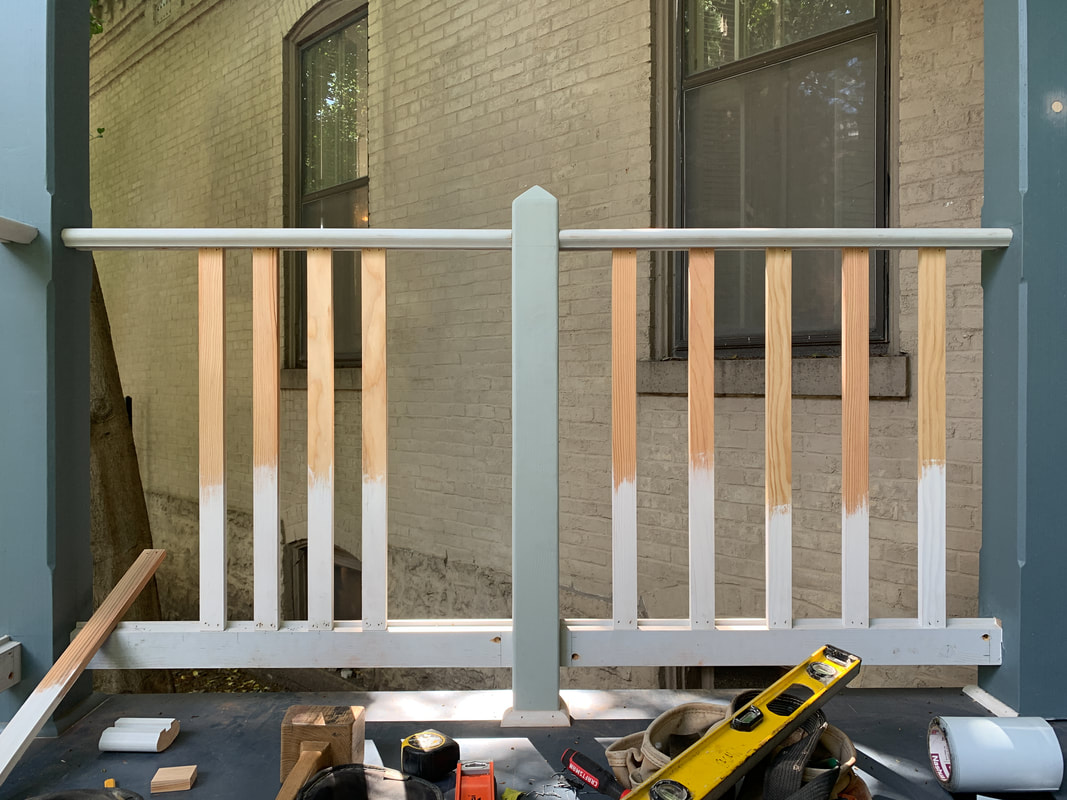
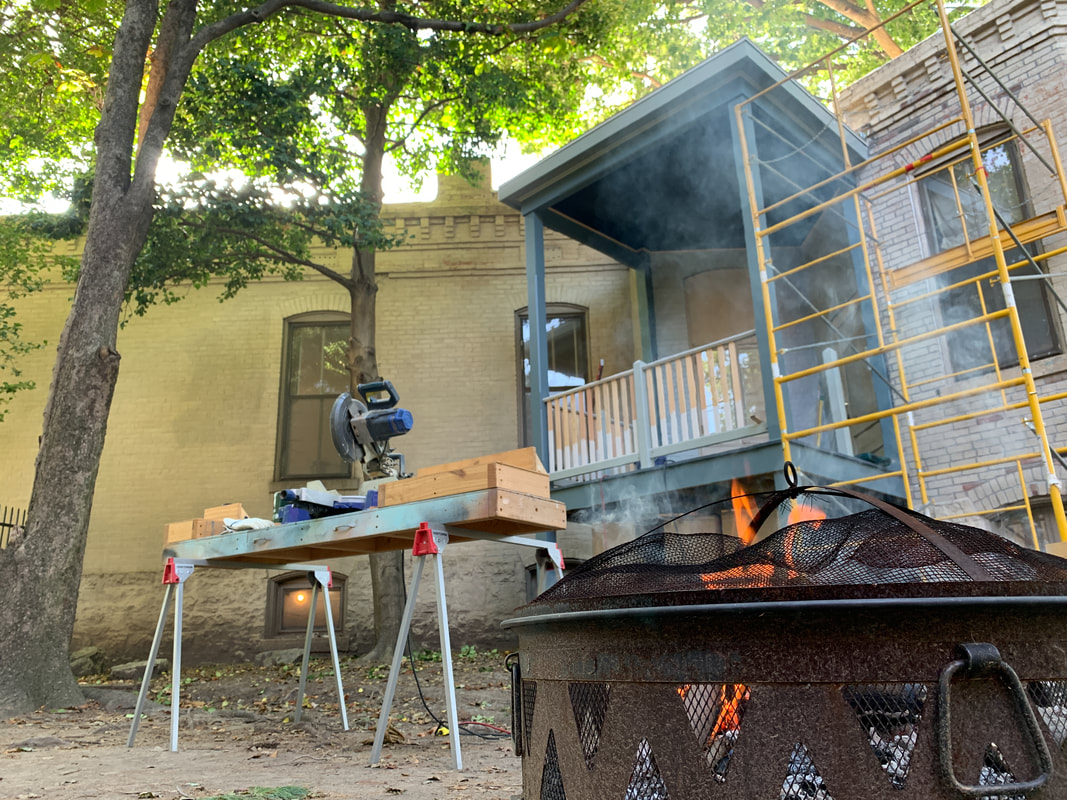
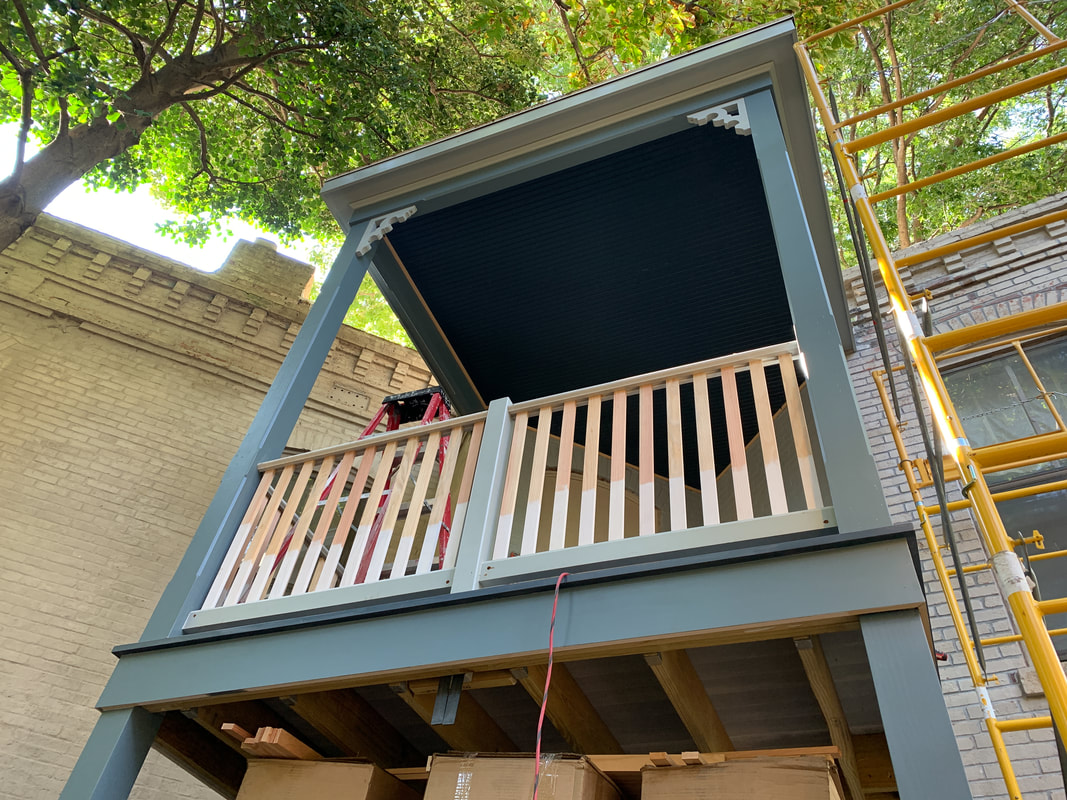
Let's start with the ceiling. A while back I got a full coat of paint - same color as the floor - rolled on 'er, but beaded material isn't real easy to roll. There are a few spots where I couldn't quite work any paint into the beaded areas, but that's fine because I was aiming for quick-and-dirty. I'll spray the final coat or two in a few weeks, and spraying the paint should eliminate the challenge of getting paint into the nooks and crannies. Then I started making the brackets, which is a process with what seems like about 7,000 steps. Their vertical dimension is 15" and the horizontal dimension is 12.25", which puts their diagonal width somewhere around 11.5". I could have reduced the dimensions a hair and cut the brackets out of 2x12s but 1, the perfectionist in me wouldn't allow for the reduction in dimensions just to make life easy and 2, I felt like using 2x12s as-is would have led to some nasty cupping and twisting down the road. So instead, I bought a couple 2x10s, ripped them into strips a little wider than 3", jointed and planed the strips, then glued them together into 12" wide blanks, making sure to alternate the grain direction to hopefully negate the potential cupping. While the blanks were clamped up and drying I cut out a template, which boiled down to tracing an original bracket onto a scrap of OSB I had laying around, then using a combination of tools - drill press, band saw, spindle sander, etc. - to get to the final shape. Once the blanks were dry enough to work with I started milling them, which required getting out even more tools. I planed the blanks flat and to a uniform thickness, cut them to rough shape with the band saw, then miter saw, and then table saw. I traced the template onto the roughed-out bracket blanks, then fired up the band saw and crossed my fingers. My bandsaw is serviceable, in that if I spend a silly amount of time getting everything dialed in as perfectly as humanly possible, and if I have a brand new blade that is 100% appropriate for the work I'm doing (blades come in all sorts of widths and tooth counts and tooth types), and if I get really lucky, everything may work out halfway decently. This time, I got lucky. The band saw, even if one cuts right on the line, leaves a pretty rough cut that has to be smoothed out on way or another, which made the spindle sander the real star of the show. I don't have a need to use that tool often but every now and then it comes in very, very handy. I still had to do a little hand-sanding and chisel out a few of the tight corners, but it wasn't much. The only reason I was working on the brackets the past couple weekends was because I was getting rained out and unable to work on the railing. The railing has NOT been a fun install. Because I'm in a historic district I have to use what's known around these parts as the "Soulard Handrail", which I suppose is sort of a historically accurate - in a generic sense - deck/porch railing. It's not a real complicated setup, but the bottom rail has an angled top and the top rail is kind of oval-shaped and has a dado (channel) that the balusters fit into. Combine that with wanting the railing to be level despite the porch floor being slightly and purposely pitched away from the house, as well as wanting to be able to hide my railing fasteners, and it gets a little tricky. Oh, and it all has to comply with modern code dimensions in terms of baluster spacing, railing height, etc. I started working at the southern end where the porch meets the house and once I got a good order of operations figured out for installation, I got after it. I was feeling pretty good about my work but something was off. It took me a couple days of looking at it but it just didn't look right. So I pulled out the city-provided handrail detail and, sure enough, what I'd built was incorrect. Modern code calls for a maximum of 4" between balusters. That's the spacing I used, and the spacing that didn't seem right. As it turns out, the "Soulard Handrail" has balusters that are 4" on center, or 4" from the center of one baluster to the center of the next. Because the balusters are 1.75" wide, that means a spacing that's 2.25". My spacing was off, so I removed the balusters I'd already installed and redid them. Once I got the baluster spacing corrected I continued working my way around the porch. Yesterday I called a time out on the railing install so I could get a couple brackets put up. I still have a little work to do on a couple of them, but I really couldn't wait to see how they'd look on the porch. I threw a couple coats of paint - same color as the soffit, fascia, and some day, railing - on 2 I had completed and thought through the installation. Like everything else, the install is simple but not without a number of steps. The primary challenge is finding good spots to drive screws; with so many little curves and details, options are limited. And, my little 7' step ladder is about 1 step short of allowing for comfortable working conditions at the height the brackets are at but it's doable. That's where things stand. I got rained out today, otherwise I'd have finished the railing. Hopefully, after work this week, I'll be able to finish milling the rest of the brackets and installing the last sections of handrail. Then...lattice around the open area beneath the porch, and paint. Lots and lots and lots of paint. Comments are closed.
|
Archives
July 2024
|
