|
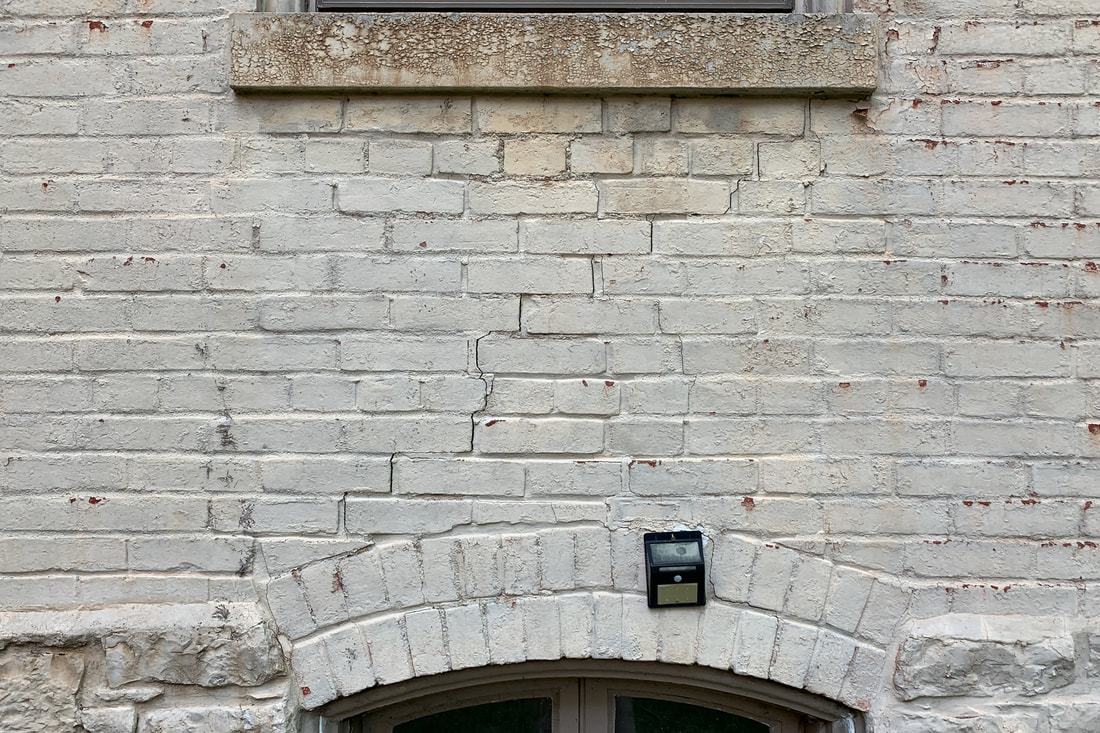
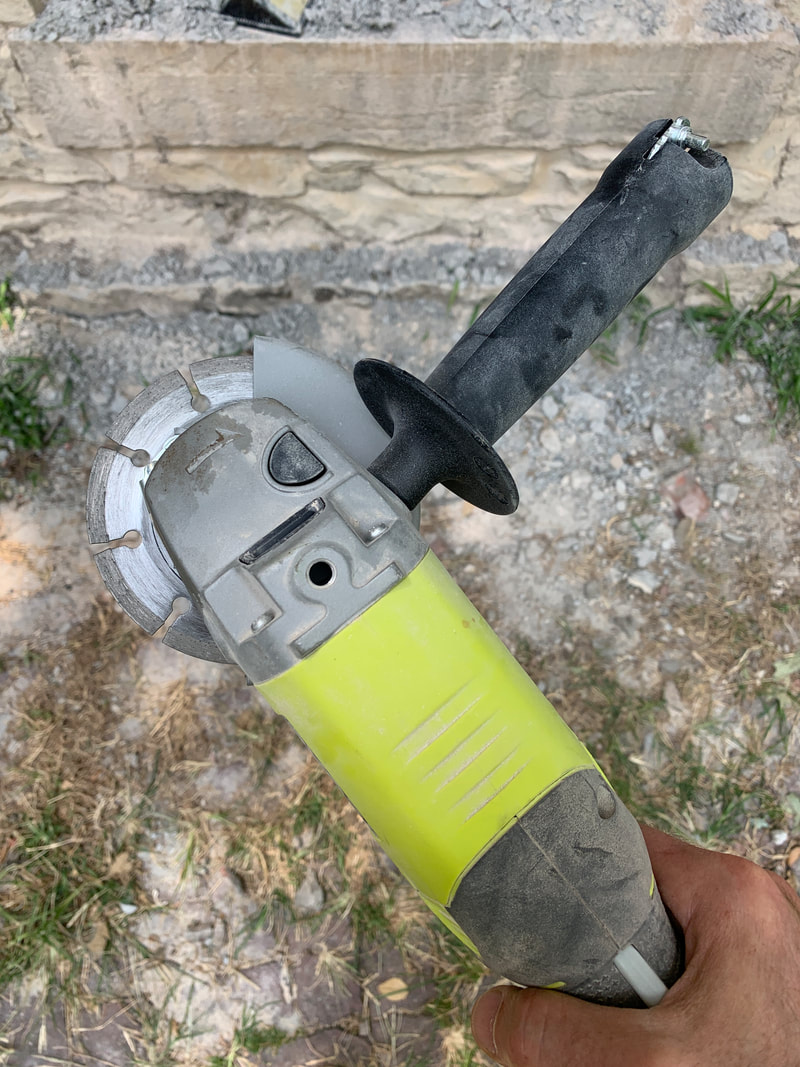
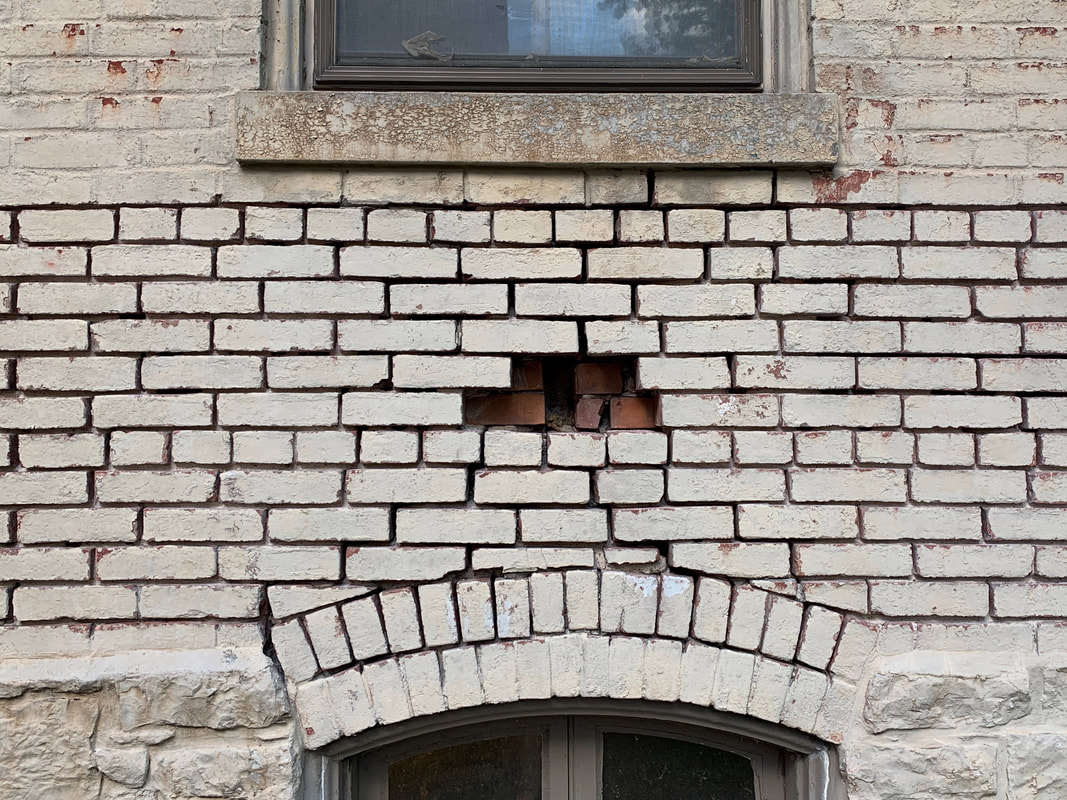
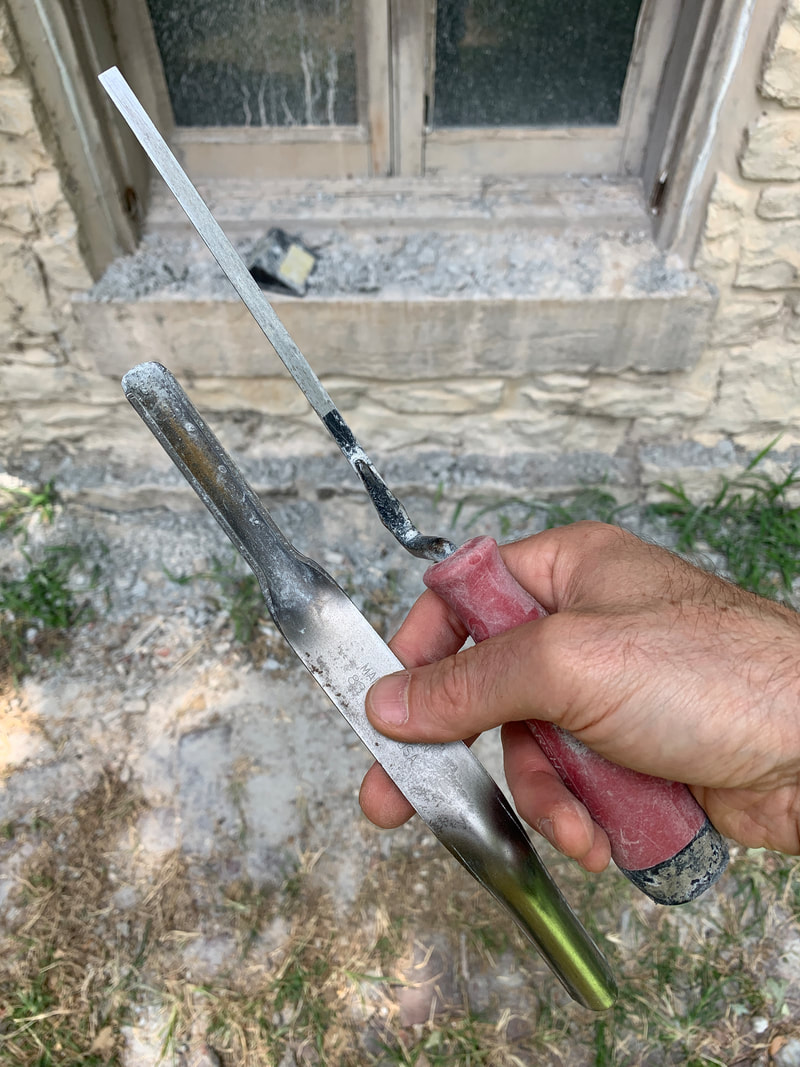
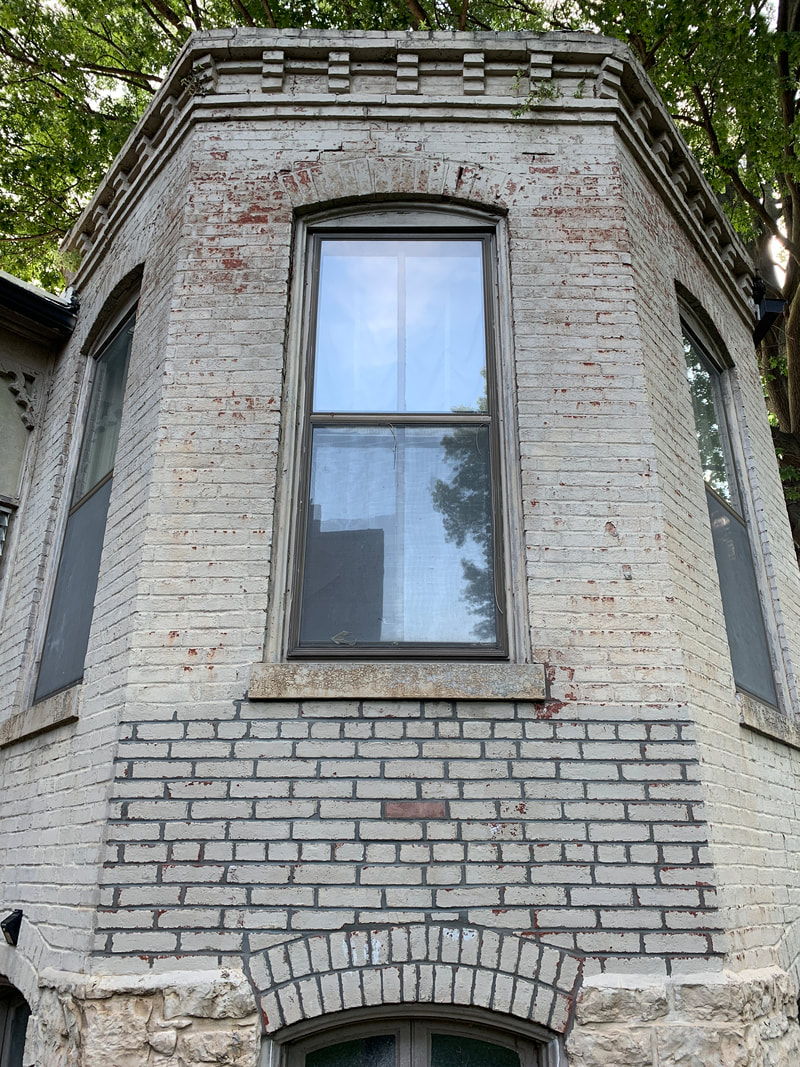
A couple weeks ago, partially because I was bored and partially because I knew I needed to deal with it sooner or later, I starting poking at one of the exterior walls. Why? Several spots need to be repointed and I was tired of seeing the cracks in the mortar. Plus, now that I can get started on the porch rebuild, I'll need to repoint some of the wall areas porch demo will expose and I didn't want that - the masonry that will have to keep the porch attached to the house - to be where I was figuring things out. This is what I started with: Initially I was just going to tackle the areas around the cracks, but that seemed kinda half-assed for how not wide this particular wall is. While some of the masonry had been repointed, the mortar in the joints that hadn't been repointed turned to dust with little effort; I decided to repoint the entire section between the windows. After running to the store I hate going to and picking up a cordless angle grinder - I have a corded one, but with no exterior outlets that I trust to not explode if I plug something in, I felt like cordless was the safest, most convenient route to take - I got after it. By the end of the day I'd removed most of what I wanted to remove: Several challenges were encountered along the way:
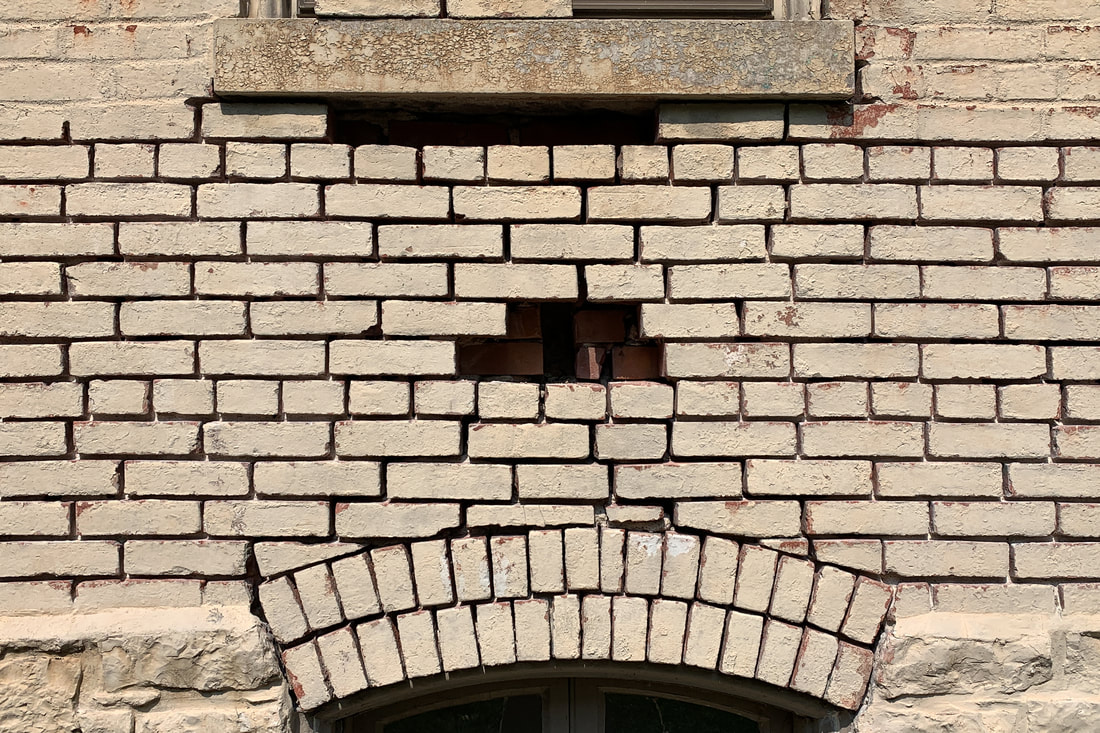
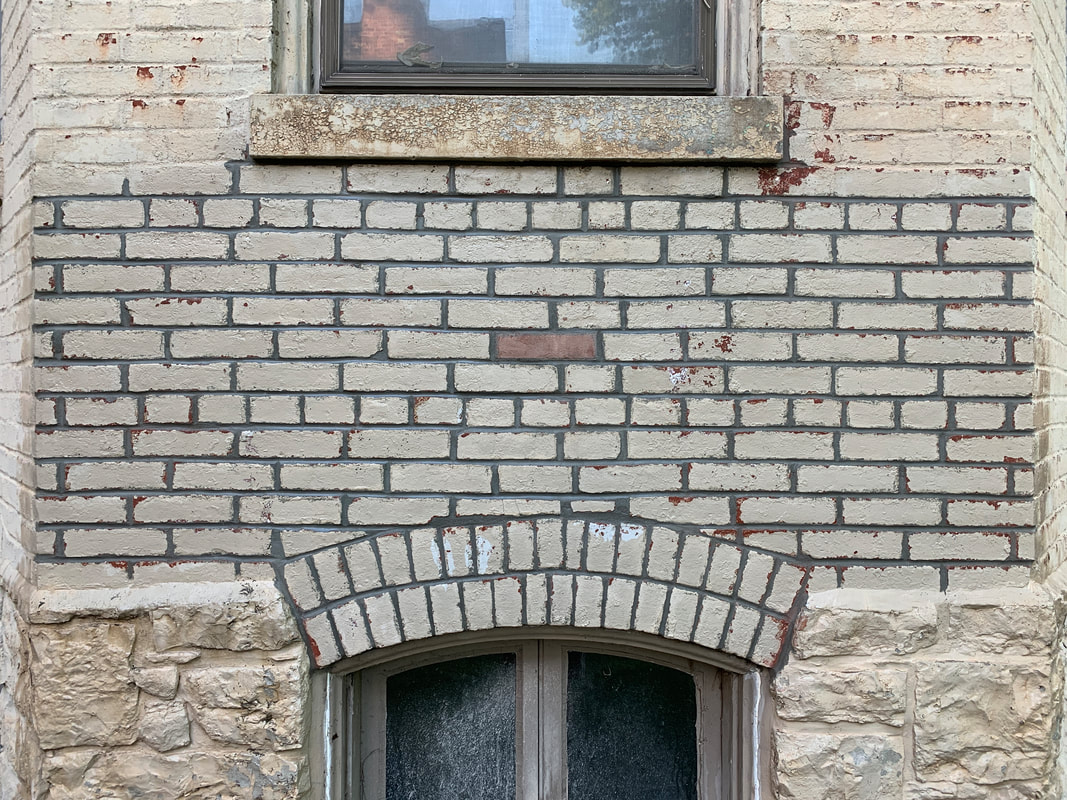
I taped plastic over the work area when I was done for the day because the upcoming weather included rain and dumb amounts of heat (90°F and above is sort of a no-go for mortar work because the heat causes the mortar to cure all fast and wonky). When I did finally get back to it, the end result of the mortar removal looked like this: With the mortar removed it was time some fresh stuff. I used a leaf blower to remove as much dust from the mortar joints as I could, misted everything with a little water, mixed up the mortar and...I didn't get very far. I got off to a slow start because even though I've run through an entire pallet of mortar with the interior limestone repointing, the exterior brick repointing is a whole different operation. The joint widths are way, way smaller, the mortar is a different mix that doesn't seem to be quite as workable, the tools used to shape the joints are (slightly) different, and even the mortar cleanup is a different process. And, everything sets up a LOT faster outside at a humid 85°F than it does inside, below grade, and 65°F. I had to somehow work slowly, methodically, and...quickly. Wasn't easy, and some of the early work is a little rough on account of needing (quite) a few passes to start figuring out the timing of all of it. The following day, after work, I knocked out the rest of the repointing. Day #2 went a LOT better than day #1. These joints each take a couple passes with the fresh mortar and tooling; the first pass is to fill up the bulk of the joint and do everything humanly possible to force the mortar into all the crevices, nooks, and crannies, the second pass is sort of like a top coat that then gets tooled to whatever joint shape is desired. But, that first pass has to set up a hair before laying down the second pass, and the second pass has to set up a hair before final tooling. Work too fast and you're running tools through a soupy mess. Work too slow and you're trying to move, shape, form, etc. mortar that's already cured past the point of being easily workable. Ultimately, this is how things turned out: It's not perfect, but for a first effort it isn't too bad either. There's only so much that can be done in terms of shaping joints when dealing with old bricks that have sort of a rounded, tumbled edge vibe, and that have been painted multiple times, and that have been repointed previously. But, the wall is a hell of a lot stronger than it was previously, which is what really counts. Besides, it'll all get painted down the road...but not before I address the upper portions of the walls where mortar is missing over the windows and greenery adorns the cornice... Comments are closed.
|
Archives
July 2024
|
