|
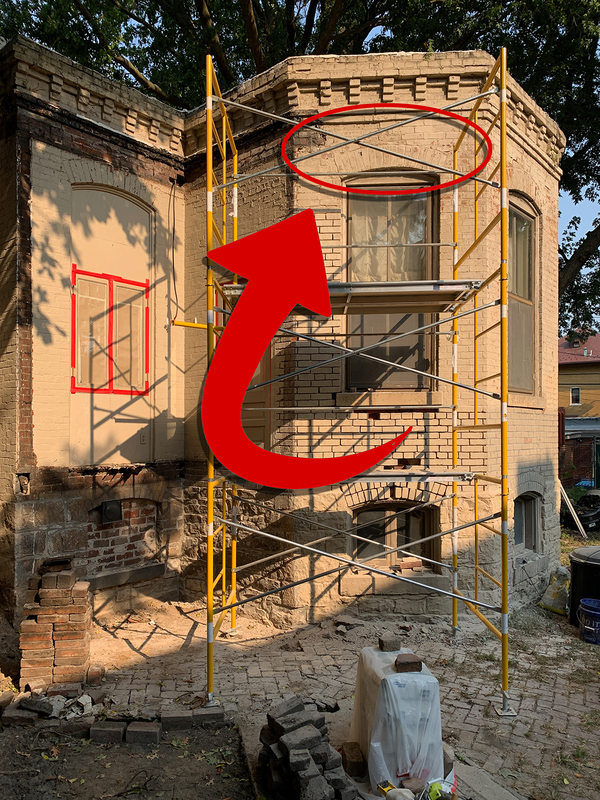
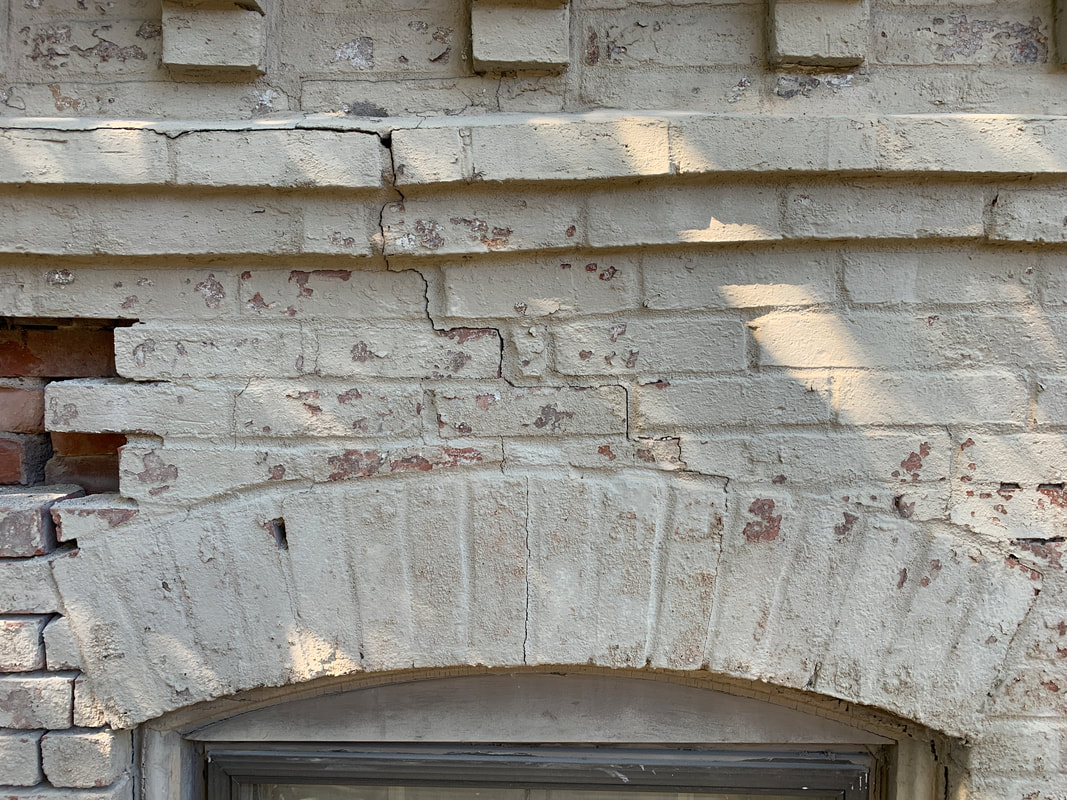
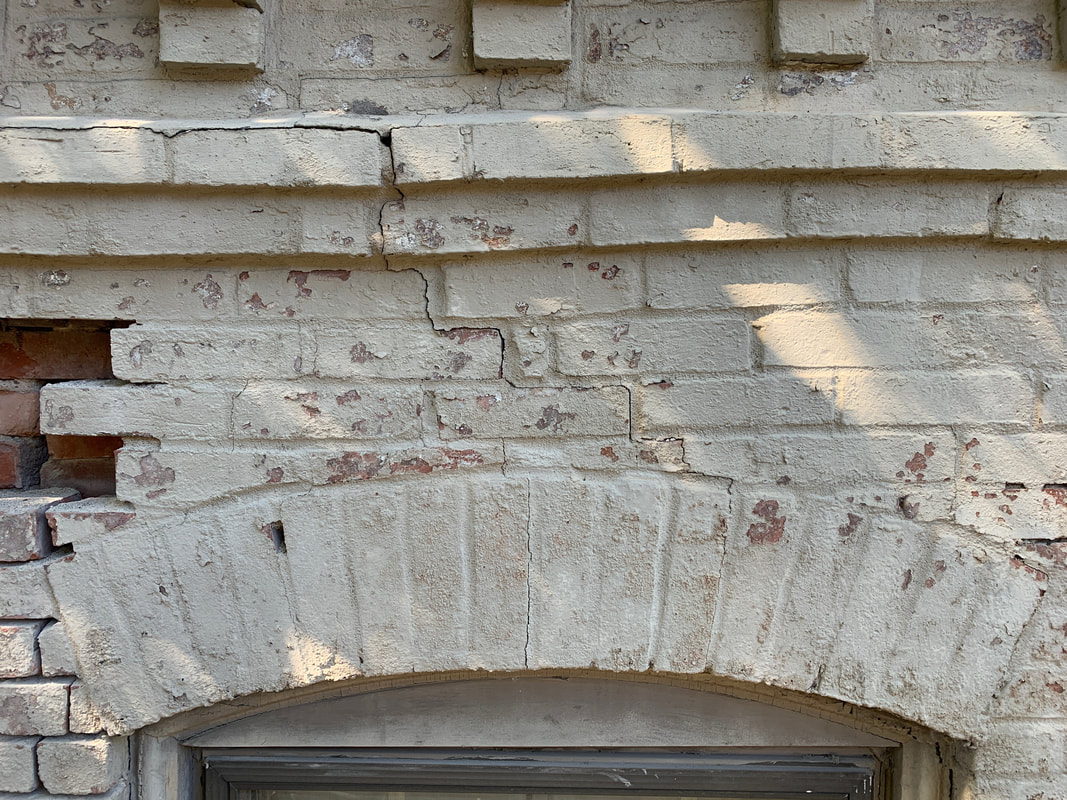
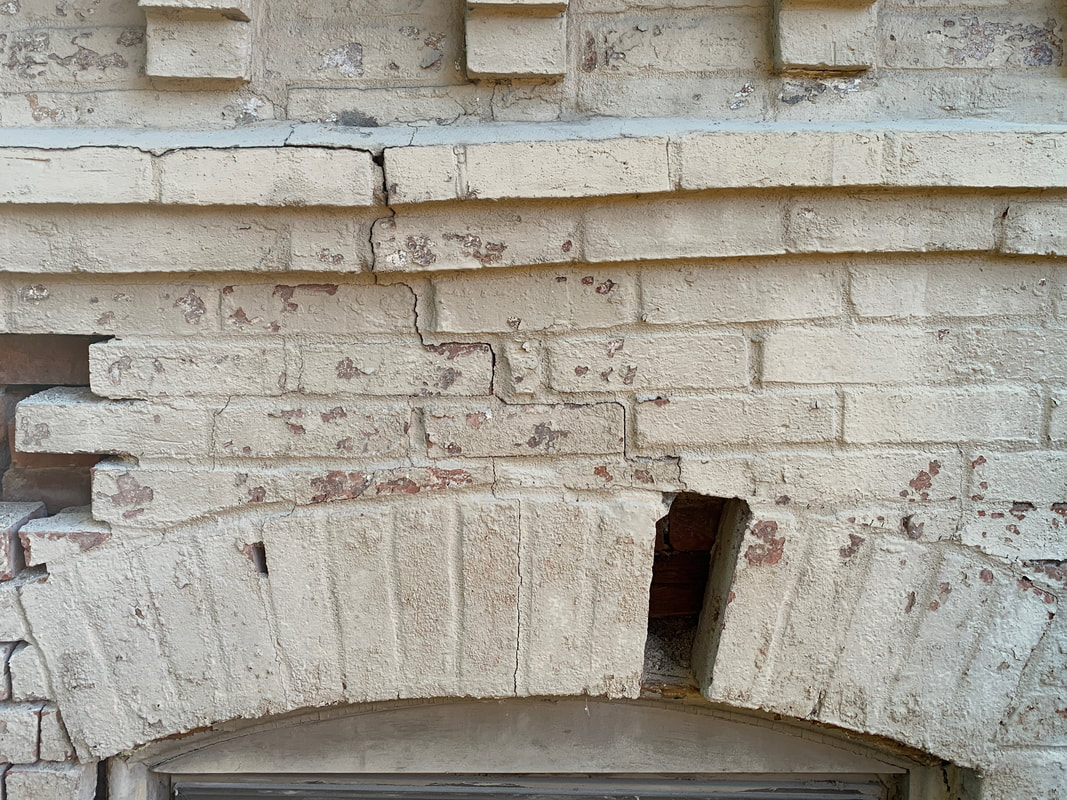
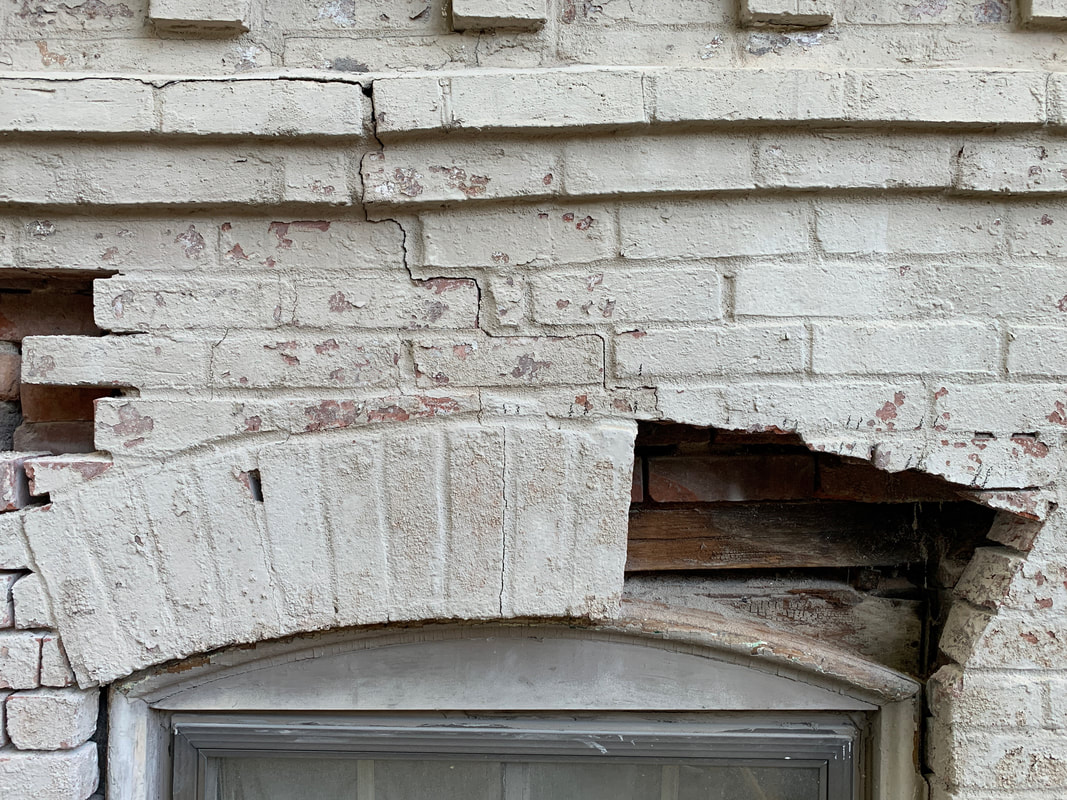
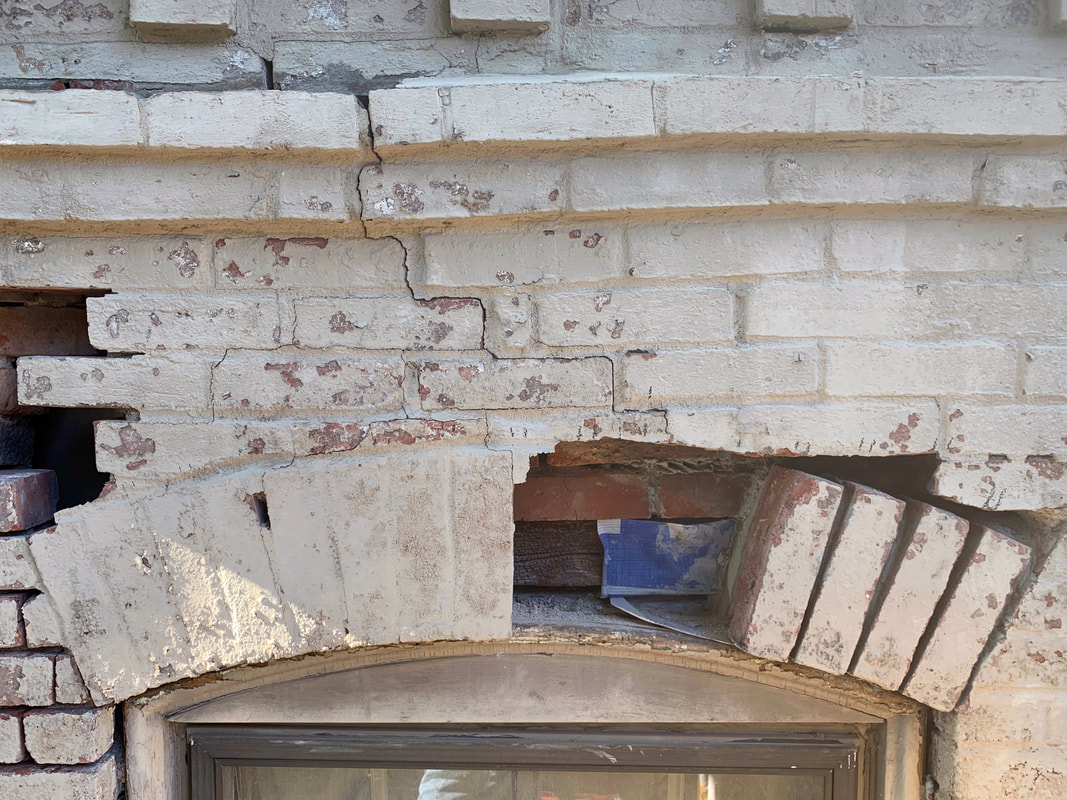
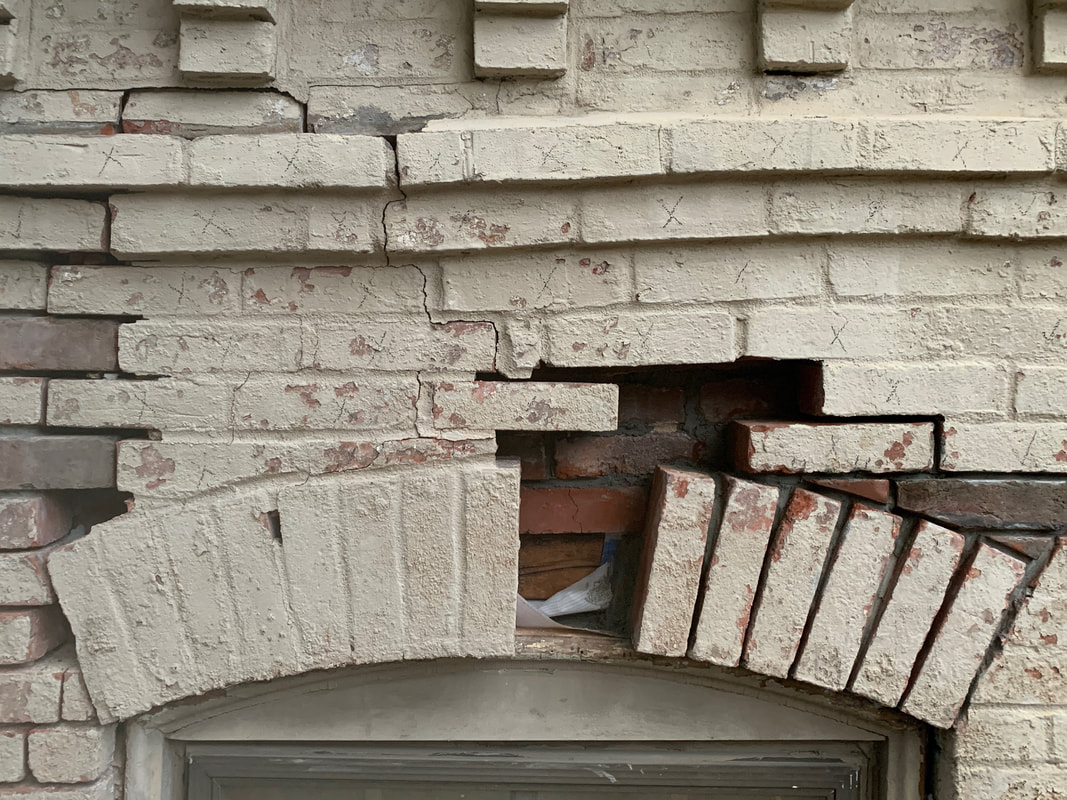
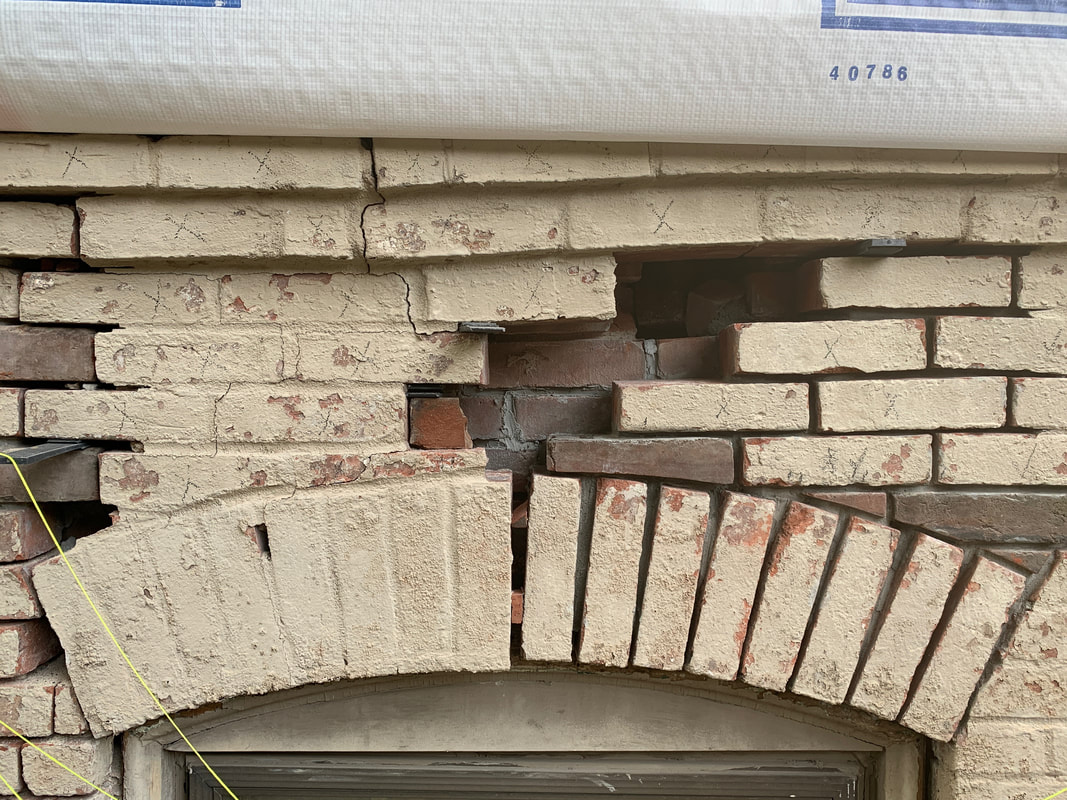
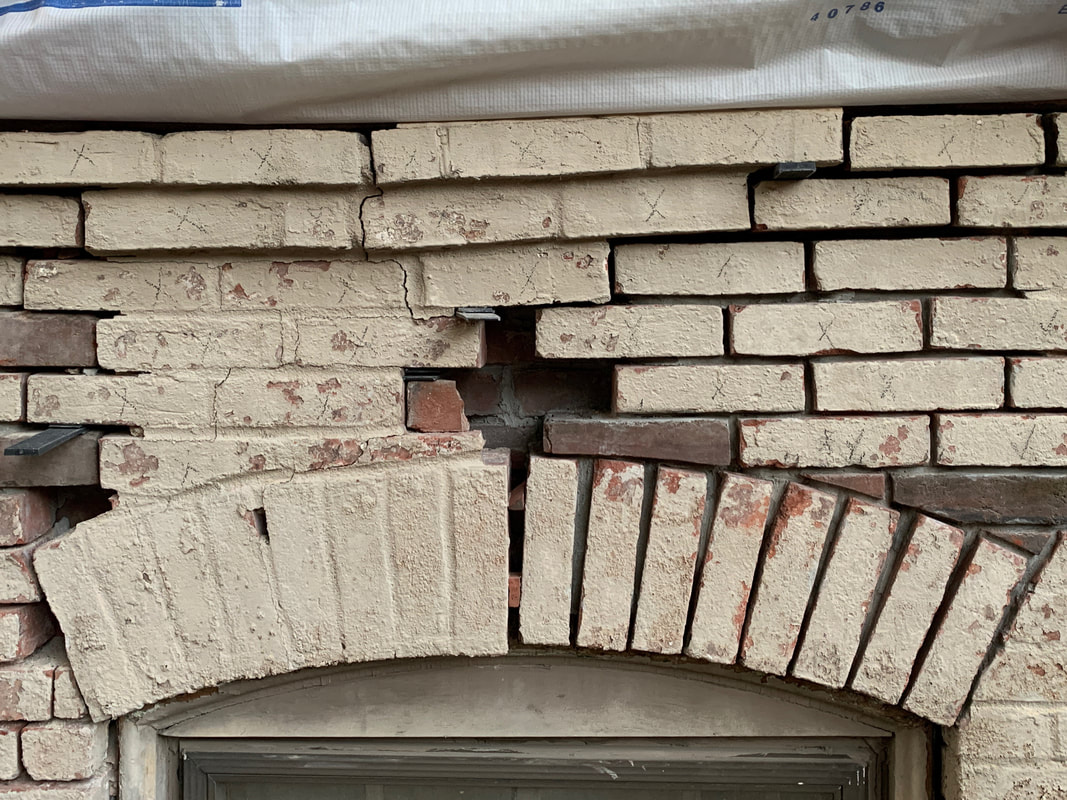
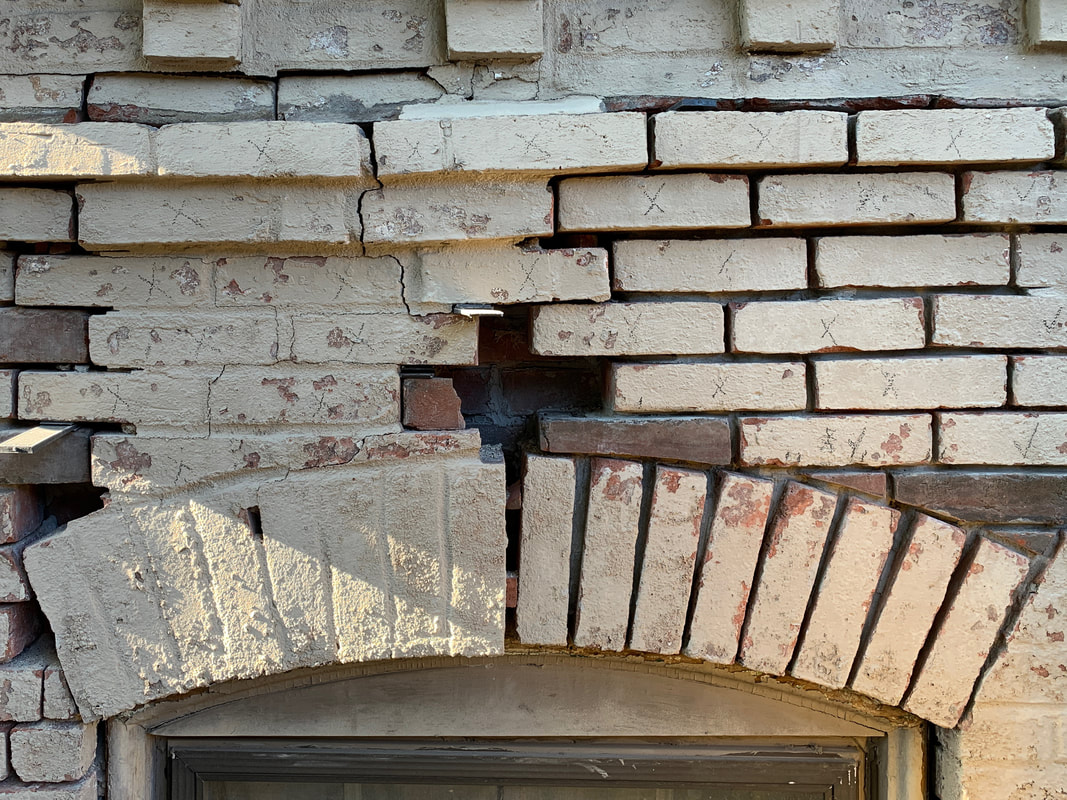
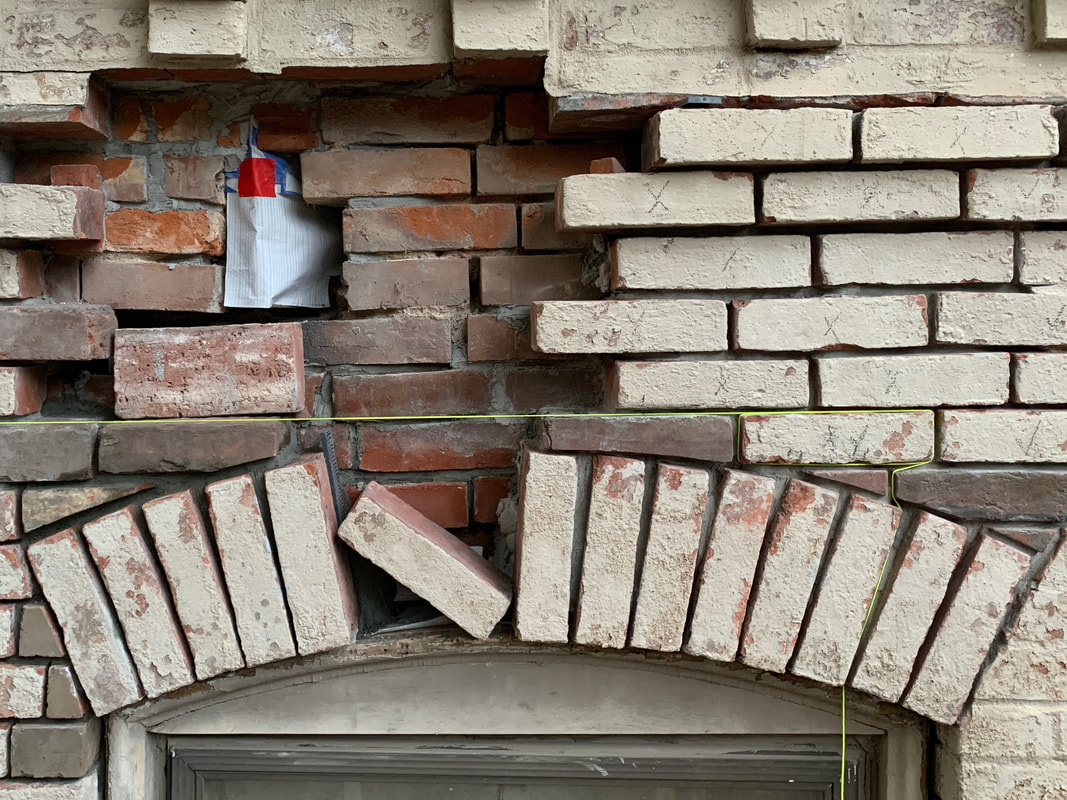
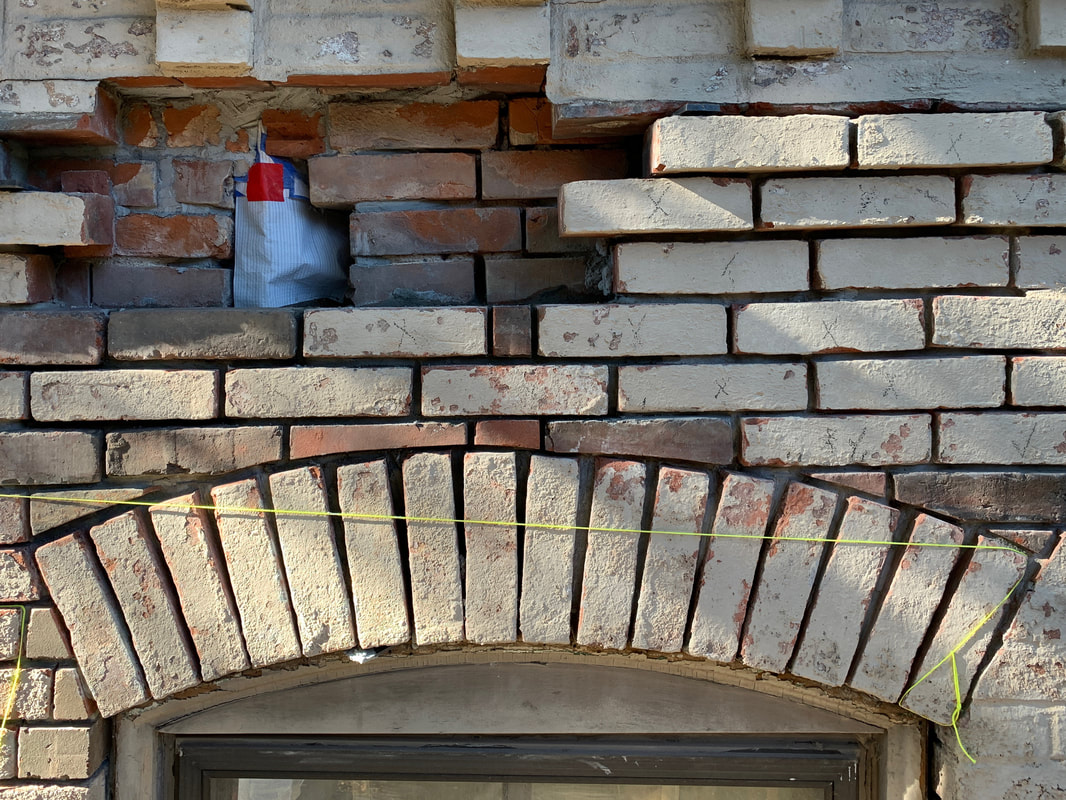
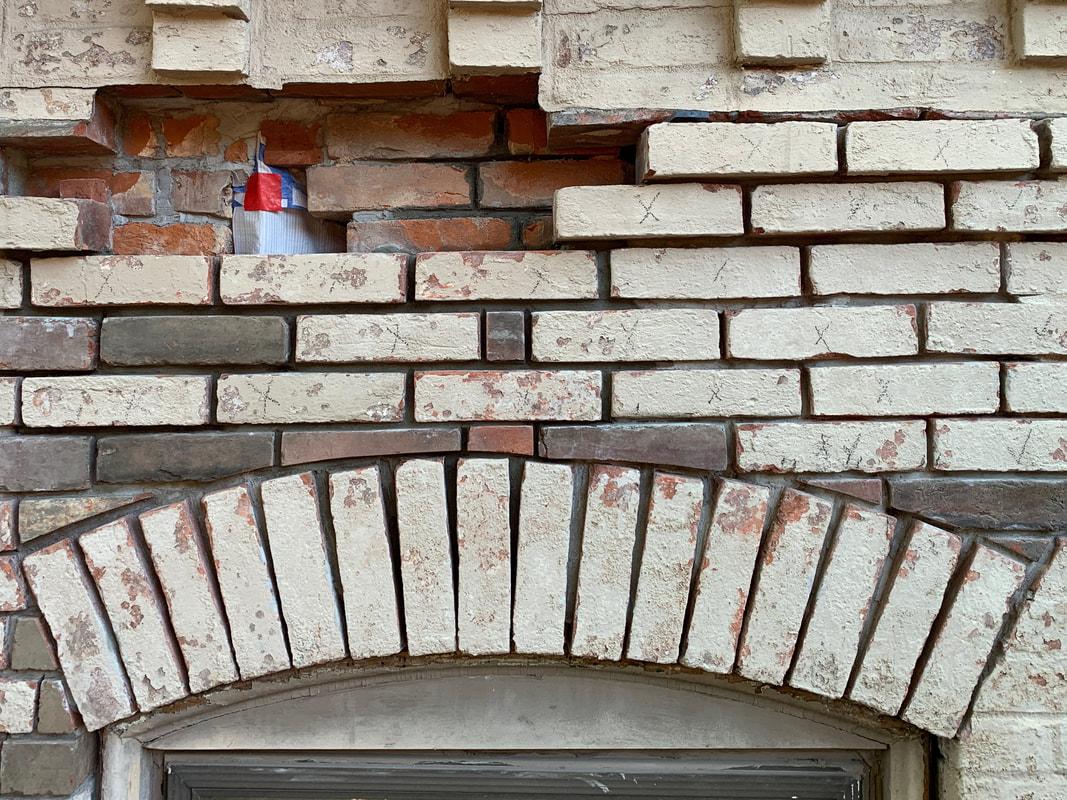
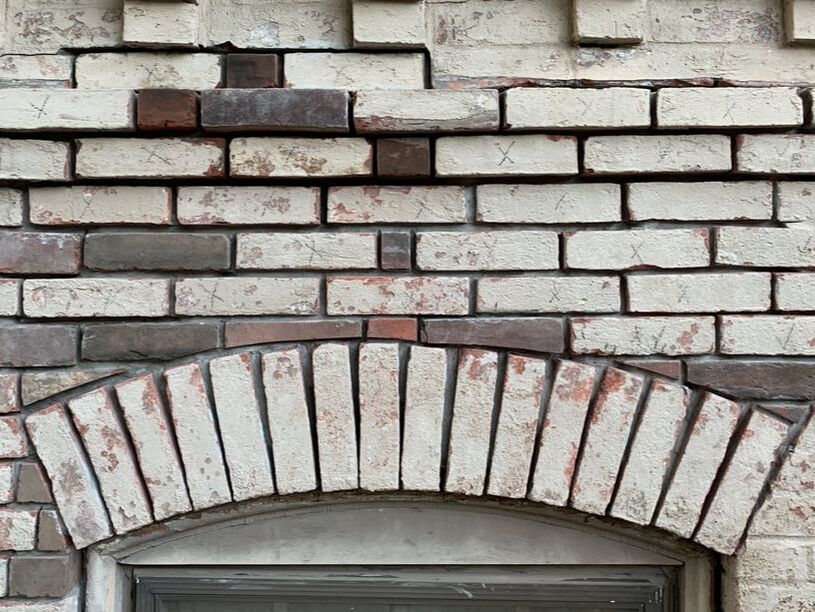
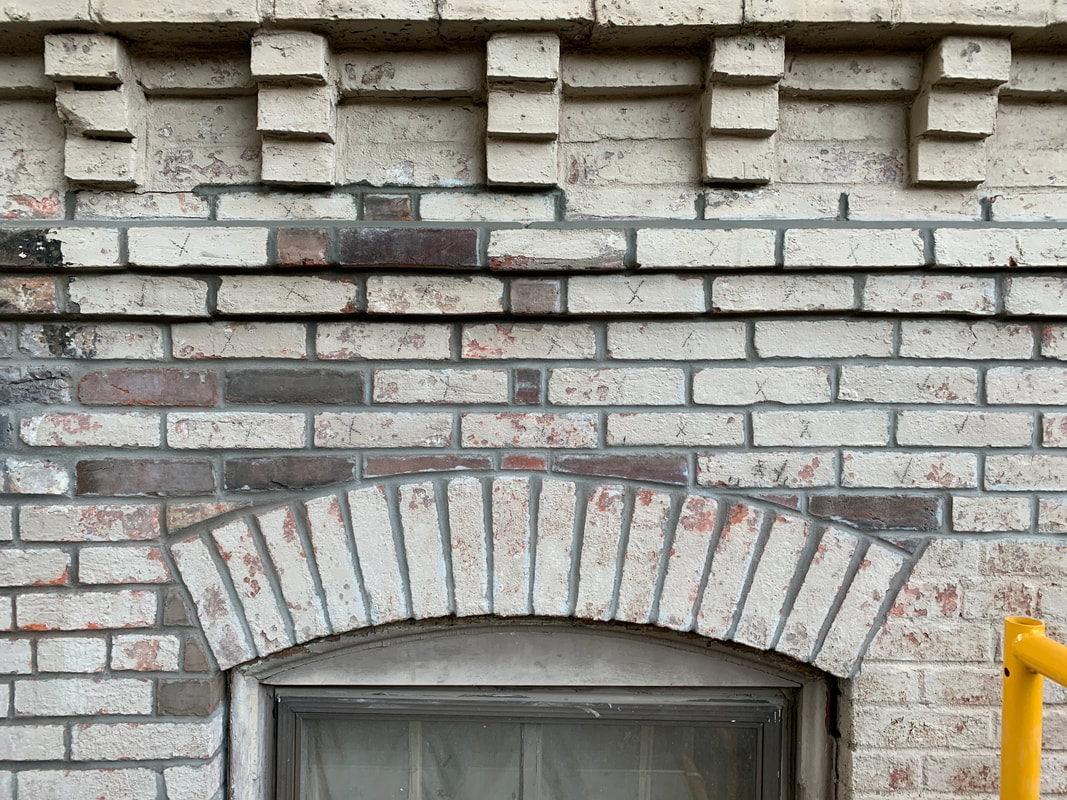
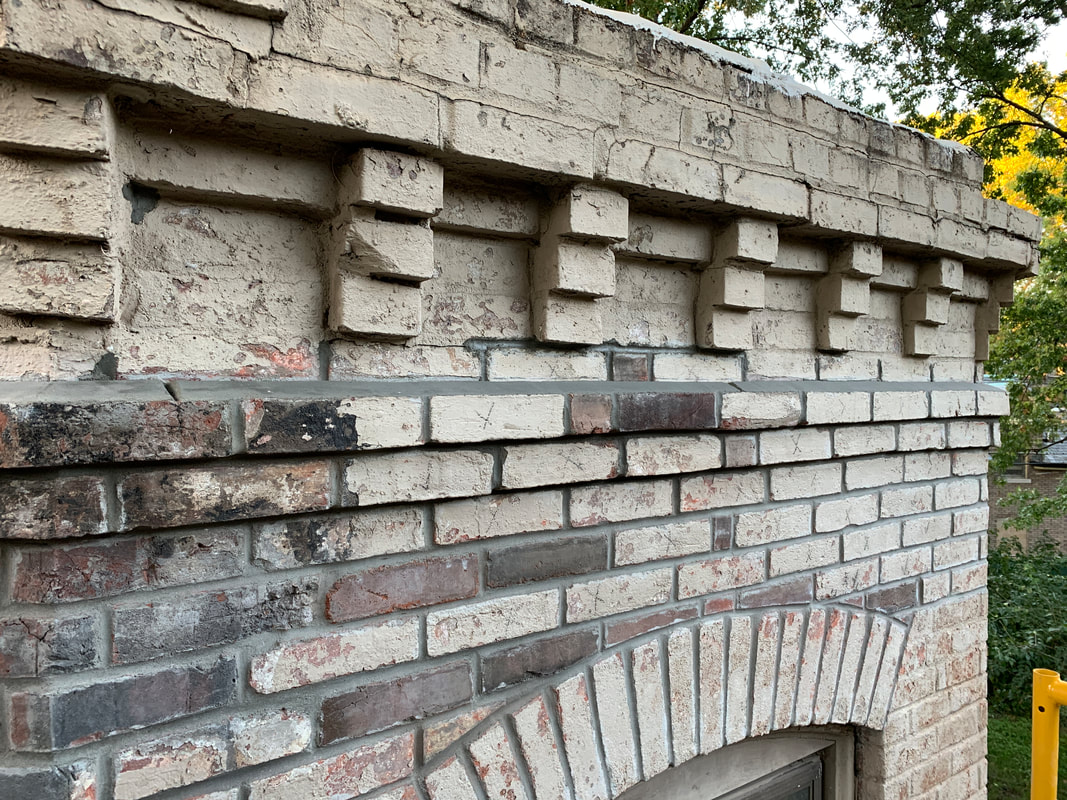
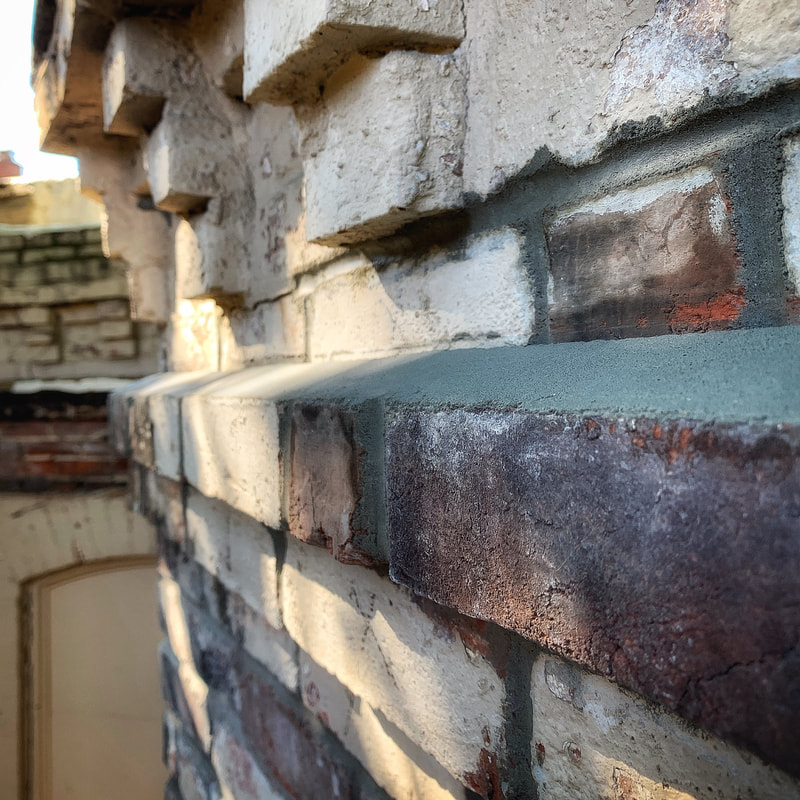
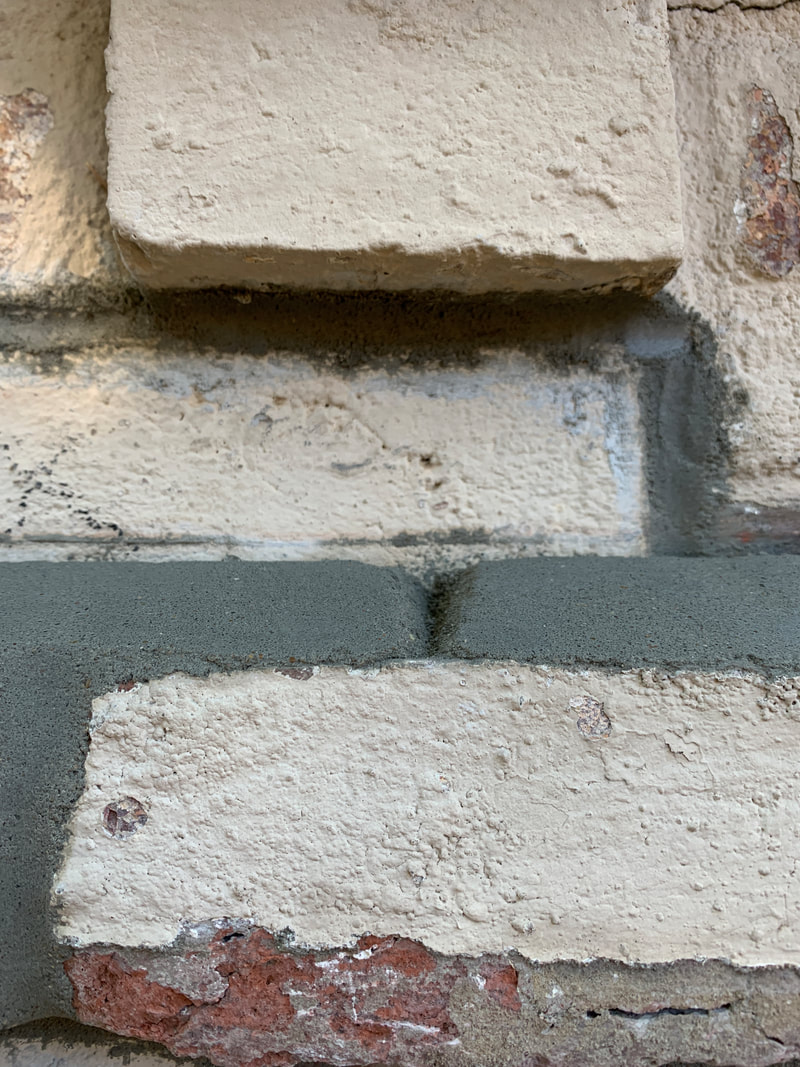
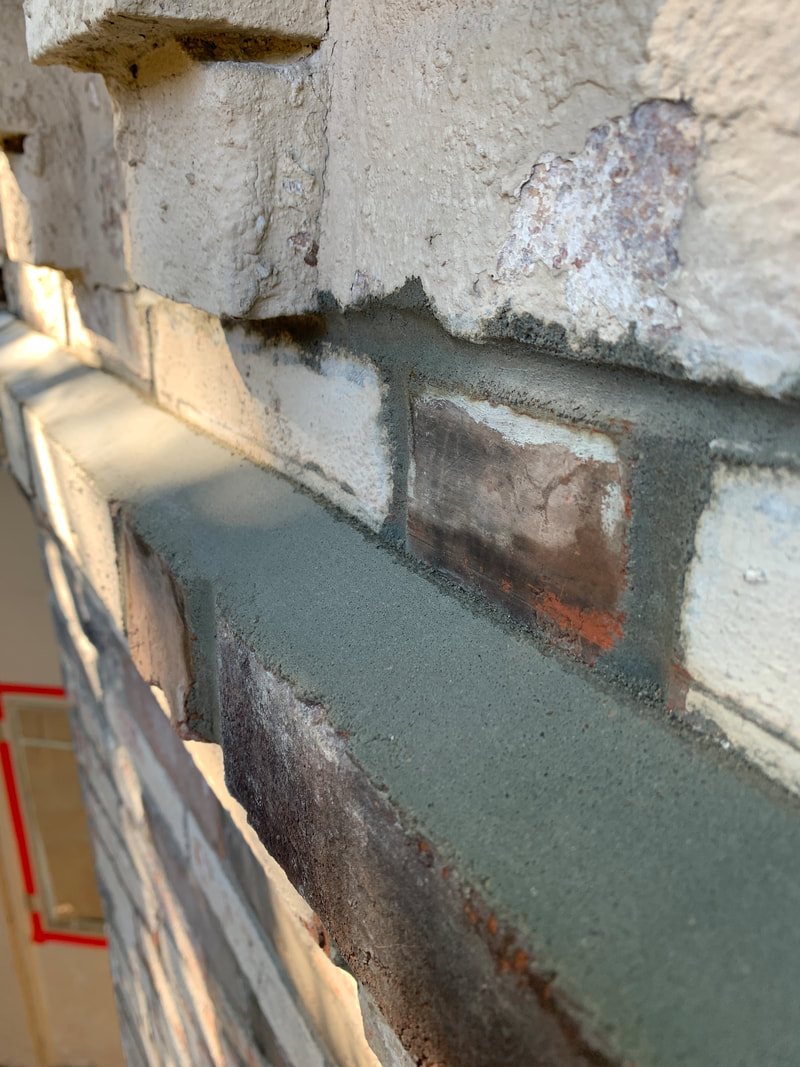
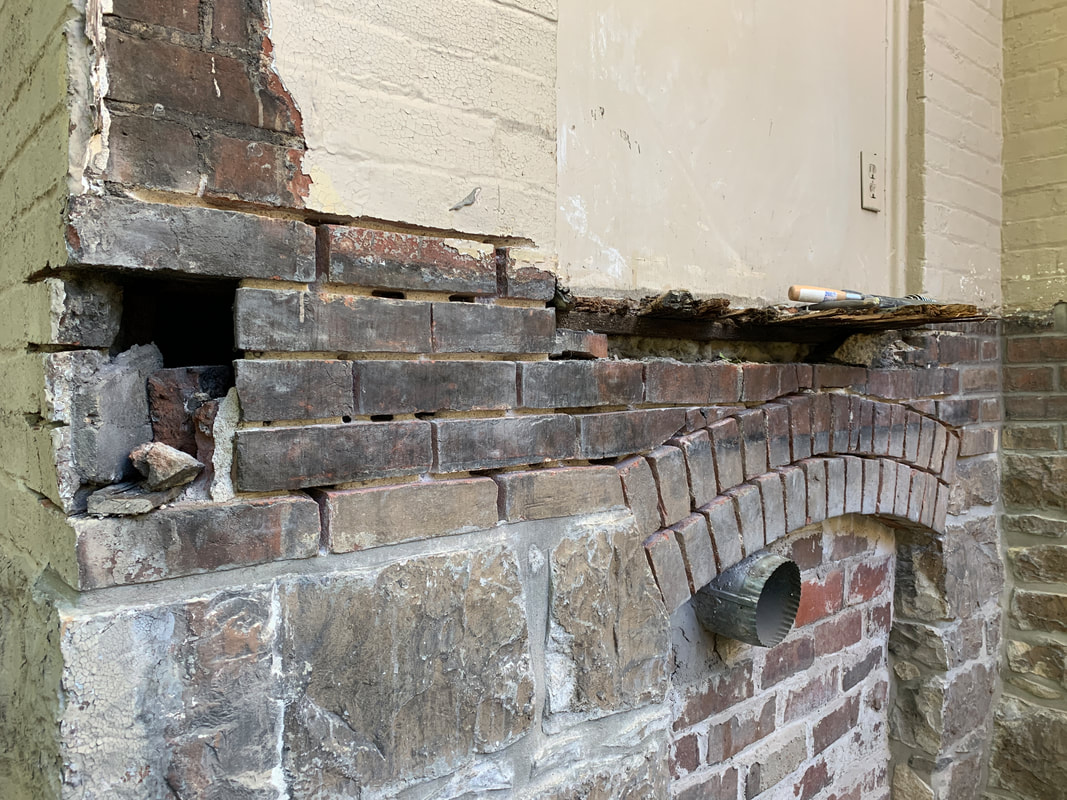
What a project. And, it's finally allllll wrapped up! (I still have a little caulking to do, but whatever, it's COMPLETE.) For the quick and dirty version of the work that took place, check out this 10 second video: This wasn't even on my near-term list of things to do; I've still got a porch to build before Thanksgiving. But I was repointing the lower and left portion of the wall, and as the scaffolding went higher and higher, I came closer and closer to getting an up close look at the delaminating section. The middle of the arch was protruding about 3/4", and 3/4" is a whole lot larger when viewed from 1 foot away vs. from the ground, 15 feet away. I decided to rebuild that section, ideally without the entire wall collapsing on me in the process. I painstakingly removed and reset about 3 dozen bricks, working in 3-4 brick chunks at a time so as to never have too much cornice brick unsupported. I probably came up with 8 different plans on how to go about all of it, but long story short, the plan I selected, as it turns out, worked. Here's what the process looked like: Here's where things started to get extra precarious and I had to stuff shims in a bunch of spots to keep everything together: There came a point where I'd poked and nibbled and tip-toed as much as I could, it was time to bite the bullet, and I removed the last bad section of 20+ bricks all at once. There was no way around it because they were so loose and unsupported that I felt like 1, they weren't really doing anything to hold anything up above them, and 2, better to take them down on my terms than on theirs. But ya better believe I was super nervous and I worked super fast. I'm not gonna lie, reaching the point where all the bricks were back in the wall, that was a big moment. I am NOT a mason, and while heights don't bother me the idea of working on a sketchy wall from an elevated position was NOT real awesome, but the whole thing came together pretty well. She's solid, the bricks are as coplanar as humanly possible given the starting points at the corners of the wall, and all the challenges I encountered along the way were overcome. I still had to point it, which sorta took forever because the arched brick is kind of a pain and a LOT of the head (vertical) joints in the brick off camera - stuff I didn't remove - were 100% free of mortar but only about 1/8" wide, and the only way to get mortar into joints that narrow is to use the side of the jointer and sloppily push mortar into the joint, 1/32" at a time. But I got it done. Took me 2 days, but I got it done. In addition to the brick resetting and pointing, I had to add a sloped mortar bed on top of the lower cornice. The rest of the house has the exact same sloped mortar bed, but it's in ROUGH shape. It's cracked in a million places, there's vegetation growing up outta the cracks, etc. I don't know how else to shed water from up there so I figured I'd replicate the setup but hedge my bets a little bit by 1, cutting in some expansion joints, and 2, chamfering the edge that meets the house. The expansion joints - which I'll caulk once the mortar cures for a bit - give the mortar bed a little wiggle room should the bricks move at all due to expansion and contraction, and the chamfer gives me a place to lay down a bead of caulk, which will keep water out of the wall if the mortar bed separates from the house at all. It actually turned out really well, considering I freehanded the whole thing; I wanted nothing more than to be done with climbing scaffold and slinging mortar, I didn't want to waste any time with measurements, straight edges, etc. Next up, addressing this wall: Comments are closed.
|
Archives
July 2024
|
