|
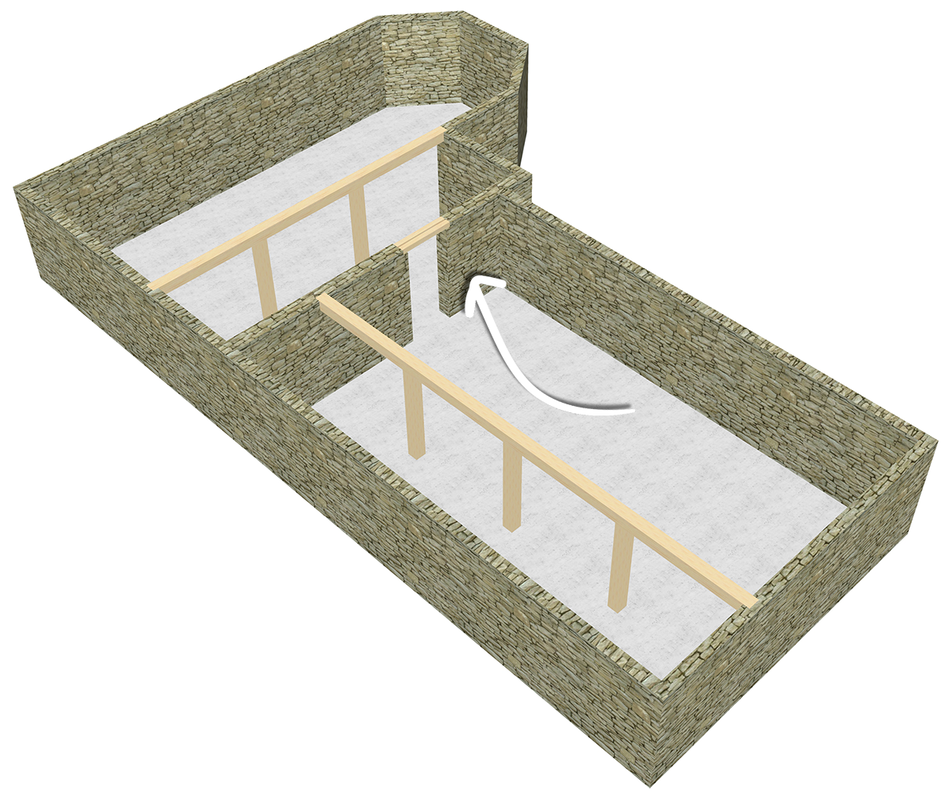
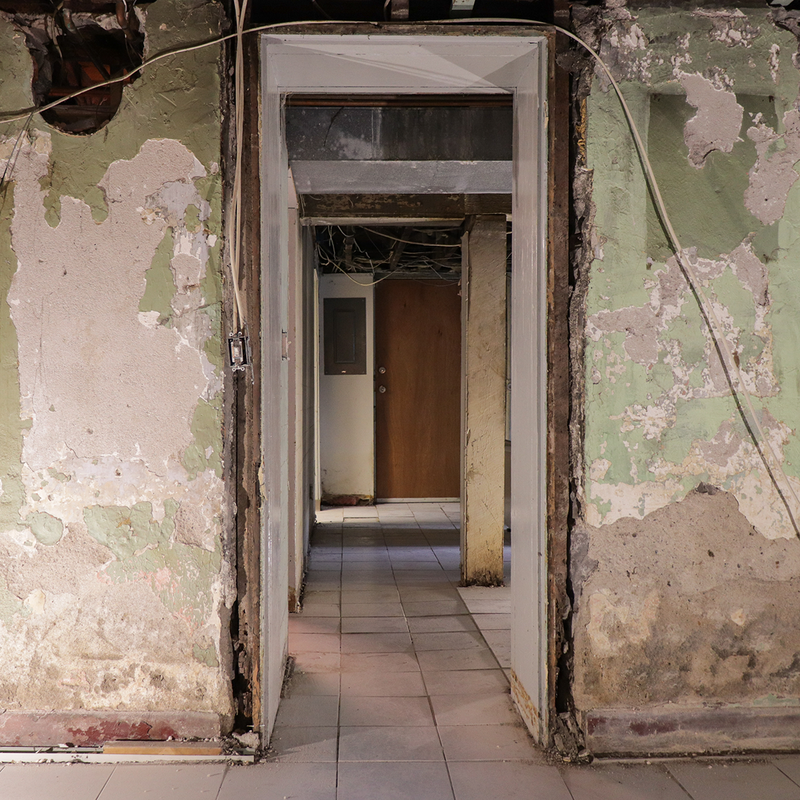
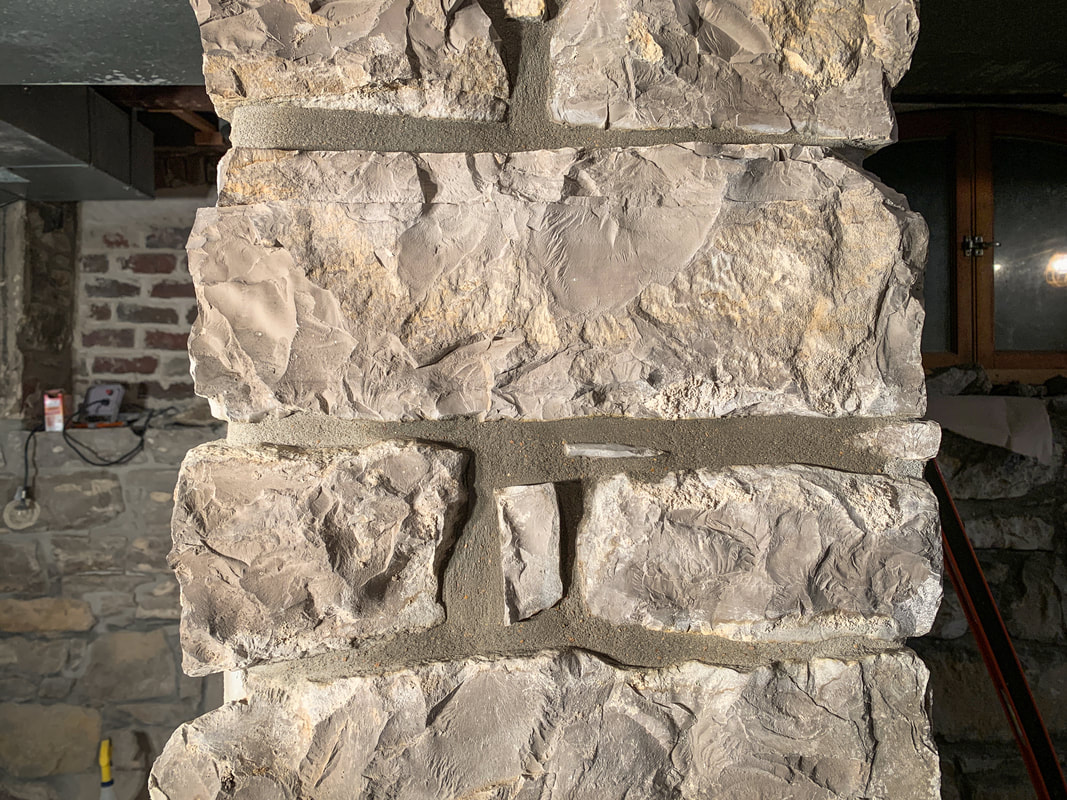
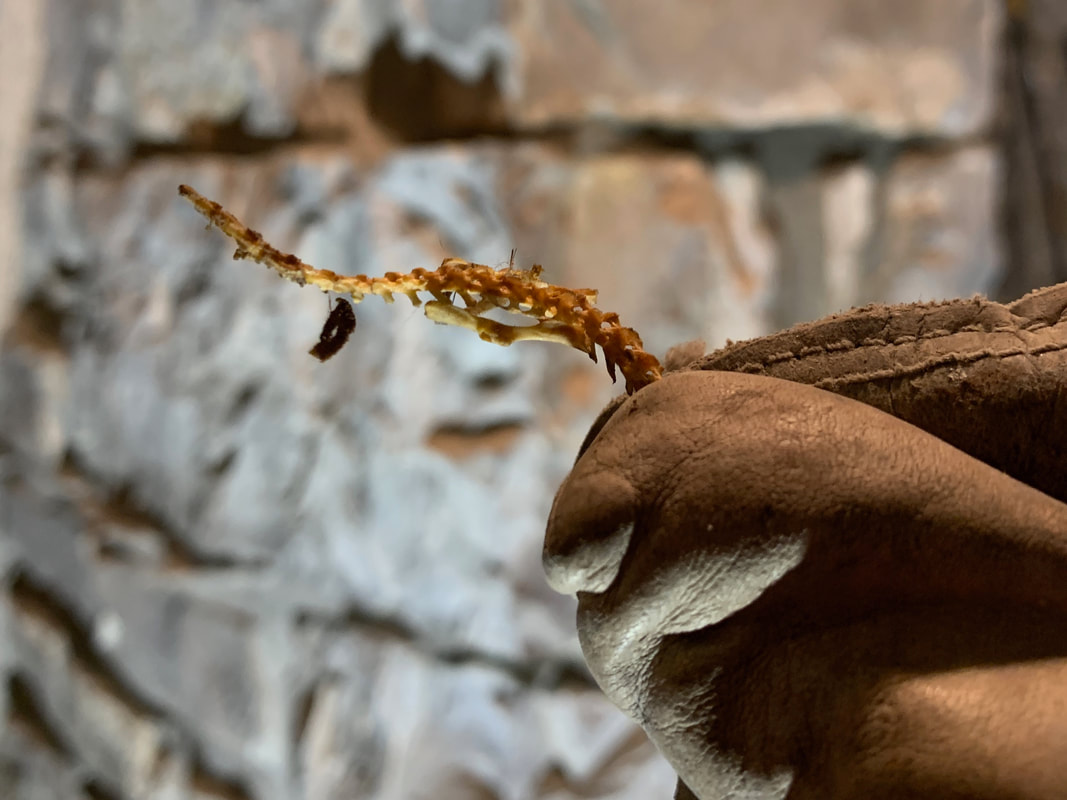
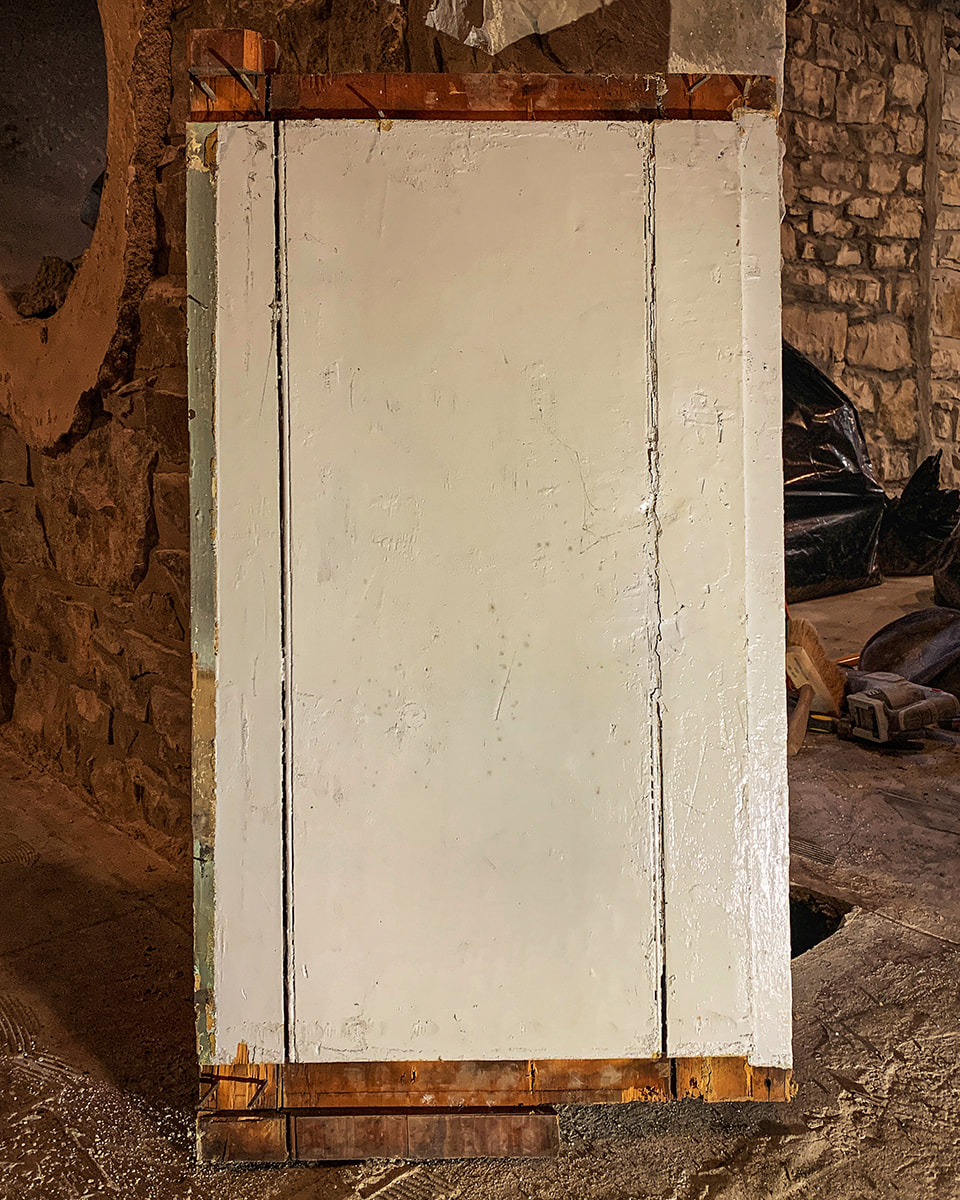
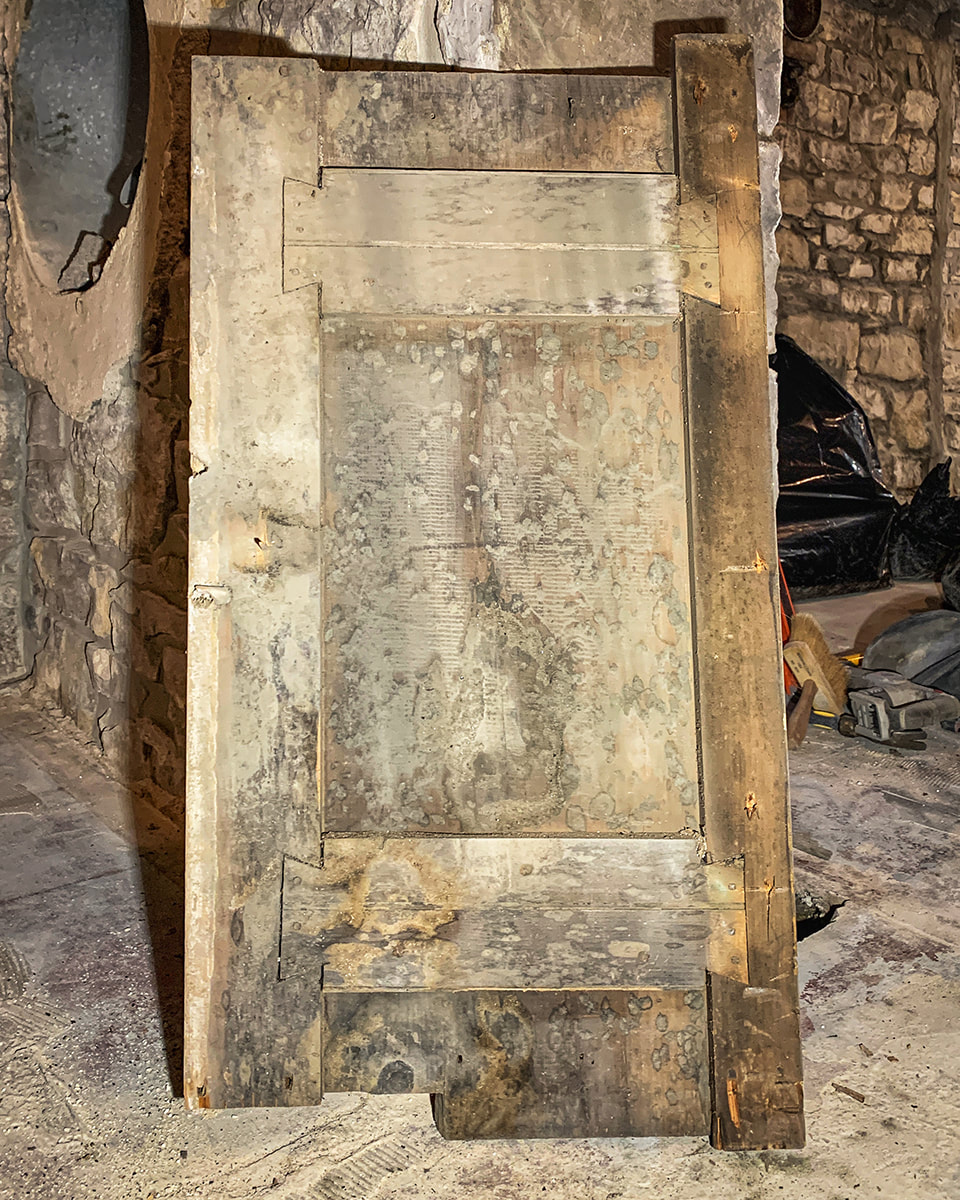
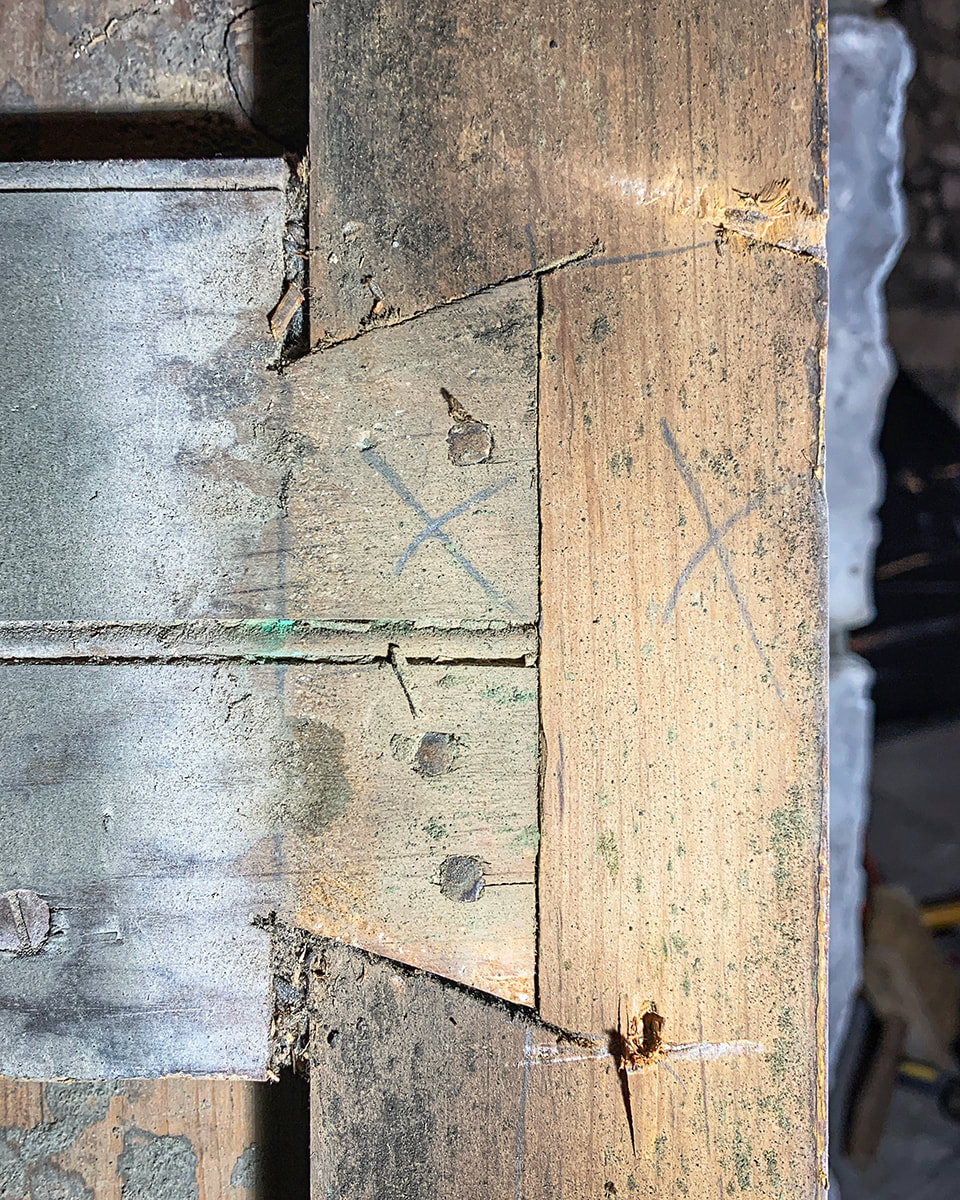
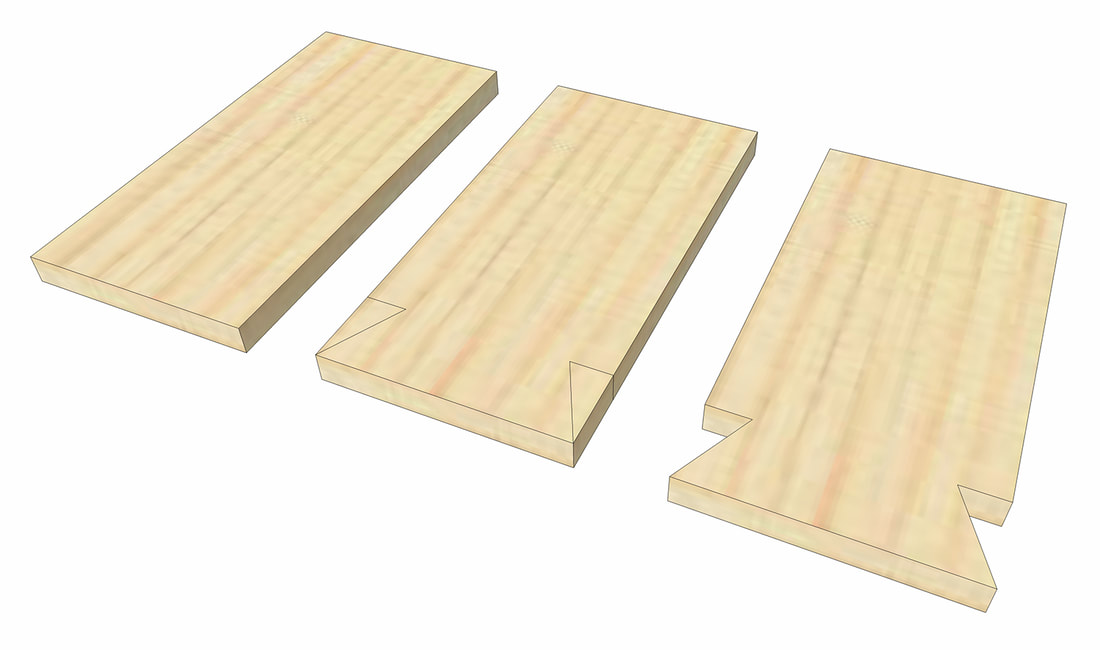
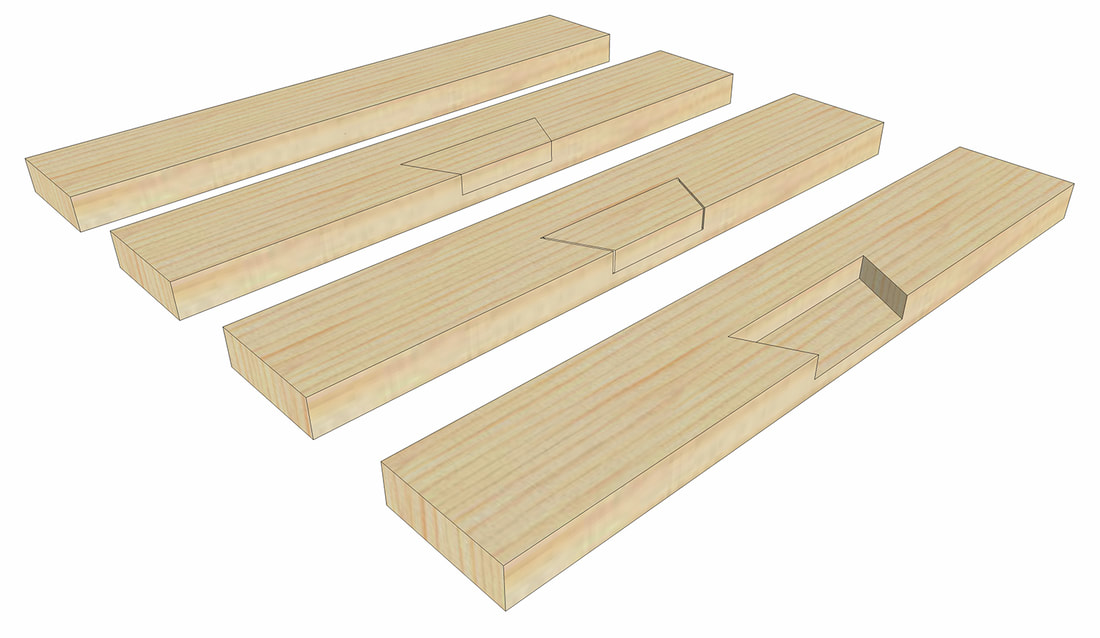
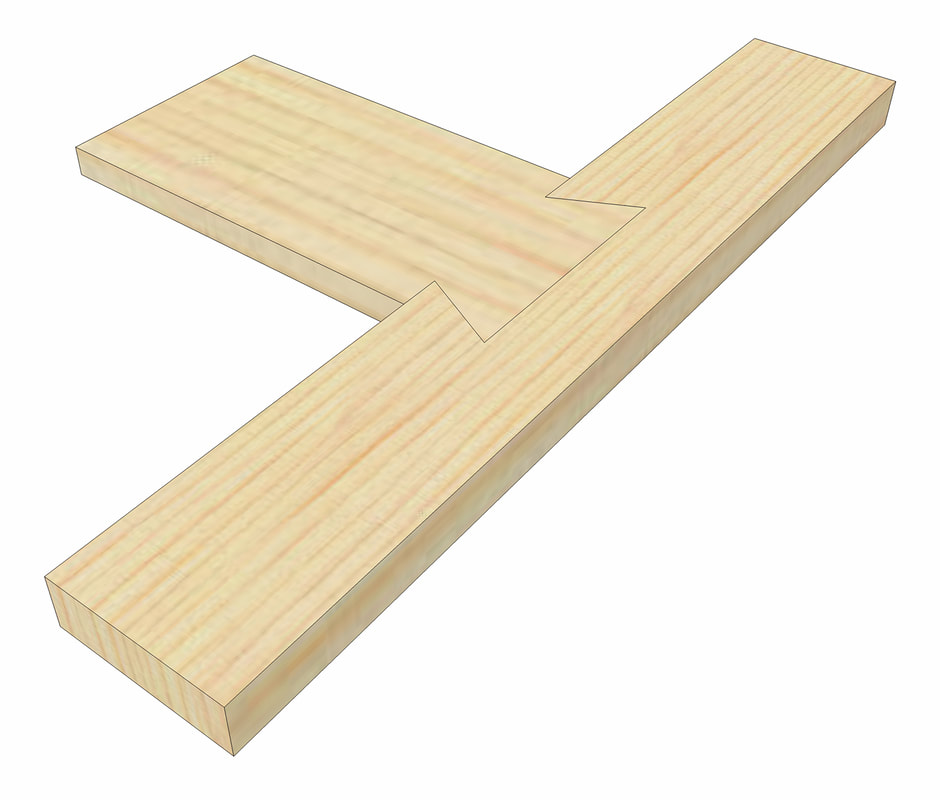
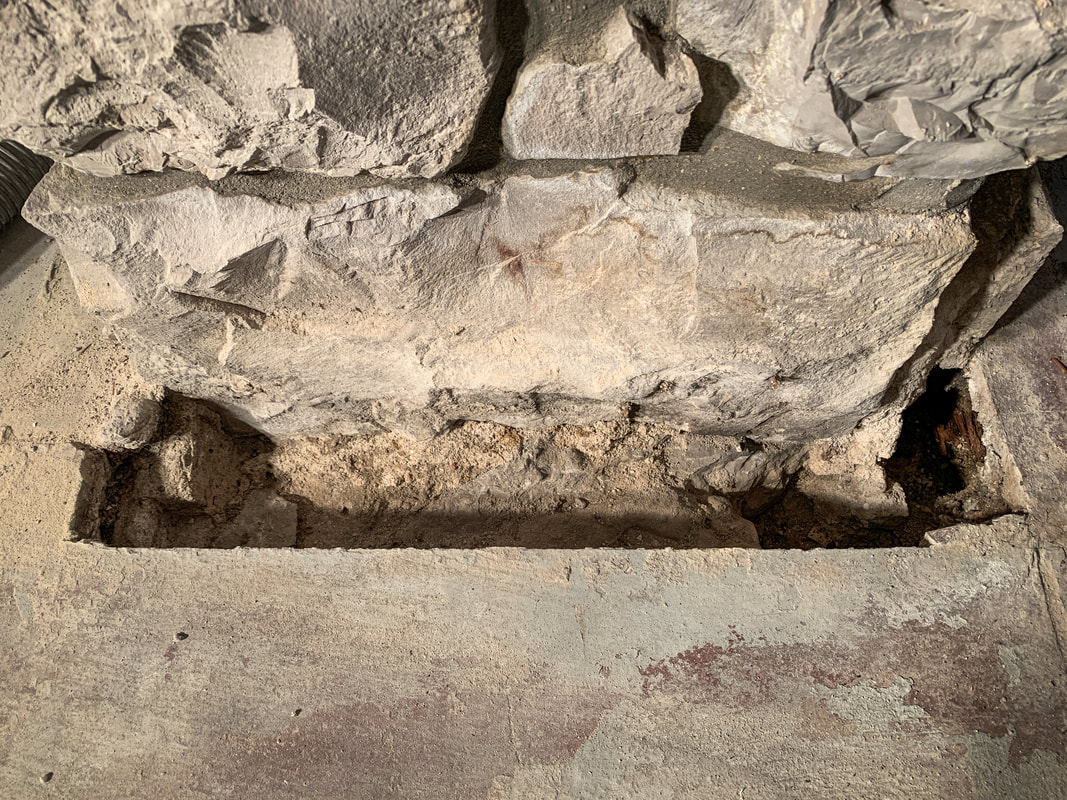
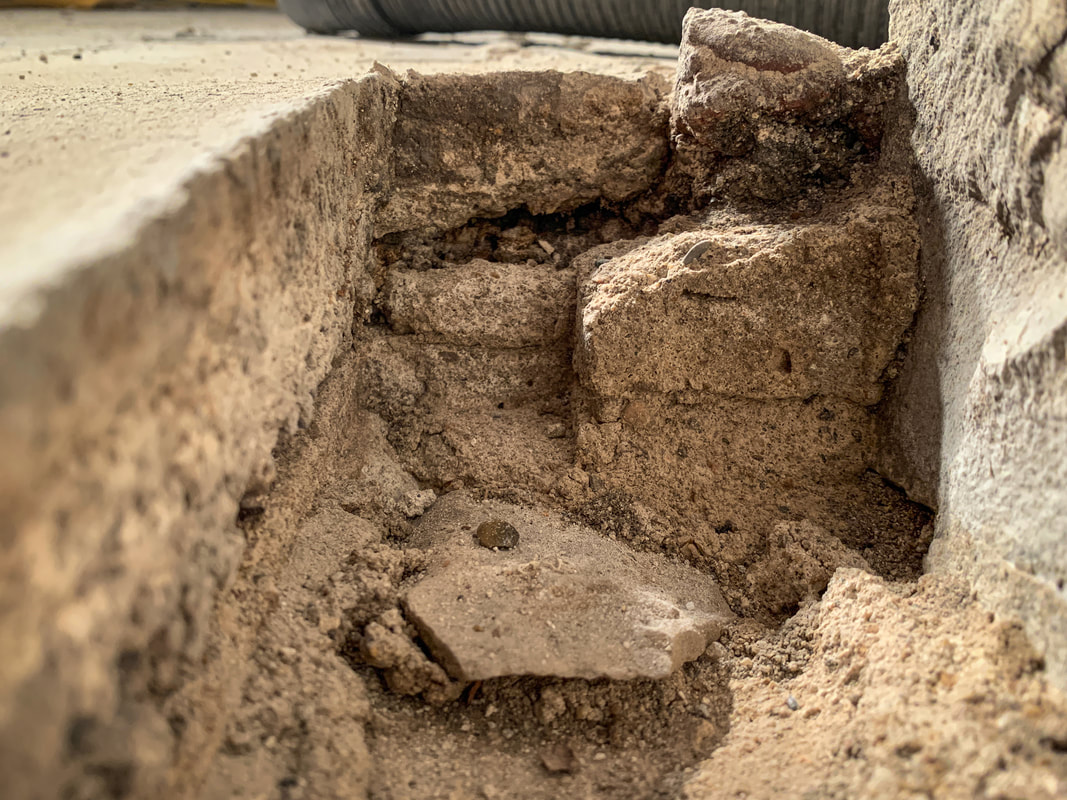
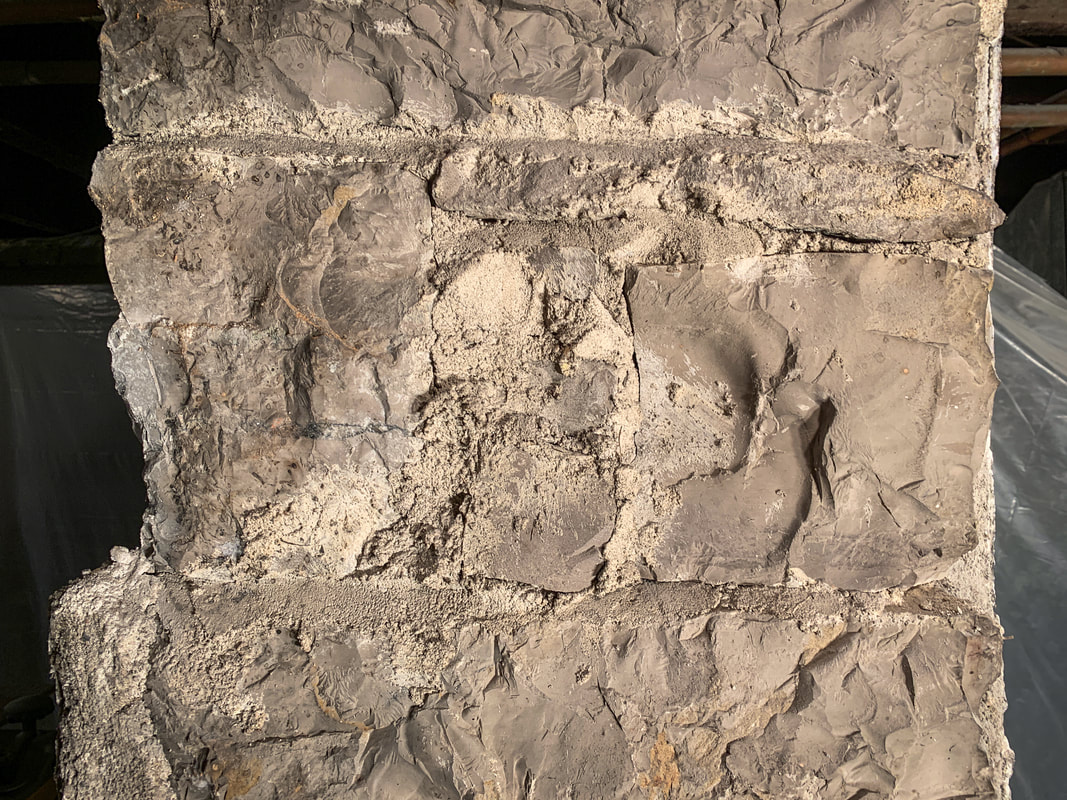
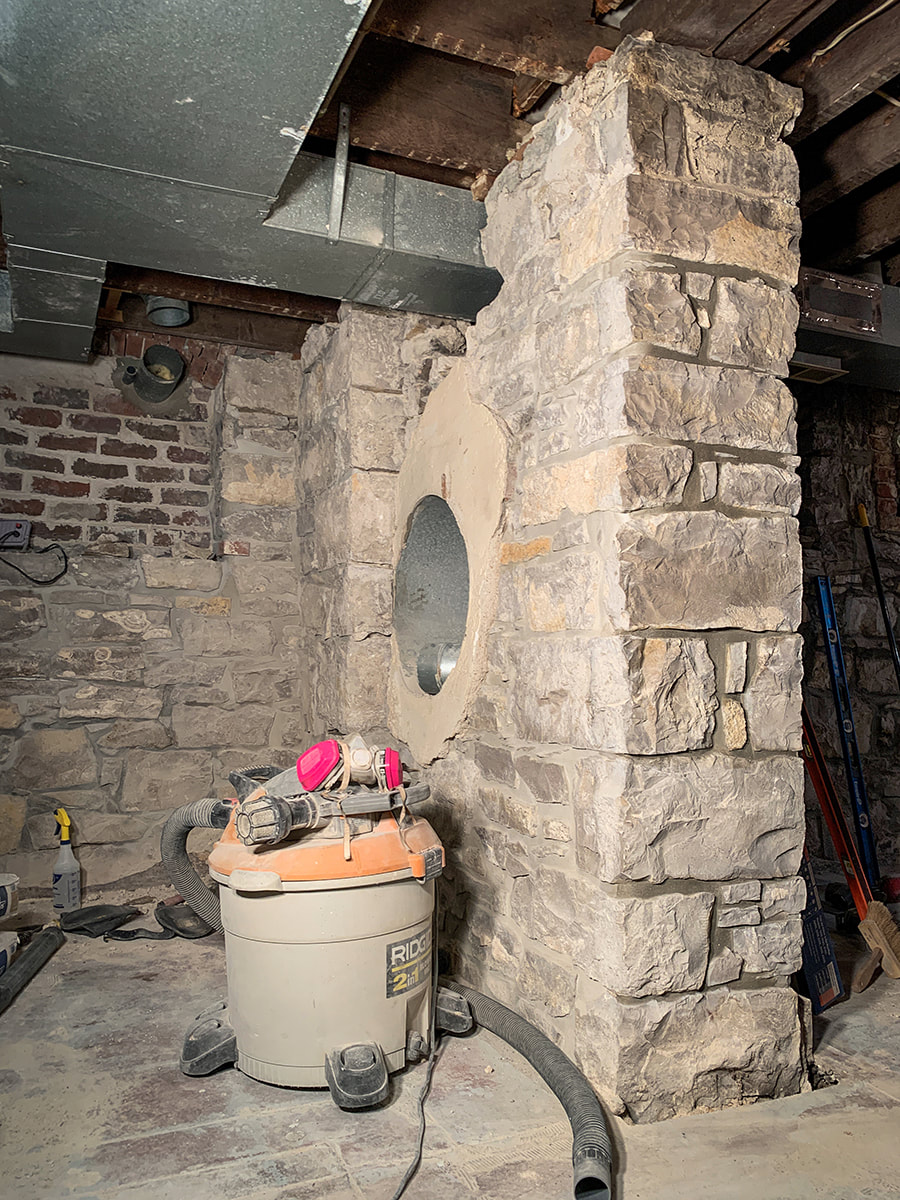
I have repointed, I think, allllllll the brick that needs to be repointed ahead of the porch build...except for the stuff down in the basement, which is the brick where the porch floor ledger boards will attach to the house. With the recent 3-day weekend, I thought about dealing with it...but I didn't. Why? Because I've started, and not yet completed, repointing the interior foundation limestone in approximately 17 different spots. Sometimes I called it quits because I ran out of mortar. Other times it was because I got sidetracked with more pressing issues, like big, fallen tree limbs or a parade of mice beeboppin' all over the house. And to be perfectly honest, the limestone repointing is super tedious and way worse than the brick repointing; there were times when I was just done with it and needed to go do something else or attack a different, easier spot. So before I got into the brick, and because the lower porch-related repointing work is very near some unfinished limestone sections, I wanted to button a few things up before starting something new. Namely, I decided to finish repointing the eastern part of the limestone wall that bisects the basement. That meant removing the original 1878 wooden door jamb in the wall to repoint what was behind it. I didn't think much of it at the time, so I didn't take any pics. Likewise, I don't have any good pics of what this specific area of the basement - it was "finished" - looked like when I bought the place, but I do have this video from the basement gutting. In it you can see the door jamb, and the demo I did around it in the summer of 2020. That wall, at the time of demo, was drywall on metal studs in front of plaster applied directly to a limestone wall. I didn't know the limestone was there, although I suspected something was weird because the wall was, like, a legit 2 feet thick. That's how things ended up after the first wave of basement gutting. Since then, I've removed a lot of the plaster and repointed a fair amount of the northern and southern faces of the limestone wall right of the doorway. Anyhow, on Saturday this past weekend I tore out the east side of the jamb, removed as much of the old mortar between the stones that I could or that it made sense to, and repointed about half of the joints before calling it a day. I left the west side of the jamb and jamb header in place because the mess I made had already turned my little work area into a total fiasco. See that ugly brick behind and to the left of the freshly mortared wall in the center of the pic? That's the bricked-in window - not my work - that the porch will cover up. The stuff I have to repoint is above that, which is a mess of ducts and floor joists and spider webs and mouse bones. None of this is what I really want to talk about. I want to talk about that door jamb. When I demo'd the first part of the door jamb I didn't think much of it other than it was a thing that was in my way and it needed to not be in my way. The jambs are a multi-piece assembly and make no mistake, I deconstructed the piece I removed, pulled and saved all the old cast iron square cut nails, and saved the big center panel, but still, the primary goal was stone repointing and that's what I was focused on. The following morning, which was a Sunday, my priorities were a little different. I was low on mortar and knew I wouldn't be able to get a whole lot of repointing done (the stone repointing requires a LOT of mortar and no part of me wanted to go to the store to buy more), and the hard part - mortar removal - was already done, so I could take my time a little bit. I cleaned up Saturday's mess and methodically, or as methodically as one can be with a sawzall, went about demo'ing the rest of the door jamb. I took off the remaining side piece, a mirror image of the piece I'd removed on Saturday, deconstructed it, saved the nails, etc. Then I wrestled the header piece out of the opening in the stone, sorted through the debris that'd accumulated on top of it for 140+ years (spoiler alert: I didn't find anything cool), and got ready to deconstruct it. It was built the same way as the side panels, just much shorter in length. I don't know why I didn't give it a whole lot of thought until that final jamb piece, but the amount of time, energy, and craftsmanship that went into that door jamb is remarkable. That's the side of the jamb header that was visible. It looked a little rough, but keep in mind that it had 140+ years of paint and caulk and wear and tear on 'er. This was before I denailed any of it and if you look closely you can see the square cut nails that were used to attach it to the vertical parts of the jamb. And the little bead detail on the edges of the center panel, it's still visible as well. Flipping it over, that's where the magic lies. The door jamb sides and top were each multi-piece assemblies, all solid wood: a wide center panel, rails on either side, and dovetailed cross bracing to hold everything together. The center panel had a tongue on either side, which fit into a corresponding groove in the rails, and the cross bracing was dovetailed into the side rails and nailed in place. Those dovetails! It just blows me away that to build 1 door jamb - and this jamb had 8 of those dovetailed cross braces - the carpenters cut and chiseled 16 half-blind (half-blind because you can only see the dovetail connection on 1 side of the pice; the "tail socket" doesn't go all the way through the board) dovetails. Nowadays your common, everyday, big box store interior door jamb is made with finger-jointed scraps of pine and haphazardly assembled in a factory somewhere. And they're usually split jambs, meaning the jamb can be pulled apart to make installation of the pre-assembled setup possible, but it also means that anything less than a legit installation and the jamb is spongy and flexible and chintzy. So how does one go about making a dovetailed connection between two pieces of lumber? It starts, typically, by marking out the "tail" - the trapezoidal shape - on the board and cutting out the material as shown below. This can be done entirely with a saw if the connection doesn't need to be furniture-grade, but for a super precise fit a chisel is usually called upon to fine tune the cuts. Then, the "tail" gets traced onto the board it will fit into in order to accurately carve out the "tail socket". Once the "tail socket" lines are marked, a hand saw is used to cut the angled lines (in the dovetail pic, the saw marks are still visible). From there, particularly in the case of half-blind dovetails, a chisel is used to remove material and form the "tail socket". The "tail" is then inserted into the "tail socket" and, provided everything was cut decently, one piece of wood is solidly connected to another. With a few nails for good measure, it's a connection that will last, clearly, for 140+ years; these were still plenty solid and required the use of a pry bar and a framing hammer to pop things apart. As wild as cutting 16 of those joints for a single door jamb is, that's just a fraction of the hand work that was involved in the jamb's construction. The panel tongues, grooves, and bead details, those were all done with planes. For 1 door! In the basement! This concludes the woodworking/joinery appreciation portion of the blog. 🤣 After I got done admiring the construction methods I finished repointing and cleaned everything up. I cleaned out the spot in the floor where the door jamb had been embedded in concrete - 2 layers - hoping to find something but again, no luck. Given that the house was built with a finished basement, I'm guessing it had a concrete(ish) floor from day 1. I say "concrete(ish)" because the stuff is more like mortar - just like the walls of the pool out in the yard, maybe some kind of a lime-based concoction - than it is modern concrete. When somebody did a big renovation in the basement, which I think was the 1910s or 1920s, they added a second layer of concrete with the granitoid finish. Regardless, for all the stuff the 19th century builders got right, they definitely got it wrong when they buried wood in that stuff. I think I'll leave repointing the wall west of the doorway for some time down the road; I want to work towards the porch, not away from it. The mortar is still pretty solid for the most part, it's just ugly and there are plenty of pockets where the stuff is a little crumbly. It may not look like it, but I'm making progress. Feels like it's all in slow motion at times, but I'm gettin' there. Comments are closed.
|
Archives
July 2024
|
